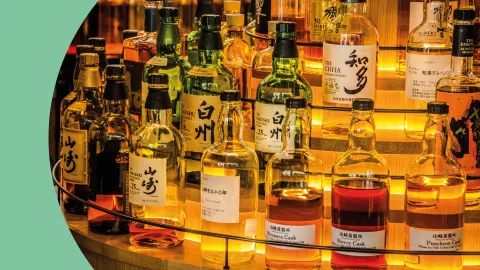

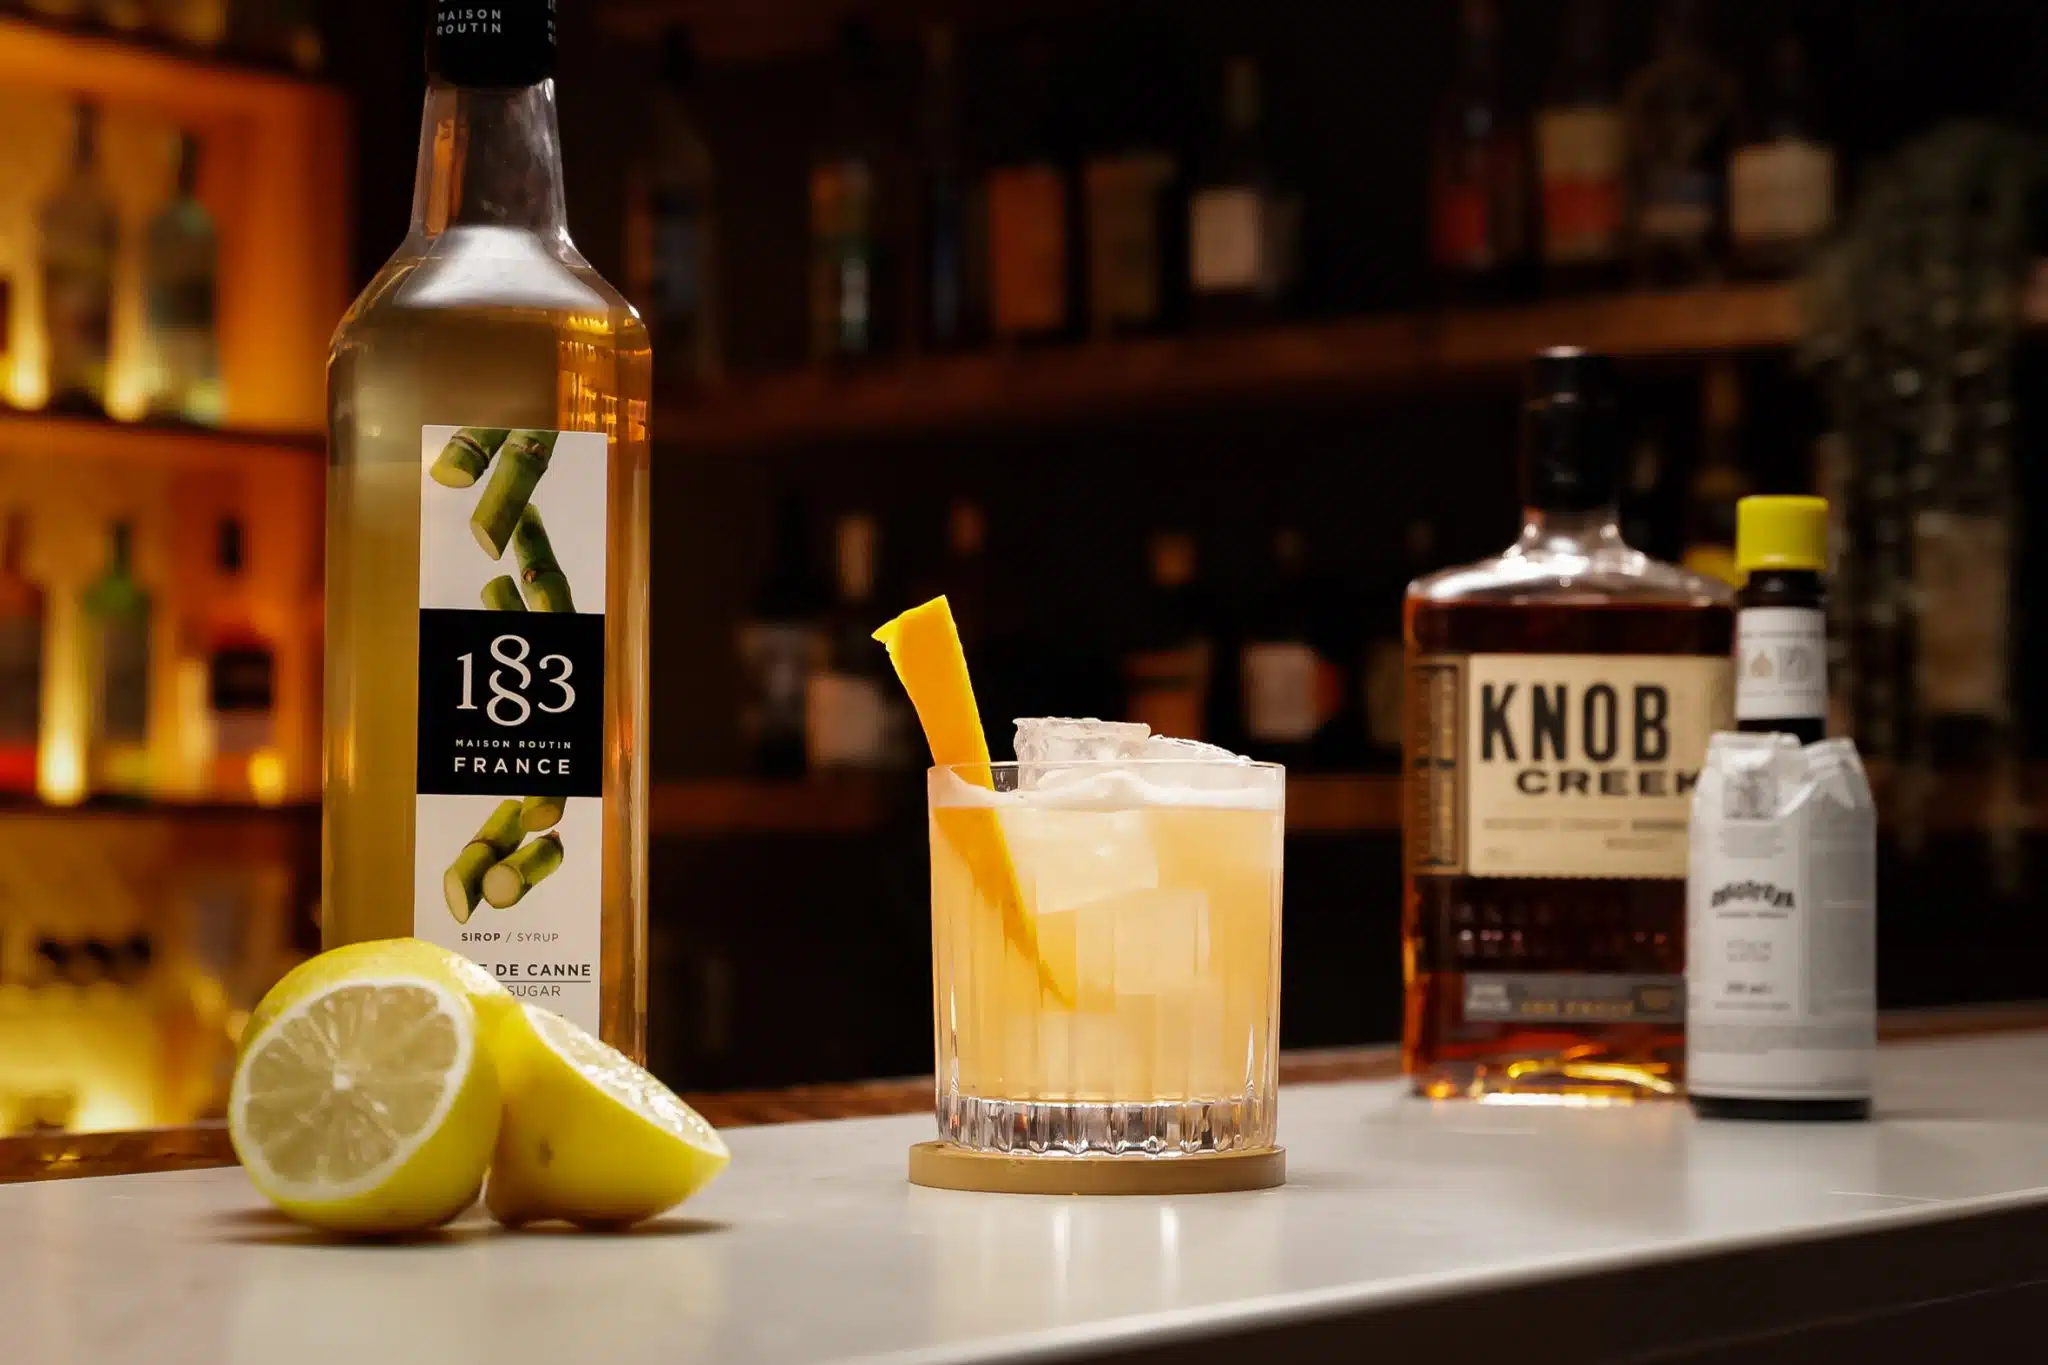
One of the most underrated skills in cocktail-making is proper measurement. It might seem tempting to eyeball it or free-pour for a more artistic touch, but precision is what separates a decent drink from a truly great one. Experience teaches us that too much alcohol, and the flavors get lost; too much syrup, and you’re sipping candy. Accurate measurements ensure every ingredient shines and guarantees consistency with each pour.
Learn how to master cocktail measurements with this complete guide. Discover essential tools, techniques, and tips for precise pouring, perfect ratios, and consistently balanced drinks.
Essential Cocktail Measurement Tools
Before we dive into the nitty-gritty of cocktail ratios and conversions, let’s get familiar with the basic tools of the trade. You don’t need a ton of fancy equipment to start making great drinks, but having the right measuring tools will definitely make a difference.
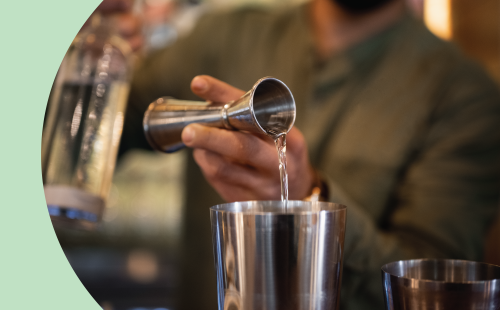
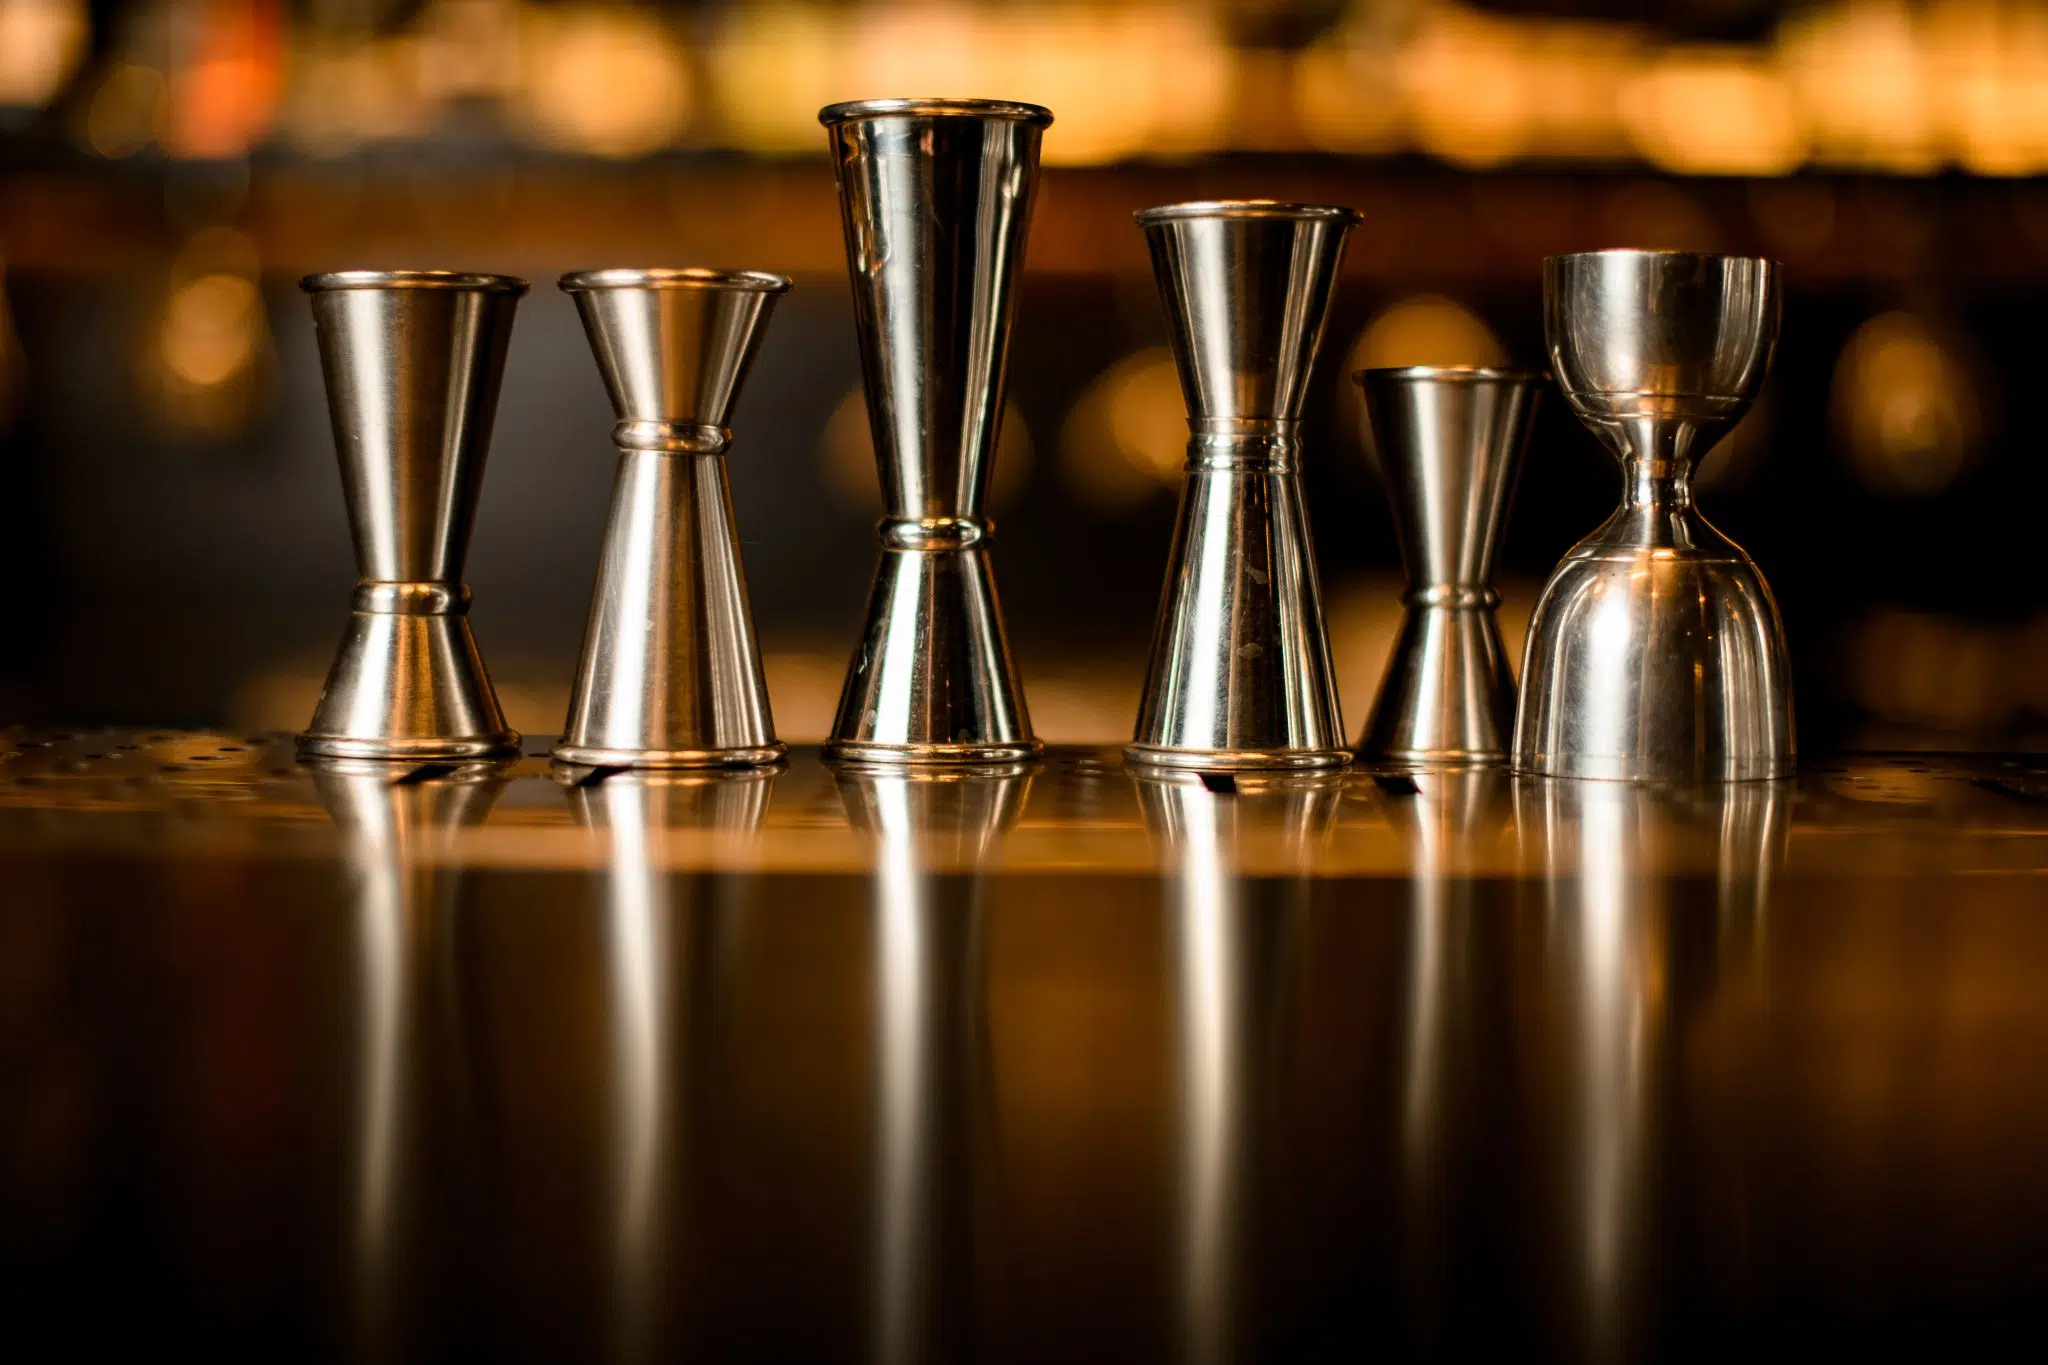
Jigger
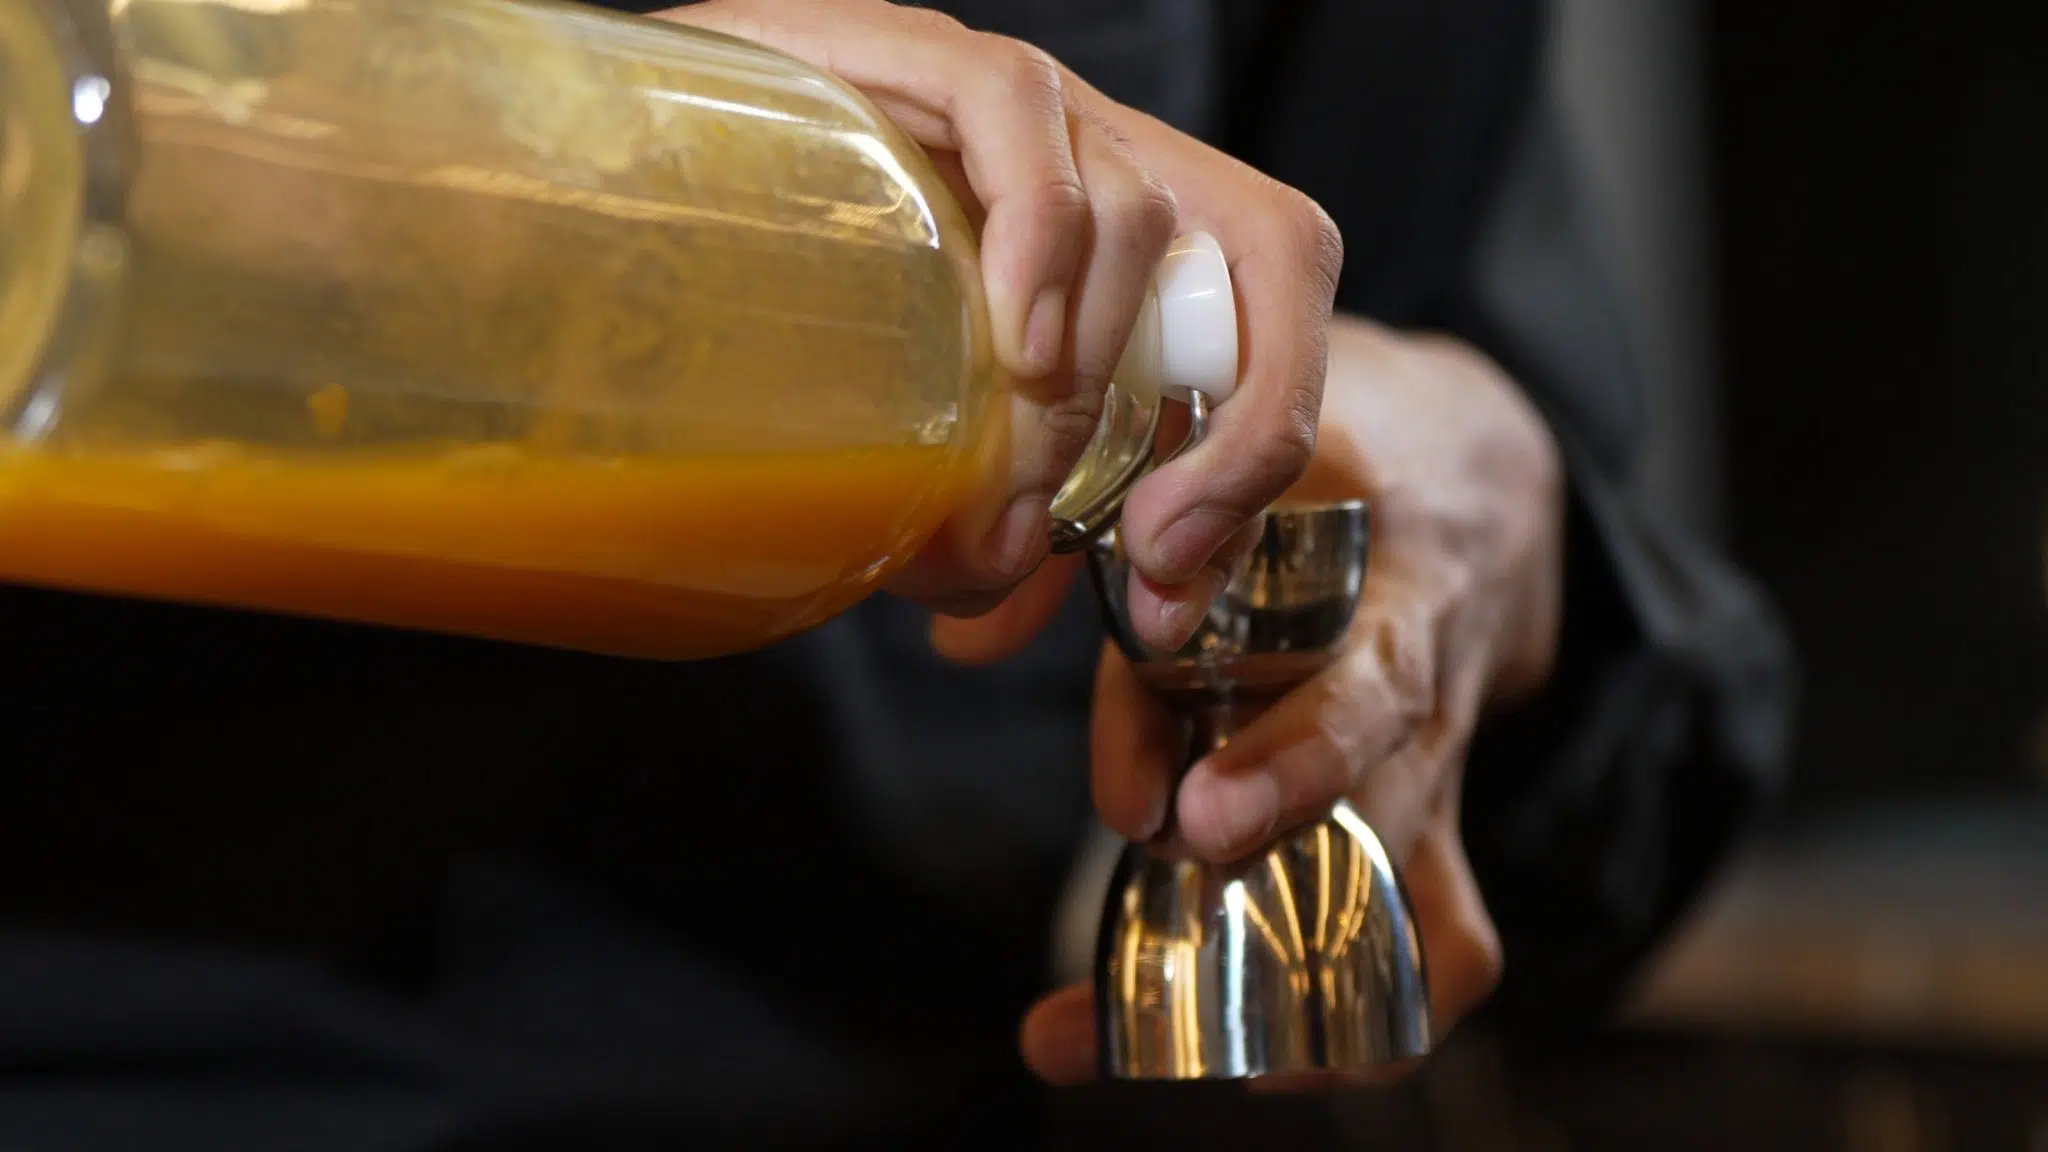
This little tool is a bartender’s best friend. If you’ve ever been to a bar and noticed the bartender using a small metal cup to measure liquids, that’s a jigger. It’s simple, effective, and an absolute must for anyone serious about cocktail-making. A standard jigger typically has two sides: one holds 1 ounce (30 ml) and the other holds ½ ounce (15 ml), but there are different sizes available too.
Using a jigger ensures that your cocktail ingredients are perfectly measured, so you never end up with an overly boozy drink or one that’s too weak. The precision also lets you tweak recipes to your liking—maybe just a touch more syrup or a slightly heavier pour of whiskey.
Types of Jiggers:
- Japanese Jigger: Sleek and narrow, this style is known for its precision and easy pouring.
- Double-Sided Jigger: The classic two-sided version with different measurements on each side.
- Bell Jigger: A more rounded shape, offering a comfortable grip and quick pouring.
Measuring Spoons
Yes, the same ones you use in the kitchen can be lifesavers behind the bar. Sometimes, you need to measure out smaller ingredients like syrups, spices, or liqueurs. In these cases, measuring spoons are perfect for the job. When a recipe calls for a teaspoon or tablespoon of something, these trusty tools ensure accuracy.
Just remember, 3 teaspoons = 1 tablespoon, and 2 tablespoons = 1 ounce (30 ml). Knowing these simple conversions helps when scaling up or down a recipe, especially if you don’t have a jigger handy.
Measuring Cups
If you’re making a big batch of cocktails for a party or crafting a punch bowl, measuring cups are essential. They’re great for larger quantities of liquids or syrups and ensure your ratios are spot on. For batch cocktails, where you’re multiplying the recipe by five or ten, having precise measurements can prevent a drink from becoming too diluted or overpowering.

Digital Scales
This one’s for the cocktail nerds out there—digital scales can be a game-changer if you’re diving into more advanced or molecular cocktails. For some ingredients, like some syrups, garnishes, or even ice, is more appropriate to measure by weight rather than volume. A digital scale allows you to get super precise, measuring ingredients down to the gram.
Scales are also useful for bartenders experimenting with consistency in texture and taste, especially with dense ingredients like honey or thick syrups that might be hard to measure in a jigger.
Common Cocktail Measurements
Now that we’ve got the tools sorted, let’s talk about measurements. Cocktails are an international language, but depending on where you are, recipes might call for ounces, milliliters, or even “parts.” Understanding these common units of measurement is the key to becoming a cocktail master, no matter where you’re mixing drinks.
Ounces and Milliliters
In the U.S., recipes typically use ounces for measuring liquids. Elsewhere, you’ll see milliliters (ml) more commonly. If you’re following a recipe from a U.S.-based source, you’ll likely need to know how to convert ounces to milliliters for accuracy. Thankfully, it’s not too hard—1 ounce equals approximately 30 milliliters.
For example:
- 1 oz = 30 ml
- 2 oz = 60 ml
- 3 oz = 90 ml
Having a quick conversion chart (or even just memorizing these basic numbers) will save you from guesswork and keep your drinks consistent, especially when you’re following international recipes.
Dashes and Drops
When recipes call for dashes of bitters or drops of liquid, it can feel a little vague. What exactly is a dash? In cocktail terms, a dash is generally accepted to be about ⅛ teaspoon, but it can vary depending on the bitters bottle you’re using. Most bitters bottles are designed to dispense a small amount with each shake, so three or four good shakes usually equal one dash.
For drops, we’re getting even more precise. A drop is typically considered to be a small amount of liquid that falls from a dropper or bottle. The volume can vary slightly based on the viscosity of the liquid and the dispensing mechanism used. Generally, one drop is around 0.05 to 0.1 milliliters. Drops are often used for highly concentrated ingredients, like saline solution or aromatic bitters, where a little goes a long way. You’ll often use a dropper bottle to dispense exactly how much you need, usually just a few drops at a time.

Parts
This is one of those terms that pops up in recipes all the time—”2 parts gin, 1 part lime juice, 1 part syrup”—but what does it mean? “Parts” are a flexible way to describe ratios in cocktails, and they’re perfect for scaling recipes up or down.
For example, in a recipe that calls for 2 parts gin, 1 part lime juice, and 1 part syrup, you could interpret this as:
- 2 oz gin, 1 oz lime juice, 1 oz syrup
- Or, if you’re making a larger batch: 6 oz gin, 3 oz lime juice, 3 oz syrup
“Parts” let you maintain the balance of flavors while easily adjusting the size of your cocktail. It’s all about proportions, not exact amounts.
Shots
Shots are another common unit of measurement, especially in simpler cocktail recipes or casual bartending settings. A standard shot is typically 1.5 ounces (45 ml), though it can vary slightly depending on where you are. Knowing the shot size can help if you’re eyeballing a recipe or if you don’t have a jigger handy.
Converting Between Measurements
Let’s face it: cocktail recipes are global, and depending on where they come from, the measurements can be all over the place. Sometimes you’ll see ounces, other times milliliters, and maybe even tablespoons or teaspoons thrown into the mix. If you’re like us, you want to nail every cocktail, whether it’s a classic from New York or a trendy new drink from a bar in Paris. That’s where understanding conversions comes in handy.
Ounces to Milliliters: Your Go-To Conversion
One of the most common conversions you’ll need is from ounces (oz) to milliliters (ml). The U.S. typically uses ounces, while much of the world operates on the metric system. But don’t worry—once you get the hang of it, converting between the two is no big deal.
- 1 oz = 30 ml
- 2 oz = 60 ml
- 3 oz = 90 ml
- 0.5 oz = 15 ml
Teaspoons, Tablespoons, and Ounces Conversion
Sometimes cocktail recipes, especially for things like syrups or spices, will use teaspoons and tablespoons instead of ounces. This is more common in home recipes or for drinks with lots of small, flavor-packed ingredients like bitters or simple syrup.
- 1 tablespoon (tbsp) = 0.5 oz (15 ml)
- 1 teaspoon (tsp) = 5 ml
And just so you have the full picture: 3 teaspoons = 1 tablespoon. Once you know these conversions, you can easily switch between teaspoons, tablespoons, and ounces, depending on the recipe.

Imperial to Metric System
If you’re outside the U.S., you’re probably working with milliliters (ml) and grams more often than ounces. Cocktails with spirit-heavy ingredients typically rely on volume (ml or oz), while heavier or denser ingredients like syrups or powders are sometimes measured by weight (grams).
While you don’t need to become a mathematician to make a good cocktail, a rough idea of how to switch between the systems is helpful, especially if you’re converting international recipes. Most of the time, converting from ounces to milliliters or vice versa should be all you need.
Practical Tips for Accurate Measuring
Now that we’ve covered the tools and conversions, let’s discuss how to actually use these measurements in practice. Knowing the numbers is one thing, but getting the pour just right and balancing all the flavors requires a little finesse.
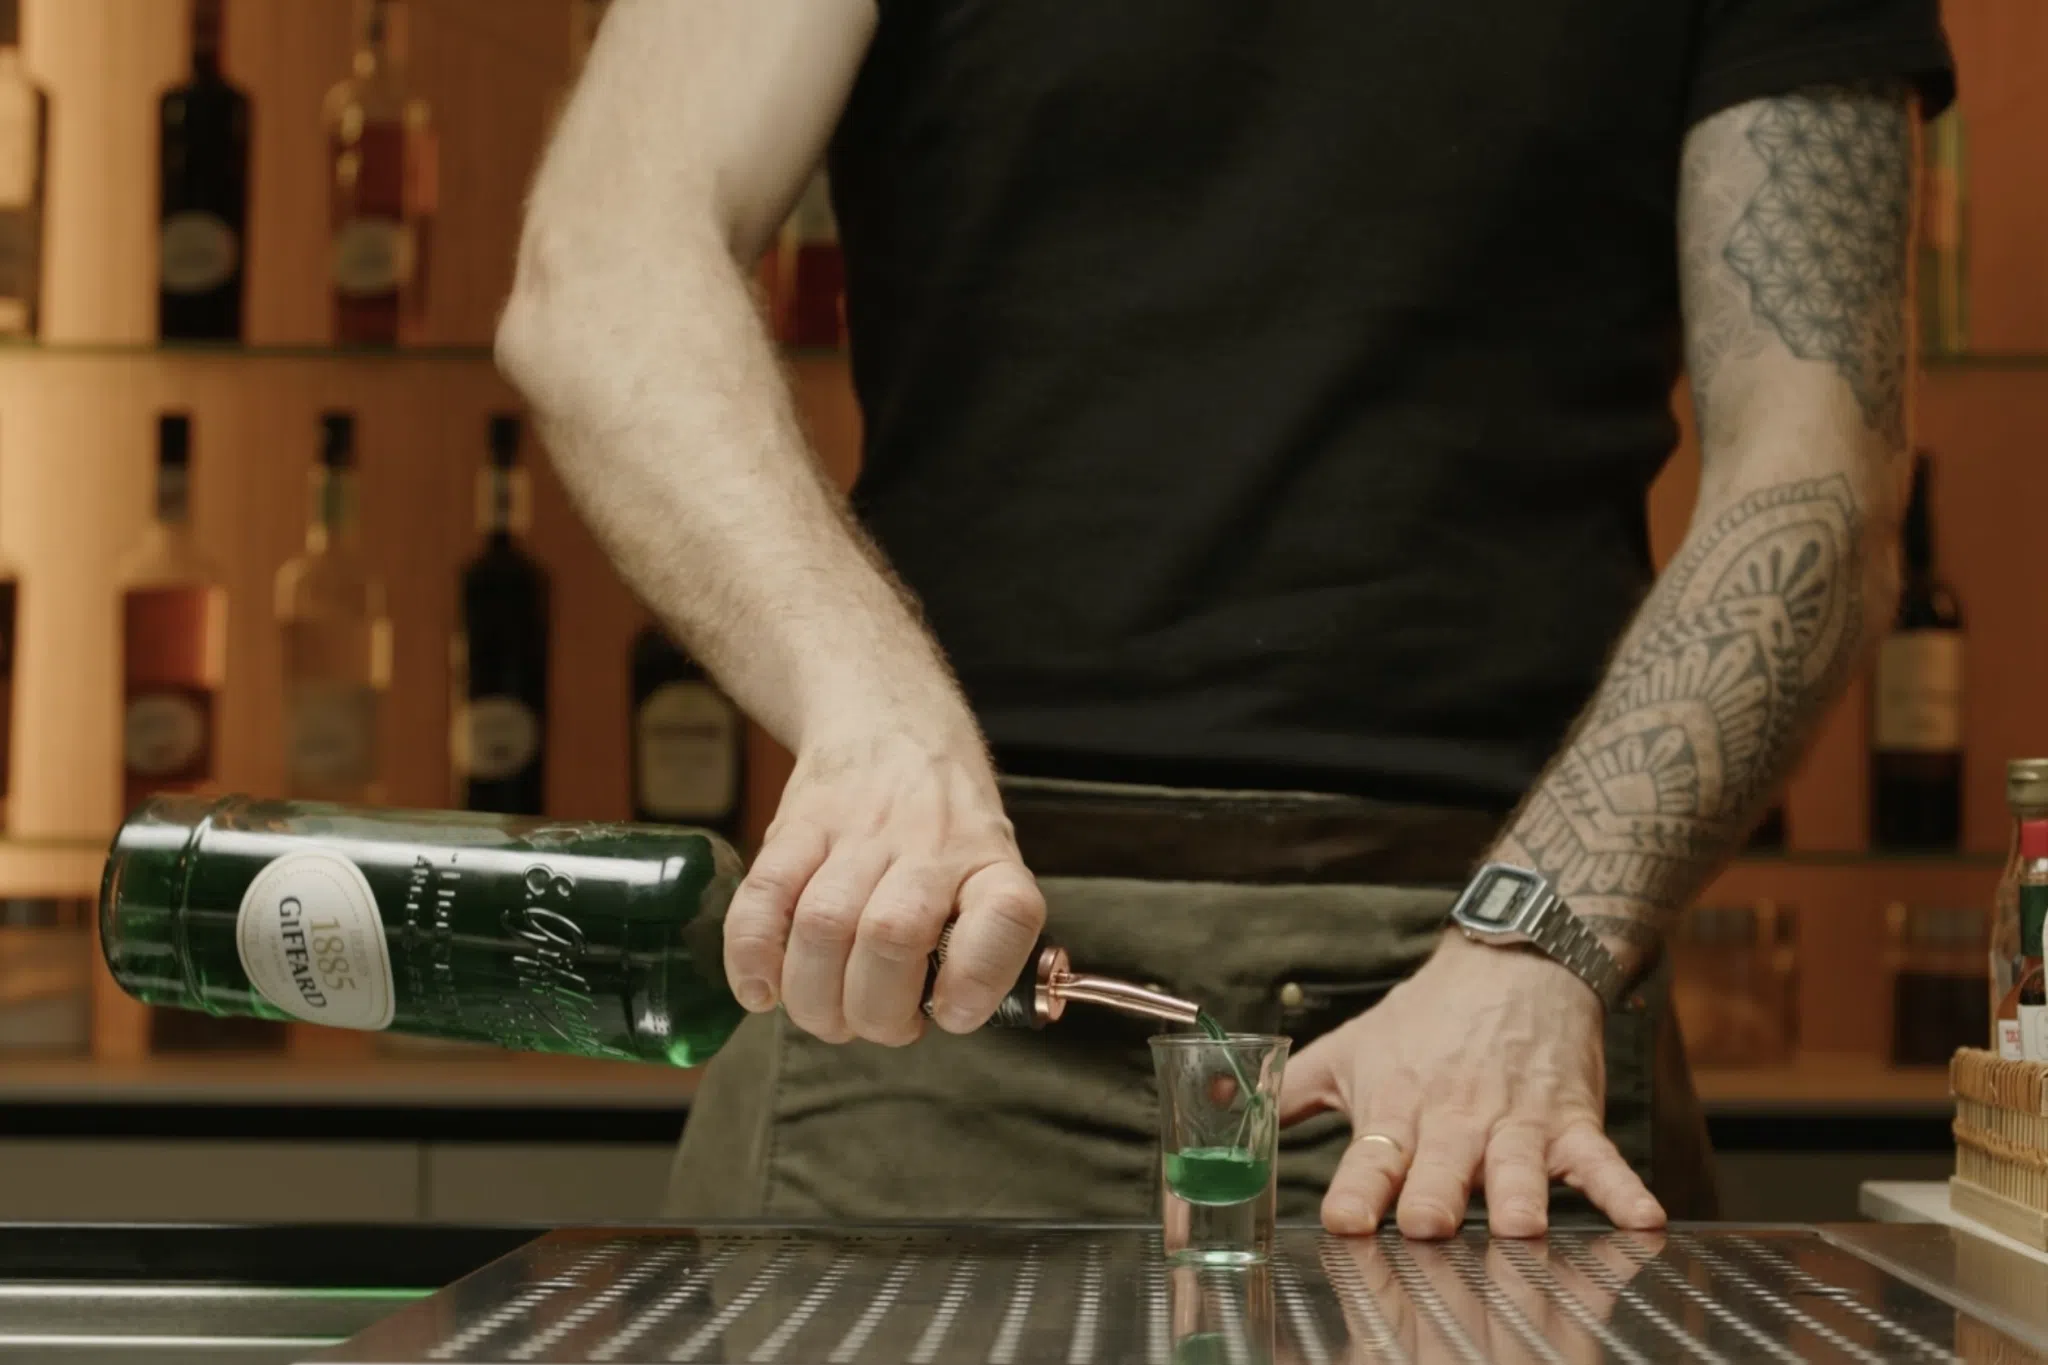
How to Use a Jigger Correctly
The jigger is a bartender’s best friend for a reason—it gives you perfect control over your measurements. But using it correctly is key to getting the right ratios in your drinks. Here are a few tricks:
- Hold it steady: When you’re pouring into the jigger, keep it steady at eye level to ensure you’re not over- or under-pouring.
- Fill to the brim: The markings on a jigger can be tricky, so make sure you fill it right up to the edge to get the exact amount.
- Pour with confidence: When you pour from the jigger into your shaker or glass, do it in one smooth motion. Slow, hesitant pouring can lead to spilling or losing some of that perfectly measured liquid.

The Art of Free-Pouring
Okay, free-pouring is not just about looking cool (though it does)—it’s about understanding the flow and control of your ingredients.
The general rule for free-pouring is the “4-count.” Essentially, every count equals about ¼ oz. So if a recipe calls for 1 oz, you would count to four while pouring. For 1.5 oz, count to six. Simple, right?
Of course, this takes practice. Start with water to get the hang of it before you move on to precious spirits or liquors. You’ll be amazed at how accurate you can get once you’ve developed a feel for it.
Measuring Dense Ingredients (Honey, Syrup)
Measuring liquids like water or spirits is one thing, but when you’re working with thick, sticky ingredients like honey or syrup, things can get a little tricky. Ever try to pour syrup into a jigger only to have half of it stick to the sides? Yeah, we’ve been there.
- The trick: when making a cocktail pour the syrups and thick ingredients first, in order to wash out what sticks into the jigger by pouring the rest of the ingredients.
Batch Cocktails and Scalin
When you’re making a batch of cocktails for a party, the challenge is to maintain consistency. If a single cocktail recipe calls for 2 oz of gin, but you’re making drinks for ten people, that’s 20 oz of gin in the batch. Simple, right?
Here’s a quick step-by-step:
- Multiply all ingredients by the number of servings you need.
- Measure everything out using your jigger or measuring cups.
- Stir or shake the large batch in portions, as needed.
Tip: Keep the ratios consistent, and remember that scaling a recipe up requires adjusting ice and dilution as well.
Understanding Ratios in Cocktail Making
Ratios are the backbone of every cocktail recipe. Once you get a feel for how ratios work, you’ll be able to create your own drinks or tweak classics to suit your taste.
Classic Cocktail Ratios
Many classic cocktails stick to a basic ratio formula, and once you learn them, you’ll start to see these patterns repeat across different drinks.
2:1:1 Ratio
This is the golden ratio for most sours (think Whiskey Sour, Daiquiri). It usually means:
- 2 parts spirit (e.g., whiskey, rum)
- 1 part sour (usually citrus juice)
- 1 part sweet (syrup or liqueur)
For example, in a classic Whiskey Sour:
- 2 oz bourbon
- 1 oz lemon juice
- 1 oz simple syrup
3:1 Ratio
This ratio is the standard for spirit-forward cocktails like the Martini or Manhattan. It’s perfect for when you want the spirit to shine through but still add a bit of complexity with vermouth or another modifier.
- 3 parts spirit
- 1 part vermouth or modifier
In a classic Martini:
- 3 oz gin
- 1 oz dry vermouth

When to Break the Rules
While classic ratios give you a foundation, cocktails are all about creativity. Once you’re comfortable with the basics, don’t be afraid to experiment. Want a slightly sweeter drink? Add a bit more syrup. Looking for something with more bite? Dial up the citrus.
The beauty of cocktail ratios is that they can be adjusted to fit your preferences. As long as the drink remains balanced, there’s no right or wrong.
How Ratios Impact Flavor
Cocktail ratios are all about balance—too much alcohol, and the drink becomes too harsh; too much citrus, and it turns too sour; too much syrup, and you’re left with something overly sweet.
Understanding how to tweak these ratios helps you craft drinks that are perfectly tailored to your taste:
- Too boozy? Add a bit more citrus or syrup to balance the flavors.
- Too sweet? A dash of bitters or a squeeze of citrus can add the balance you need.
- Not enough flavor? Sometimes, a cocktail can taste watered down or bland. This is usually a result of improper ratios or too much dilution. Check your measurements and make sure your ice hasn’t over-diluted the drink.
Measuring Ingredients Beyond Spirits
When most people think of cocktail measurements, they think of pouring out the perfect amount of gin or rum. But to truly master mixology, you need to understand how to measure everything beyond just the spirits. From bitters to syrups to ice (yes, even ice!), getting these measurements right is crucial for crafting that perfect drink. Let’s dive into the world beyond the bottle and see how other ingredients play a big role in your cocktail game.
Measuring Bitters
Bitters might seem like an afterthought, but trust us—they’re powerful little flavor bombs that can make or break a drink. Too much, and you’re sipping on something overly bitter; too little, and the drink can feel flat. Most cocktail recipes call for a “dash” of bitters, but what does that actually mean?
- A “dash” of bitters is typically around ⅛ teaspoon. Depending on the bottle, this usually means 2-3 firm shakes.
- Tip: For more precise control, you can use a dropper bottle, especially if you’re working with homemade bitters or small-batch varieties.
When you’re making cocktails like an Old Fashioned or a Manhattan, the bitters provide complexity, bringing out subtle notes from the other ingredients. So don’t underestimate them—those tiny drops pack a punch!

Measuring Juices and Syrups
Citrus juices and syrups are the backbone of many cocktails, especially when it comes to balancing out the alcohol with some sweetness or acidity. For juices, you’ll want to measure these just like you would any other liquid ingredient.
- Tip: Always use fresh juice when you can. Freshly squeezed lime or lemon juice brings brightness that store-bought just can’t match.
For syrups, things get a little trickier. Syrups like honey or maple syrup are thicker, so they don’t pour quite as easily as water or juice.
Measuring Ice
You might not think of ice as an ingredient to measure, but it plays a major role in how your cocktail comes together. Too much ice, and you over-dilute the drink, watering down those carefully balanced flavors. Too little, and your drink stays warm and underwhelming.
- For shaking cocktails: You want your shaker about three-quarters full of ice to allow for proper chilling and dilution.
- For stirring cocktails: You’ll need just enough ice to fill your mixing glass and chill the drink without melting too much into it.
- Crushed ice vs. cubed ice: Crushed ice melts faster and dilutes more quickly, so it’s perfect for drinks like Mint Juleps. Large cubes melt slower and are better for spirit-forward drinks like an Old Fashioned.
Understanding how ice affects your drink allows you to control the final result and ensure that each sip is perfectly chilled without being watered down.
Garnishes
Garnishes are more than just decoration. They provide aroma, visual appeal, and sometimes even a burst of extra flavor. Whether it’s a twist of lemon, a sprig of mint, or a cherry, don’t just toss it on for the sake of presentation. Measure it carefully.
- Twists and peels: A good twist of citrus peel should be about 3-4 inches long and thin enough to release essential oils without adding too much bitterness.
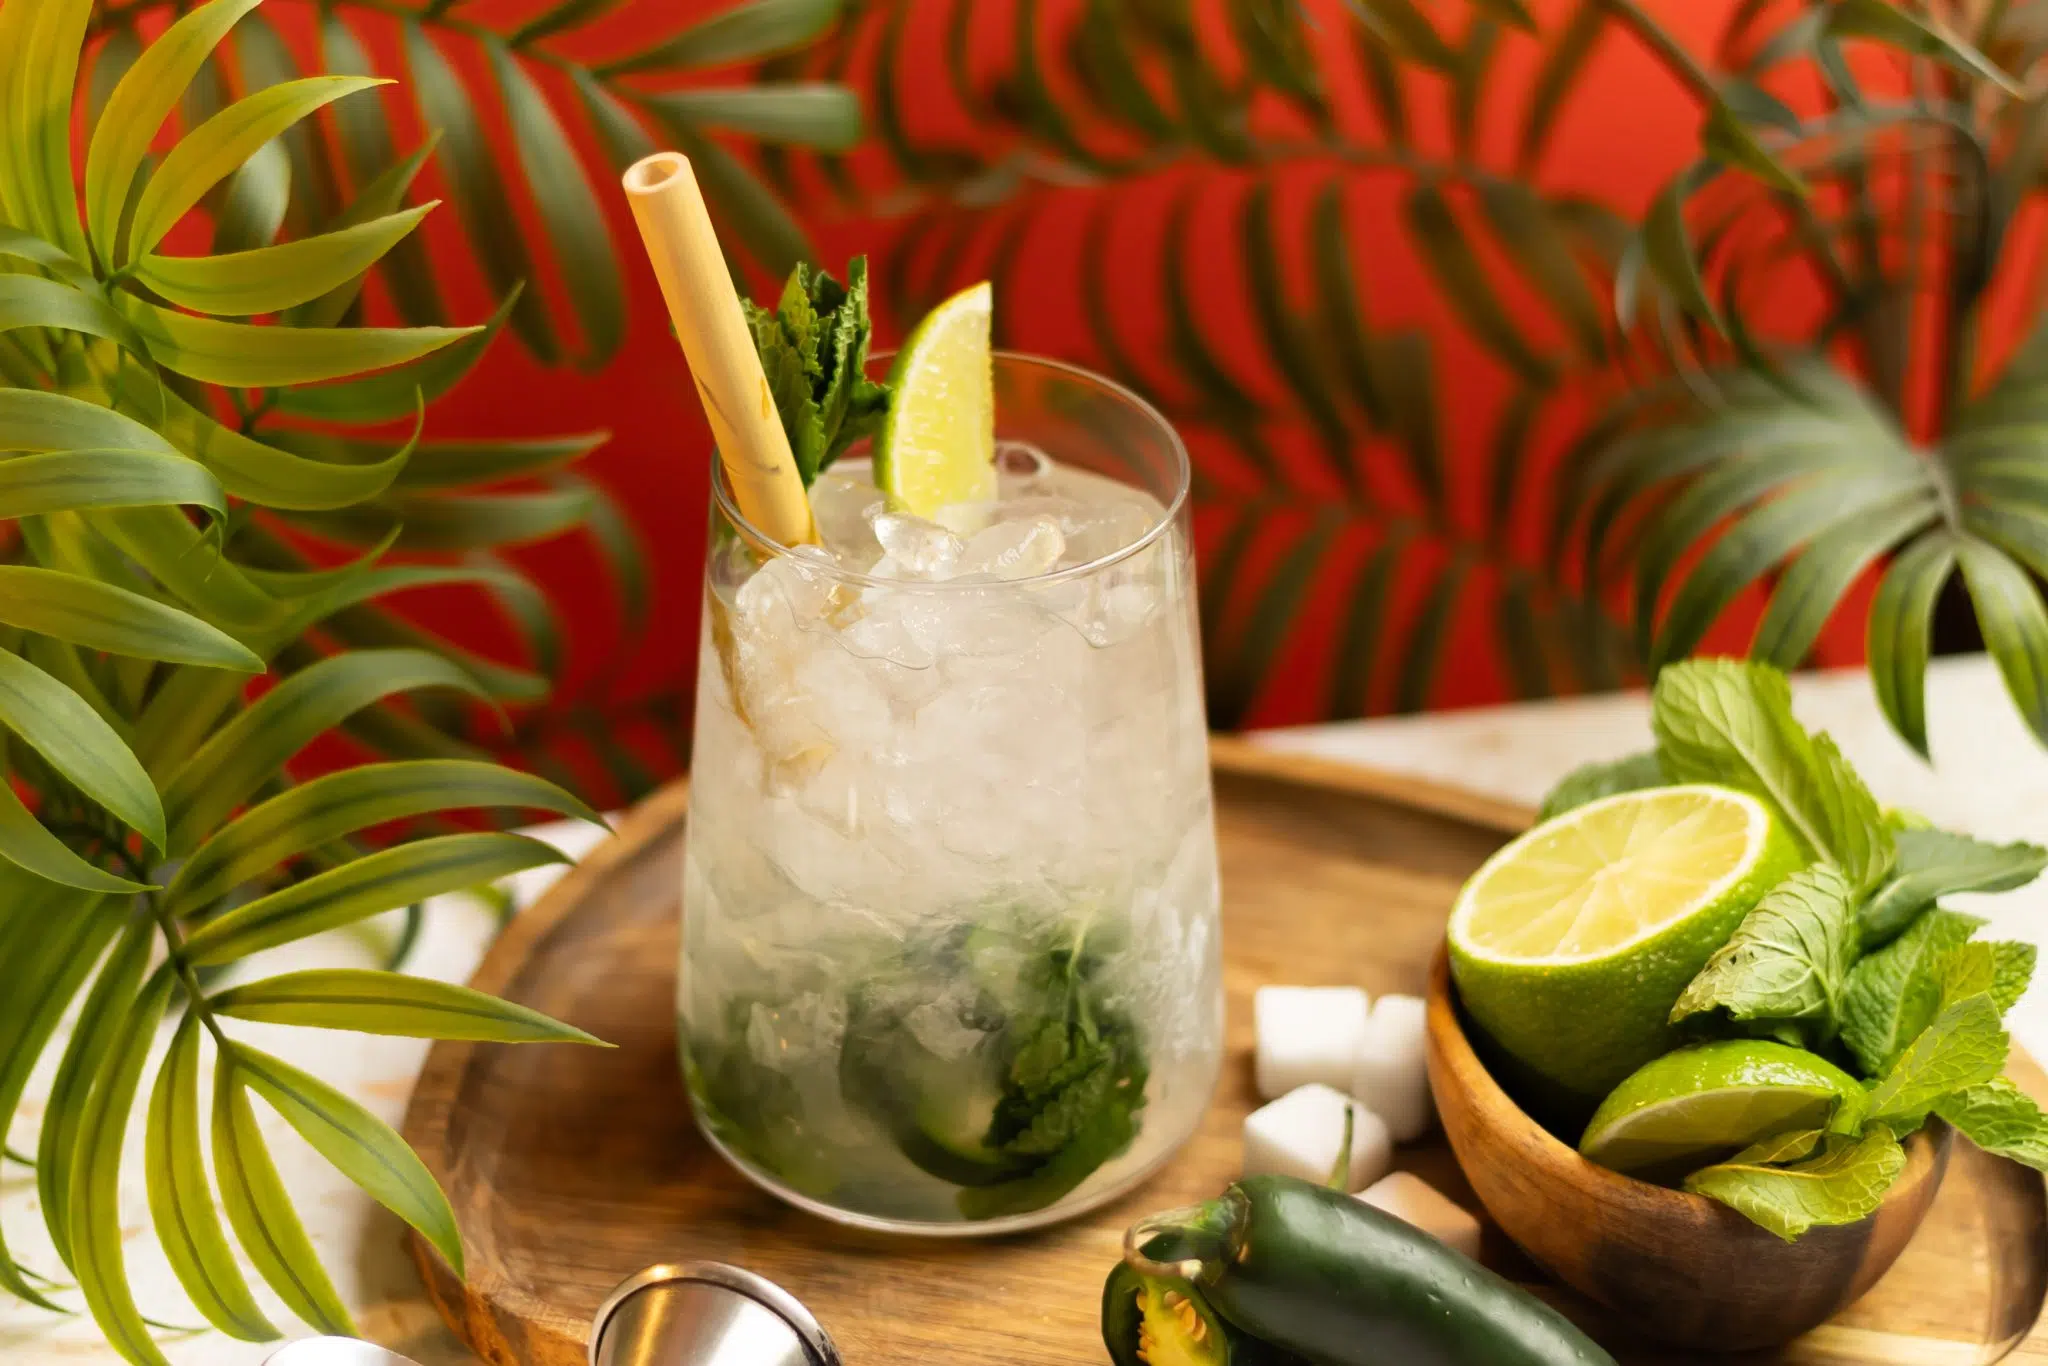
- Herbs: For drinks like a Mojito, be mindful of how many mint leaves you muddle. Too many can overpower the drink; too few, and you won’t get that refreshing hit.
Advanced Techniques in Measurement
Once you’ve mastered the basics, it’s time to level up with some advanced measurement techniques that will make you feel like a true mixologist. These methods aren’t just for show—they add precision and depth to your cocktail creations, allowing you to experiment and fine-tune your drinks to perfection.
Micro-Measurements for Craft Cocktails
In craft cocktails, sometimes even a fraction of a teaspoon can make a huge difference. For example, when adding saline solutions, flavored tinctures, or herbal bitters, getting the amount just right can elevate your drink from good to amazing.
- Micro measurements typically refer to ingredients measured in small amounts, like drops, pinches, or milliliters. You can use dropper bottles for liquid measurements or even a tiny scale for weighing small amounts of powders or spices.
Volume vs. Weight in Mixology
In traditional cocktail making, we rely heavily on volume (ounces, milliliters) to measure liquids. But for certain ingredients, like syrups or thicker liquids, weight-based measurements can be more accurate.
- Why use weight? Measuring by weight allows you to be extremely precise, especially for dense ingredients like honey or molasses. You can use a digital scale to measure by grams instead of relying on volume, which can sometimes be less exact.
Using Measuring Beakers and Graduated Cylinders
If you’re getting into molecular mixology or experimenting with complex cocktails, using measuring beakers or graduated cylinders can add an extra layer of precision to your process. These tools are great for measuring out tiny amounts of liquid, especially when working with homemade infusions.
- Beakers and cylinders give you a more scientific approach to cocktail making, allowing for precise control over ingredients when small adjustments can make all the difference.
Conclusion
And there you have it—a complete guide to mastering cocktail measurements. By now, you should feel confident handling everything from ounces to dashes, with a solid understanding of how different tools, ingredients, and techniques play into the final drink.
Whether you’re measuring spirits, liqueur, syrups, or ice, precision is key to consistently great cocktails. Start by getting comfortable with your jigger, learn how to free-pour like a pro, and don’t be afraid to experiment with ratios. The more you practice, the more intuitive measuring becomes.
FAQs
How Many Ounces in a Jigger?
A standard jigger holds 1.5 oz on one side and 1 oz on the other.
How Many Shots in a Fifth?
A fifth (750 ml) contains about 16 shots.
How Many Ounces in a Martini?
A typical martini is between 3 and 4 oz.
How Many Ml in a Shot?
A shot is usually 30-45 ml, depending on the country.
How Much Alcohol Is in a Standard Cocktail?
Most cocktails contain around 1.5 oz of alcohol.
How Many Counts Is a Shot?
The standard count for a shot is 4 counts, typically using a 1 oz. pour.
How Many Counts for Neat/on the Rocks Drinks?
The standard count for neat or on the rocks drinks is 4 counts, which is a 2 oz. pour.
How Many Tablespoons in a Shot?
A shot contains 3 tablespoons of liquid.
How Many Teaspoons Are in a Shot Glass?
There are 9 teaspoons in a shot glass.
How Many Shots in a Cup?
There are 8 shots in a cup.
How Many Seconds Is a 2 Oz. Pour?
A 2 oz. pour typically takes about 4 seconds.
How Many Seconds Is a 1 Oz. Pour?
A 1 oz. pour takes about 2 seconds.
How Many Drops Is a Dash?
A dash is typically 6 to 10 drops.
How Many Dashes Are in a Bottle of Bitters?
A typical bottle of bitters contains about 150-250 dashes.