
At drinksworld.com, we know that crafting the perfect cocktail is all about the details. From the spirits you choose to the garnish you use, every step matters. But there’s one part of cocktail making that often flies under the radar, even though it’s just as crucial as shaking or muddling: stirring. Yes, stirring a cocktail is an art all its own, and when done right, it can elevate your drink to a whole new level.
Stirring might seem like the most straightforward part of mixing a drink, but trust us—there’s more to it than meets the eye. The difference between an amateurish stir and a pro-level stir can affect everything from the drink’s temperature to its texture, clarity, and balance of flavors.
Why Stir a Cocktail?
First things first—why do we even stir cocktails in the first place? You’ve probably heard the old saying, “shaken, not stirred,” but that doesn’t mean you should shake every cocktail. There’s a method to the madness, and stirring plays a key role in certain drinks.
Temperature Control
Stirring is a gentle way to chill a cocktail. Unlike shaking, which is fast and aggressive, stirring gradually lowers the temperature of the liquid while maintaining more control over how cold it gets.
Clarity and Appearance
Stirring keeps your cocktail crystal clear. Shaking adds tiny air bubbles and ice fragments, which gives cocktails that cloudy, frothy appearance (perfect for drinks like margaritas or daiquiris). But for spirit-forward cocktails like Martinis and Negronis, clarity is king. Stirring ensures your drink stays clear and looks as sharp as it tastes.
Balanced Dilution
One of the main purposes of stirring is to chill the drink while adding just the right amount of dilution. As you stir, the ice melts slowly, allowing water to mix into the cocktail steadily. This dilution is essential for balancing strong spirits and other ingredients. Stir too little, and your drink is too strong; stir too much, and it’s watered down. It’s all about finding that sweet spot.
Texture and Smoothness
Stirring gives your cocktail a silky, smooth texture that you just don’t get with shaking. Spirit-forward drinks like Manhattans or Old Fashioneds benefit from this subtle technique, creating a refined, polished feel in every sip.

When Should You Stir a Cocktail?
Not every cocktail is stirred. In fact, knowing when to stir and when to shake is a key part of mastering cocktail making.
Stir When the Drink Is Spirit-Forward
The general rule of thumb is that cocktails made primarily with spirits (whiskey, gin, rum, vodka, etc.) should be stirred. Drinks like Manhattans, Martinis, and Negronis are all stirred because they don’t contain ingredients that need heavy mixing—like citrus juice, egg whites, cream or syrups. The goal is to keep the cocktail smooth, clear, and balanced.
When NOT to Stir
On the flip side, drinks that contain citrus, cream, or other heavier ingredients should be shaken. This is because shaking emulsifies these ingredients, breaking them down and creating that frothy, well-blended texture. Think Margaritas, Whiskey Sours, and Daiquiris—these are best shaken.
Tools of the Trade: What You Need to Stir a Cocktail
Before we get into the stirring technique itself, let’s talk about tools. Stirring isn’t just about sticking a spoon in the glass and giving it a few twirls. Having the right gear can make all the difference.
Bar Spoon

The most important tool for stirring is the bar spoon. But not just any spoon will do. A good bar spoon has a long handle (usually around 12 inches) and a spiral or smooth shaft. This design helps create a smooth stirring motion and keeps the spoon from clanking around in the glass like you’re mixing pancake batter.
- How to Hold It: Hold the bar spoon lightly between your thumb and first two fingers, just as you would hold a pencil. This allows for a gentle, controlled stirring motion.
- Why the Spiral Shaft? The spiral design on many bar spoons helps to slow the liquid down, creating a smoother, more controlled stir. It’s also more comfortable on the fingers, making it easier to achieve a smooth, controlled stirring motion. Another theory is that this shape was accidental at first: at the beginning of the century, it was easier (and cheaper) for manufacturers to twist a piece of flat, square iron into a roundish shape than to forge and cut tubular shapes!
Mixing Glass

A proper mixing glass is another essential. This is where you combine your spirits, bitters, and ice before stirring. Choose a sturdy glass or even a metal mixing tin that gives you enough room to stir without splashing. Pro tip: you can store your mixing glass in the freezer prior to stirring. It will help cool down your cocktail properly and allow for a slower melting of the ice and for better control of the dilution.
Jigger
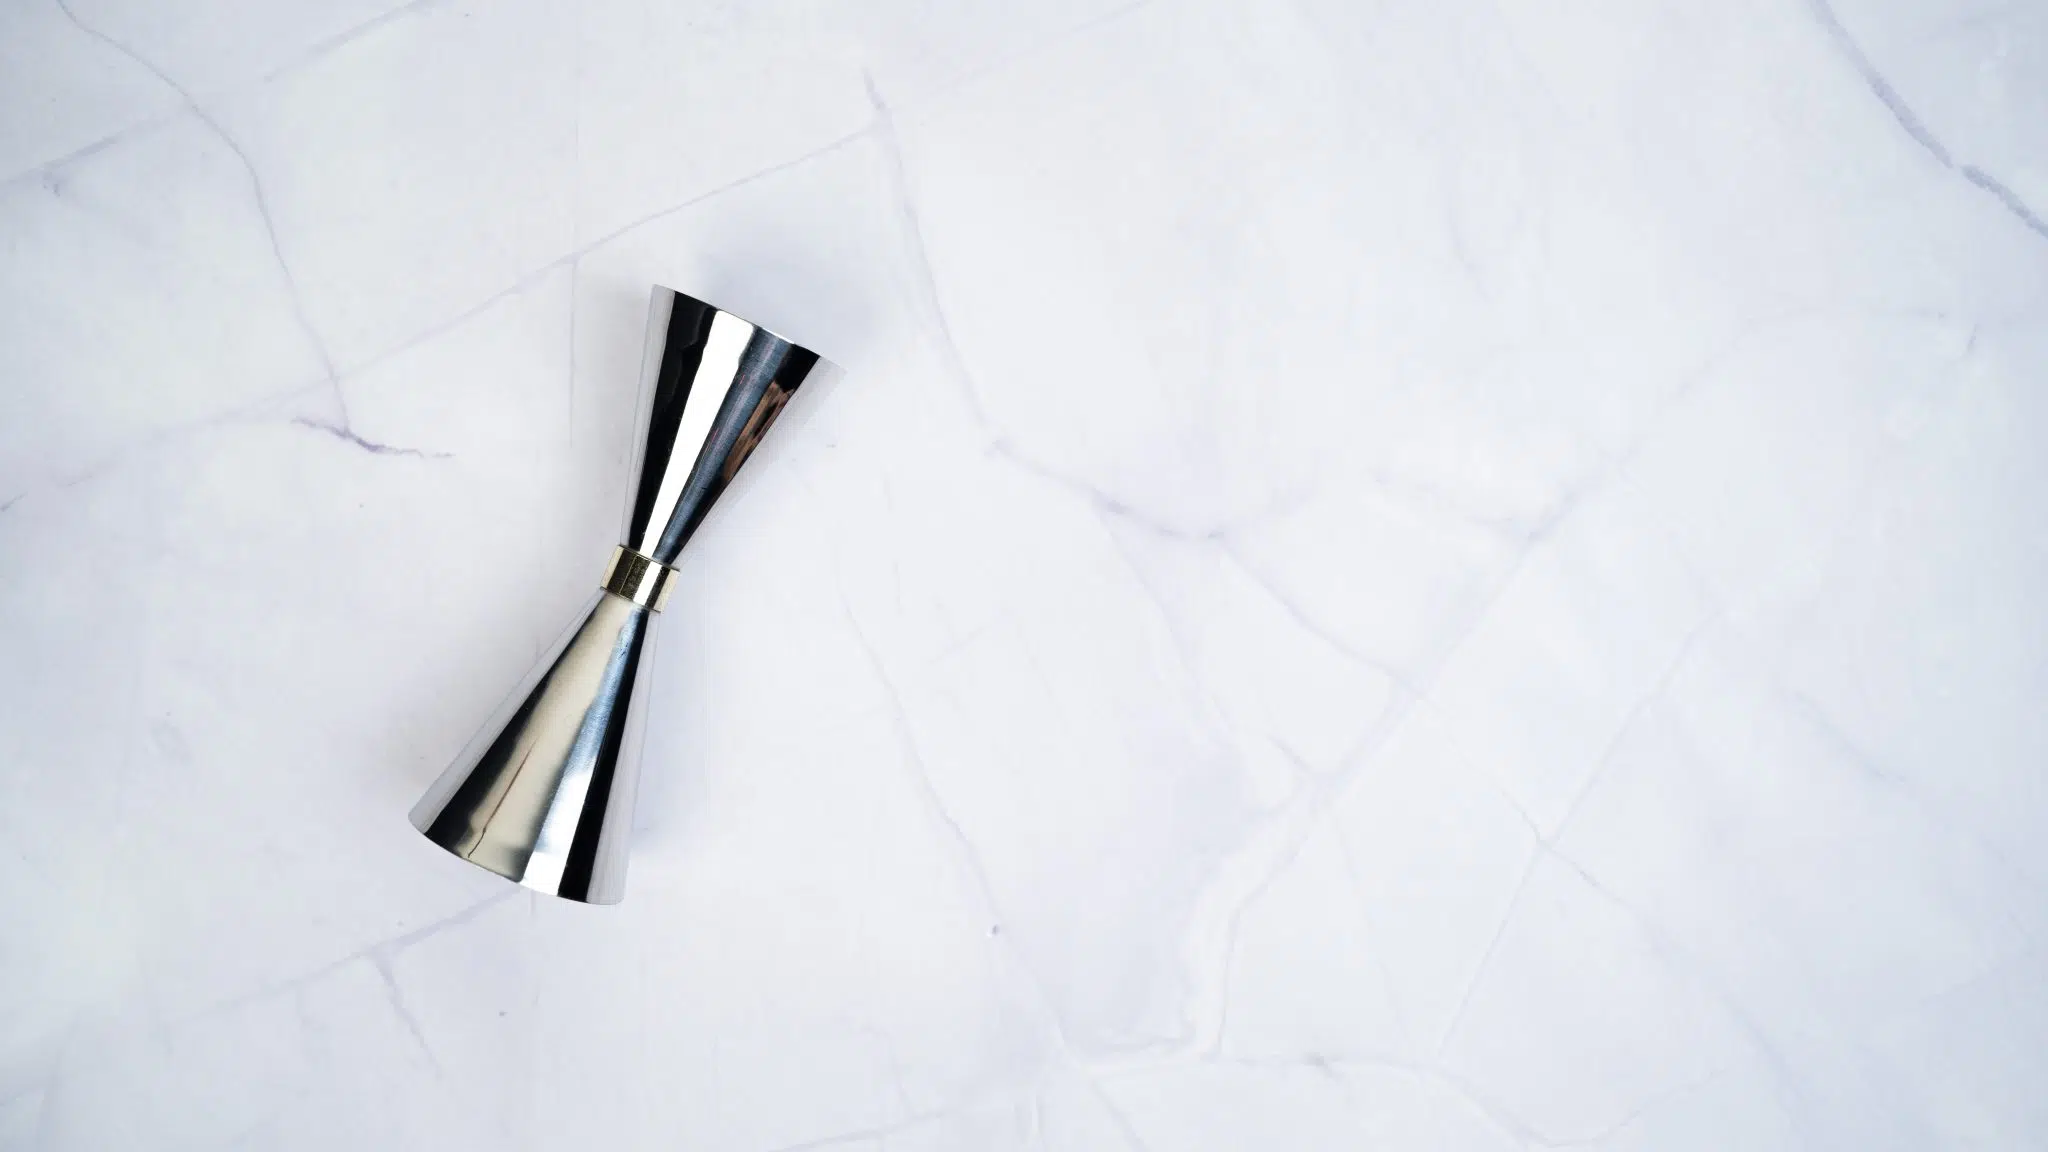
Precision is key in cocktail making, and that’s where a jigger comes in. This measuring tool ensures you get the exact right amount of each ingredient before you stir. No eyeballing here—too much or too little can throw off the balance.
Strainer

After you stir your cocktail, you’ll need a strainer to pour the finished drink into your glass while keeping the ice behind in the mixing glass. A Hawthorne strainer (with a spring) or a Julep strainer (with small holes) works great for this. Contrary to shaking, there is no need to use a fine strainer and to double strain here. As we stated before, the gentle mixing won’t break the ice cubes, so there is no risk of ice shards falling into the glass.
Step-by-Step Guide to Stirring a Cocktail
Alright, now let’s get into the fun part: the technique. Here’s how you can stir a cocktail like a pro, step by step.
Step 1: Prepare Your Ingredients
Start by measuring out your ingredients using a jigger. Whether it’s a Martini, Manhattan, or Negroni, precision is key. Pour your spirits and other ingredients into the mixing glass.

Step 2: Add Ice
Fill your mixing glass with ice—lots of it. Ideally, you want large ice cubes, as they melt more slowly and dilute your drink at the right pace. Avoid using crushed ice, as it melts too quickly and will surely over-dilute your drink.

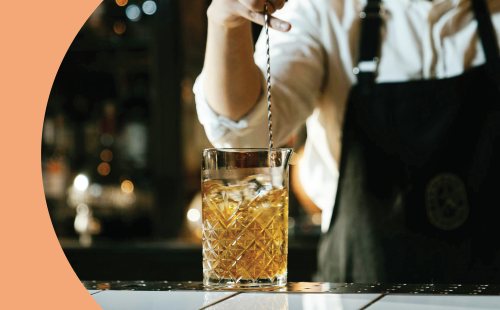
Step 3: Start Stirring
Here’s where the magic happens. Take your bar spoon and place it all the way inside, with its back against the inside of the mixing glass. Stir the drink in a smooth, circular motion. The key is to stir around the ice, not through it. The back of the spoon should glide along the outside of the glass, gently rolling the ice around in the liquid.
- How Long to Stir: For most cocktails, you’ll want to stir for about 15-20 seconds, or roughly 20-30 The goal is to chill the drink while slowly adding dilution, so the exact time may vary depending on the ingredients and the ice. It’s better to stir only a little first and then to give it a taste and stir more if necessary. If you stir too much from the beginning, you are taking the risk of ending up with an over-diluted drink, which is very hard to correct afterward.

Step 4: Strain and Serve
Once your drink is properly stirred and chilled, grab your strainer. Place it over the mixing glass and strain the cocktail into your serving glass, leaving the ice behind. This keeps your cocktail clean and perfectly balanced, without the extra dilution that would come from keeping the ice in the glass.

Step 5: Garnish
The final touch! Add your garnish—whether it’s a lemon twist or an olive for a martini, a cherry for a Manhattan, or an orange peel for a Negroni. Not only does this add visual flair, but it also enhances the aroma and overall drinking experience.

Ice Matters: Choosing the Right Ice for Stirring
Believe it or not, ice is one of the most important components of stirring a cocktail. The size, shape, and quality of your ice will directly affect how your cocktail turns out.
Large Ice Cubes
When it comes to stirring, large ice cubes are your best friend. They melt slowly, which means you have more control over the dilution of your drink. Prior to stirring, make sure your ice cubes are dry and are not too melted yet; for better results, use dry ice if available. Be patient as its slower melting pace calls for longer stirring, but we promise the result is worth the effort!
Avoid Crushed Ice
Crushed ice melts too quickly and will over-dilute your drink before you’ve had time to stir it properly. Save the crushed ice for your tiki drinks or Mint Juleps—spirit-forward cocktails need the slow chill of larger cubes.
Common Mistakes to Avoid When Stirring
Even though stirring seems straightforward, there are a few common mistakes that can throw off your drink. Here’s what to watch out for:
Over-Diluting the Drink
If you stir for too long or use the wrong type of ice (like crushed ice), you risk over-diluting the drink. This will water down the flavors and leave you with a weak cocktail. Stick to the recommended stirring time—around 15-20 seconds at first—for best results.
Under-Stirring
On the flip side, not stirring long enough can result in a drink that’s too strong and not cold enough. Under-stirred drinks haven’t reached their ideal balance of temperature and dilution. If your cocktail feels a little too harsh after a few sips, it’s a sign you didn’t stir enough.
Stirring Too Aggressively
Remember, you’re not trying to whip the drink into a frenzy. Stirring is all about control and finesse. Stir too aggressively, and you’ll end up with a drink that’s overly diluted or has shards of ice floating around.
Classic Cocktails That Are Stirred
Not sure where to start? Here are a few classic cocktails that always benefit from a good stir:
Martini

A Martini is the epitome of a stirred cocktail—clean, crisp, and elegant. Stirring preserves the clarity and allows the gin (or vodka) and vermouth to harmonize perfectly.
Manhattan
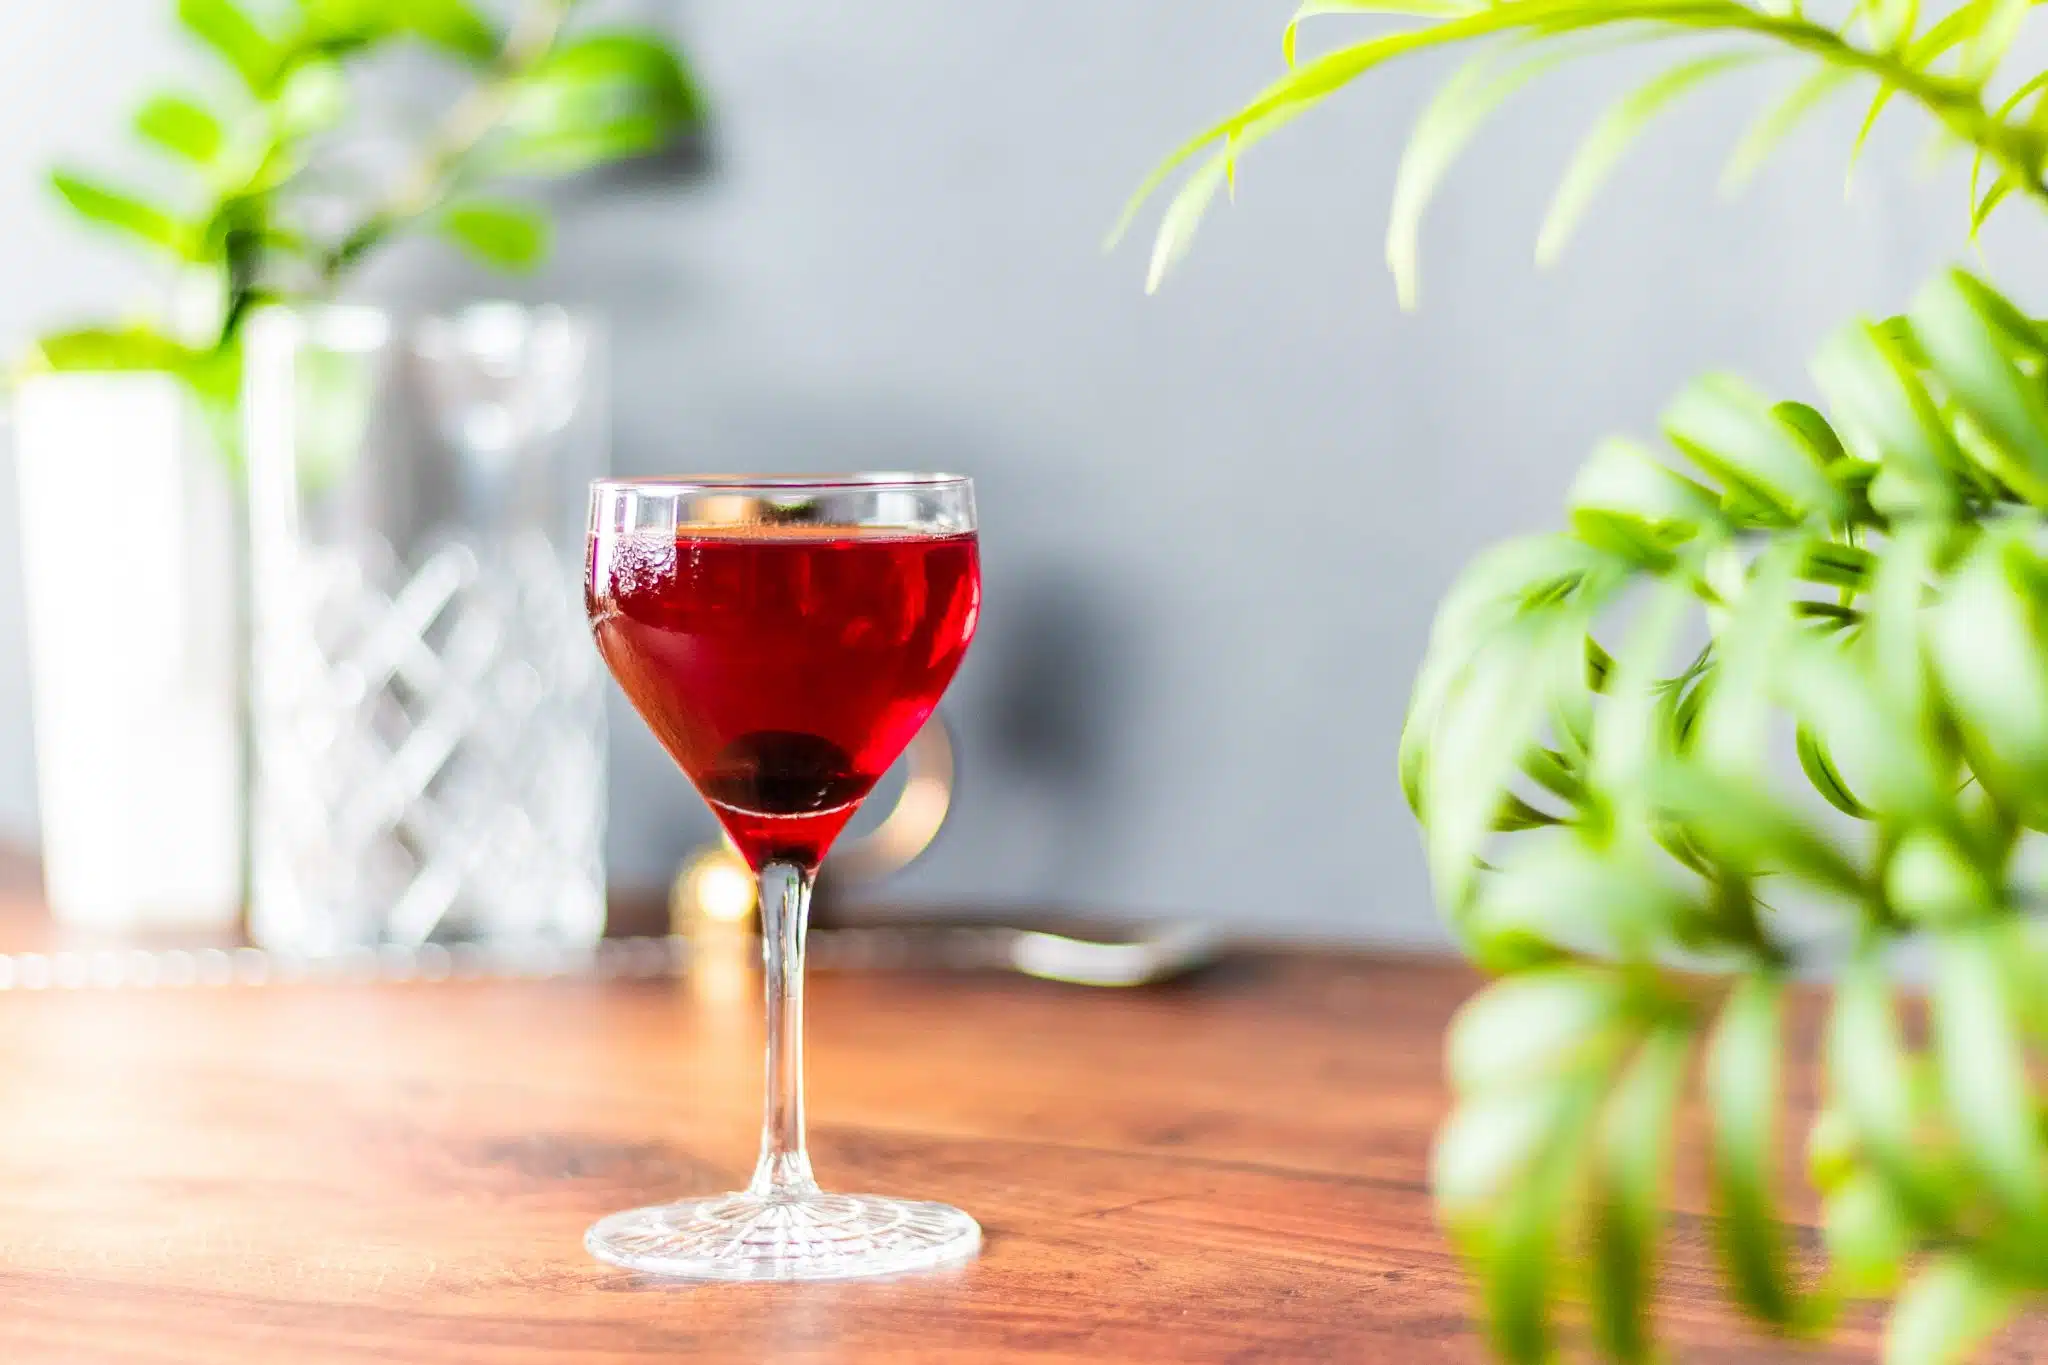
With whiskey, sweet vermouth, and bitters, the Manhattan is all about balance. Stirring keeps the flavors smooth and cohesive.
Negroni
Equal parts gin, Campari, and sweet vermouth, the Negroni is a bold, bittersweet cocktail that demands a good stir to meld the flavors without diluting them too much.
Conclusion: Stir Like a Pro
Stirring a cocktail might seem like the simplest step in the mixology process, but it’s one of the most important and definitely not the most intuitive. Done right, it elevates your drink, balancing the flavors, chilling it to perfection, and giving it that smooth, silky texture that defines a well-crafted cocktail. Although the motion and balance can be a bit hard to get at first, fear not: practice makes perfect, and we’re sure this guide will help you practice & master the art of stirring after just a few trial runs!