
At drinksworld.com, we believe that shaking a cocktail is not just a technique—it’s an art form. Sure, it might seem simple: pour ingredients into a shaker, give it a good shake, strain, and voilà—cocktail magic. But when you dig a little deeper, shaking a cocktail is all about balance, timing, rhythm, and knowing exactly what you aim to achieve.
A properly shaken cocktail is about more than just mixing ingredients. It’s about blending flavors, controlling dilution, chilling the drink to the right temperature, and creating that beautiful texture that defines a well-made cocktail. Whether you’re mixing up a daiquiri, margarita, or whiskey sour, mastering the shake is key to unlocking the best possible version of your drink.
Why Shake a Cocktail?
Before we get into the technique, let’s talk about why you should shake certain cocktails. Shaking isn’t just for show (although it can look pretty cool behind the bar). There are specific reasons why some drinks need to be shaken instead of stirred, and understanding this is the first step in mastering the shake.
Aeration
Shaking introduces air into your cocktail. This might not sound like a big deal, but it is! For cocktails that contain citrus juice, syrups, egg whites, or cream, aeration is essential for creating that light, frothy texture. Think of a perfectly shaken whiskey sour with that gorgeous foam on top—that’s the power of aeration.
Dilution
One of the biggest benefits of shaking is controlled dilution. When you shake with ice, it breaks down as it chills the drink, releasing just enough water to smooth out the flavors. The goal is to balance the strength of the spirits with just the right amount of water. Too little shaking, and your drink is too strong and unbalanced. Too much shaking, and you’ve got a watery mess on your hands. Finding that sweet spot is key.
Temperature Control
Shaking is the fastest way to chill a cocktail. If you’re making a drink with citrus, cream, or syrups, you want that cocktail ice-cold. The process of shaking with ice cools the liquid down quickly, and when done properly, it can bring your drink to the perfect temperature in just a few seconds.
Flavor Integration
Shaking fully integrates ingredients that wouldn’t blend easily through stirring alone. Citrus juices, syrups, and egg whites often need a good shake to combine properly with the spirits. Shaking ensures that all the flavors come together in one harmonious sip.

Types of Cocktails That Need Shaking
Not every cocktail is destined for a shake—so how do you know when to shake and when to stir? Here’s the general rule: if the cocktail contains citrus, cream, egg whites, or syrups, it needs to be shaken. These ingredients don’t mix smoothly with alcohol unless you add a little elbow grease.
Here are some common examples of cocktails that need shaking:
- Margaritas: Tequila, lime juice, and orange liqueur must be shaken to blend the flavors properly.
- Daiquiris: Rum, lime, and simple syrup are a classic trio that benefits from shaking to balance the sweetness and acidity.
- Whiskey Sour: The lemon juice, whiskey, and egg white in this cocktail need a good shake to achieve that frothy texture and smooth flavor.
- Cosmopolitan: Shaking is essential to combine the vodka, cranberry juice, and lime for that iconic vibrant pink color and refreshing taste.
If your cocktail contains just spirits (think martinis or Negronis), that’s when you’d stir, not shake. Stirring maintains the silky smooth texture of spirit-forward drinks, but that’s another topic for another article.
Tools of the Trade: Shakers and More
Now that we’ve covered why and when to shake a cocktail, let’s talk about the tools you need. You can’t shake a cocktail without the right gear, and not all shakers are created equal. Here’s a breakdown of the different types of shakers and the other tools you’ll need to get the job done.
Types of Shakers
Boston Shaker
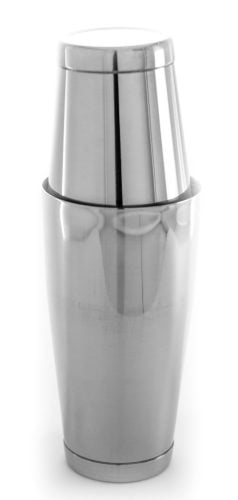
The Boston shaker is the go-to for most professional bartenders, and for good reason. It consists of two pieces: a large metal tin and a smaller glass or metal mixing tin. When sealed together, they create an airtight lock, allowing you to shake with confidence. It’s versatile, efficient, and once you get the hang of it, it’s hard to go back to anything else.
- Pros: Fast, efficient, and versatile. You can shake large or small quantities with ease.
- Cons: Requires a separate strainer, and if you’re new to cocktail making, it can take some practice.
Cobbler Shaker
The Cobbler shaker is a three-piece shaker that includes the shaking tin, a built-in strainer, and a cap. It’s perfect for beginners because everything you need is in one handy package, and there’s less chance of spilling when you shake.
- Pros: Easy to use, built-in strainer.
- Cons: The built-in strainer can sometimes clog with pulp or ice, and it doesn’t have the same capacity as a Boston shaker.
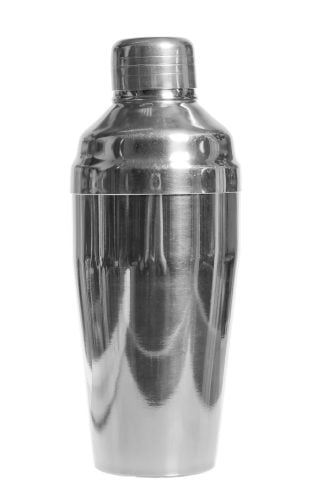
French Shaker (Parisian Shaker)
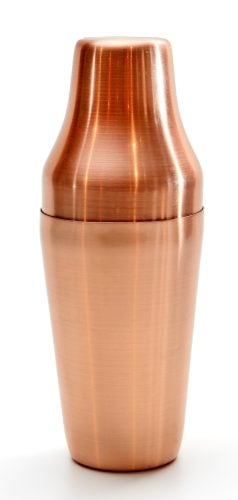
The French shaker is a sleek, two-piece shaker similar to the Boston, but with a more refined design. It’s popular in Europe and has a smooth, elegant appearance.
- Pros: Sleek design, simpler than the Boston but still effective.
- Cons: Requires a separate strainer, and can sometimes be difficult to unseal the two pieces after shaking.
Other Tools
Jigger

A jigger is essential for measuring your ingredients. Cocktails are all about balance, and eyeballing it can lead to disaster. Use a jigger to measure your spirits, syrups, and mixers accurately before shaking.
Strainer


Once you’ve shaken your cocktail, you’ll need a strainer to pour it without letting the ice and pulp into the glass. For the Boston or French shaker, you’ll use a Hawthorne strainer, which has a spring to catch ice and large particles. If you’re making cocktails that are served straight up, you might also want to use a fine-mesh strainer to catch tiny ice shards.
Ice
Ice isn’t just an afterthought when shaking—it’s crucial. Large cubes work best for most cocktails, as they melt slower and chill the drink evenly without over-diluting. Crushed ice can be used for specific cocktails, but it melts faster, so use it wisely.
Step-by-Step Guide to Shaking a Cocktail
Now that you’ve got your tools, let’s get into the fun part—how to shake a cocktail. Here’s our foolproof, step-by-step guide to nailing the perfect shake every time.
Step 1: Measure Your Ingredients
Precision is everything in cocktail making, so start by measuring your ingredients with a jigger. Pour your spirits, syrups, and juices directly into the shaker tin.

Step 2: Add the Ice
Fill the shaker about three-quarters full with ice. Keep in mind that the quality of the ice matters, so adjust your shaking accordingly. Add the ice after the ingredients—this helps prevent premature dilution.

Step 3: Assemble the Shaker
If you’re using a Boston shaker, place the smaller tin on top of the larger one, creating a tight seal. Give the top a firm tap with the palm of your hand to make sure it’s locked in place. If you use a Cobbler shaker, simply pop the top and cap on.

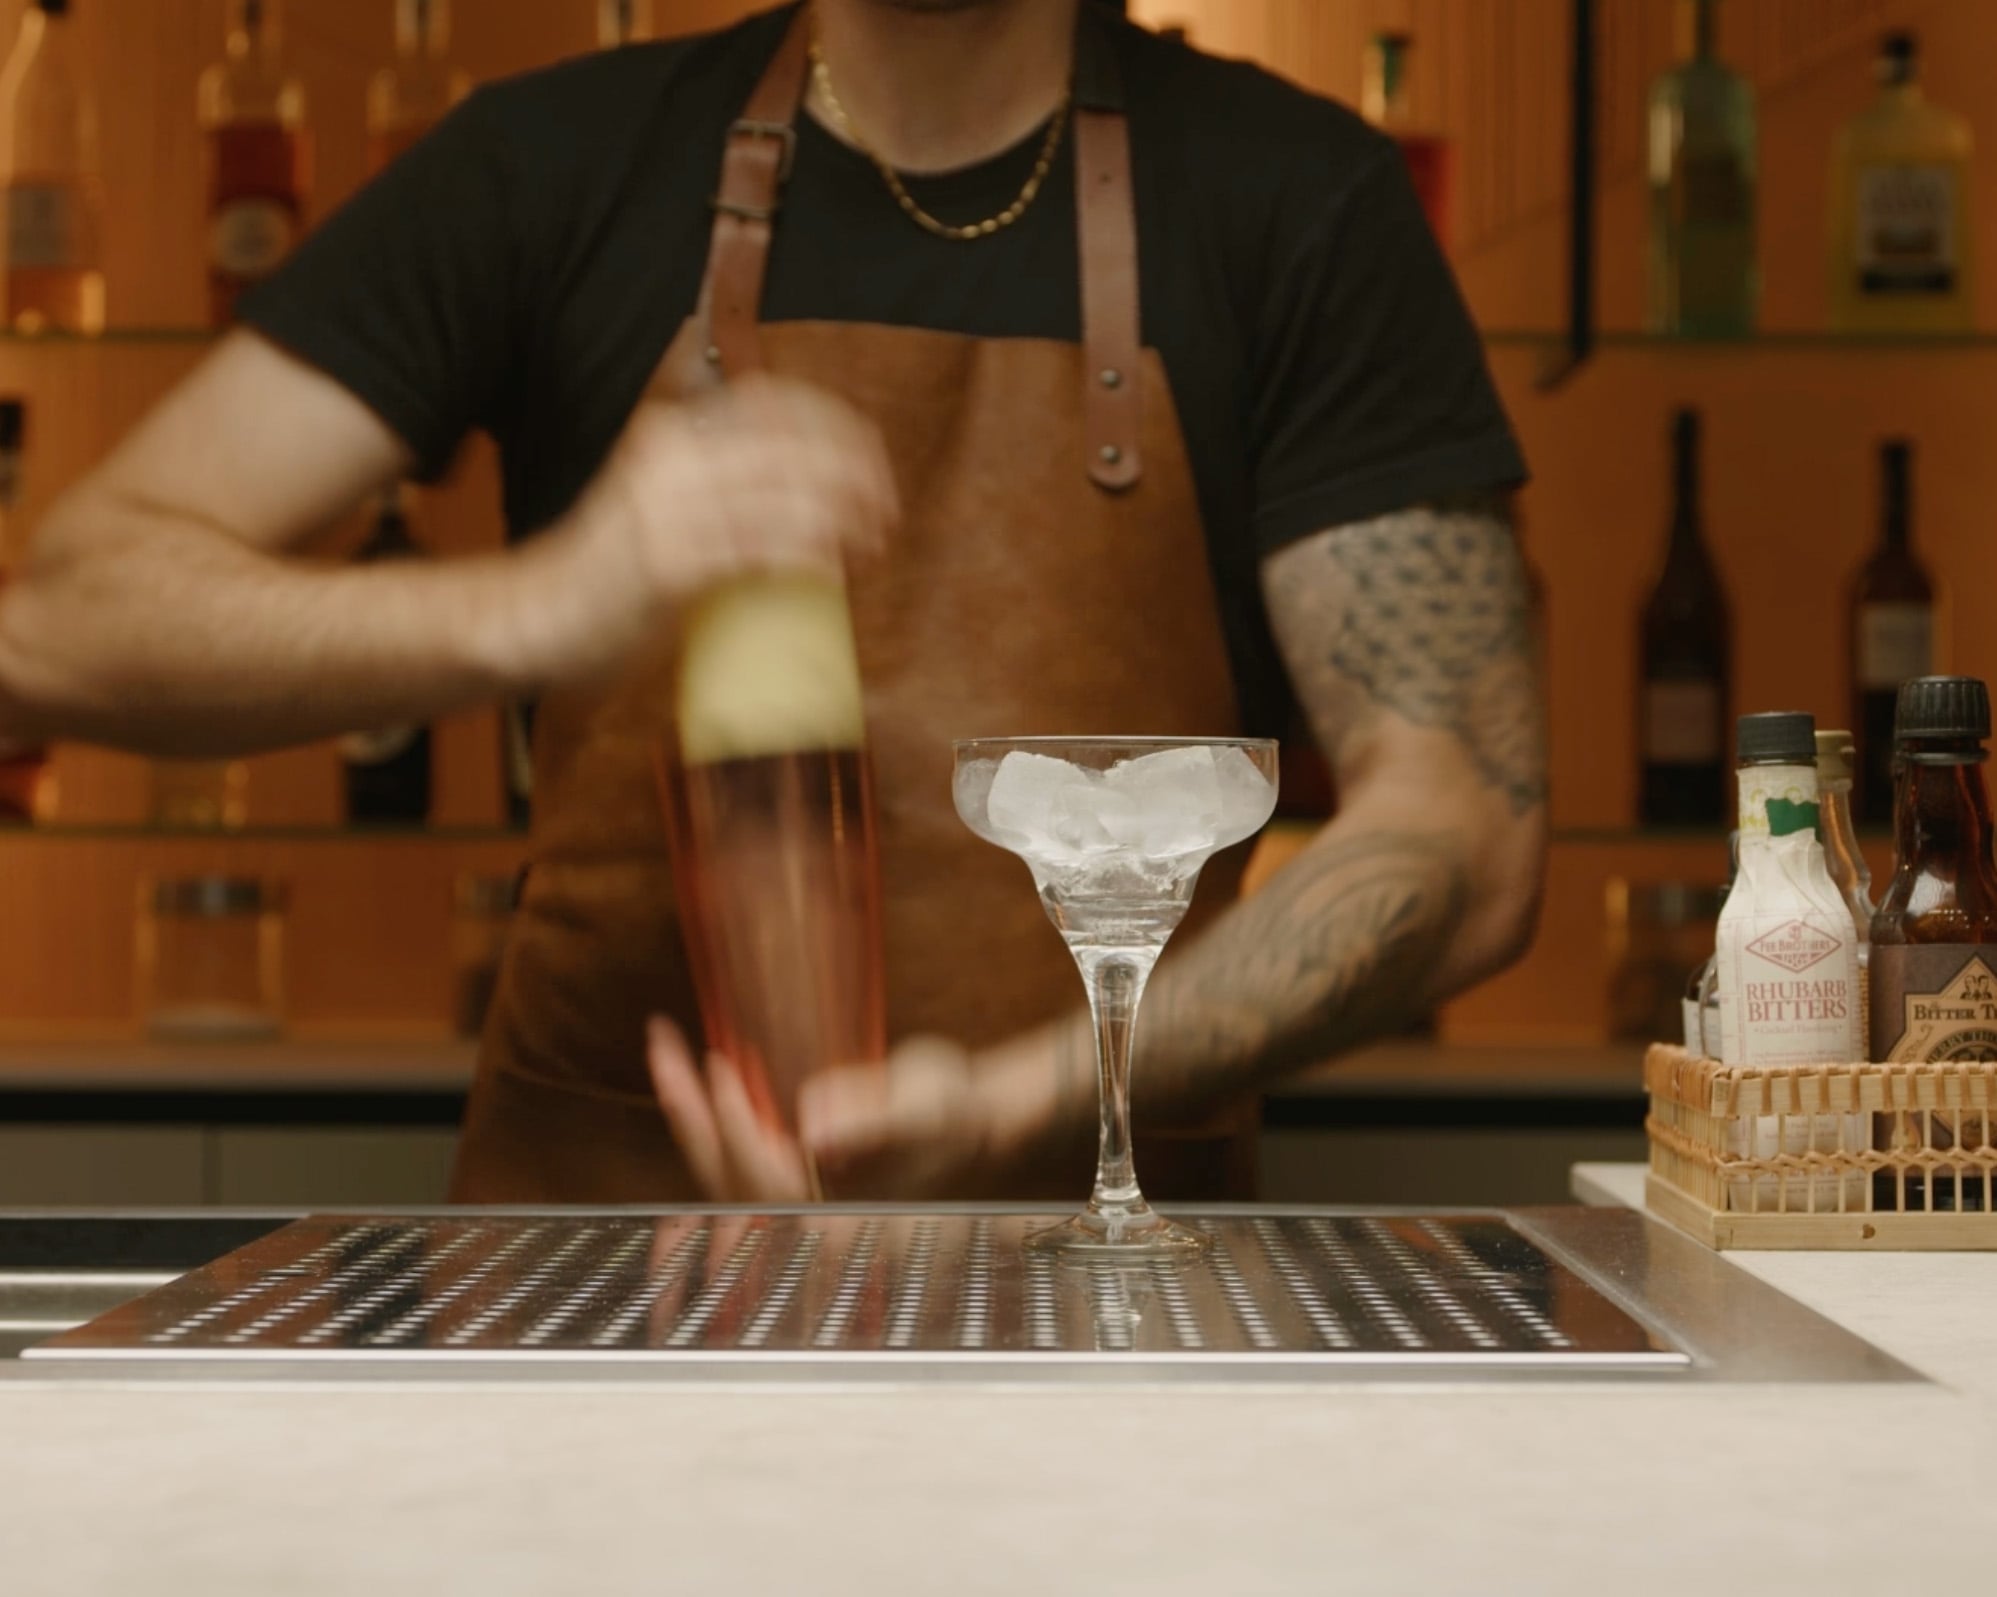
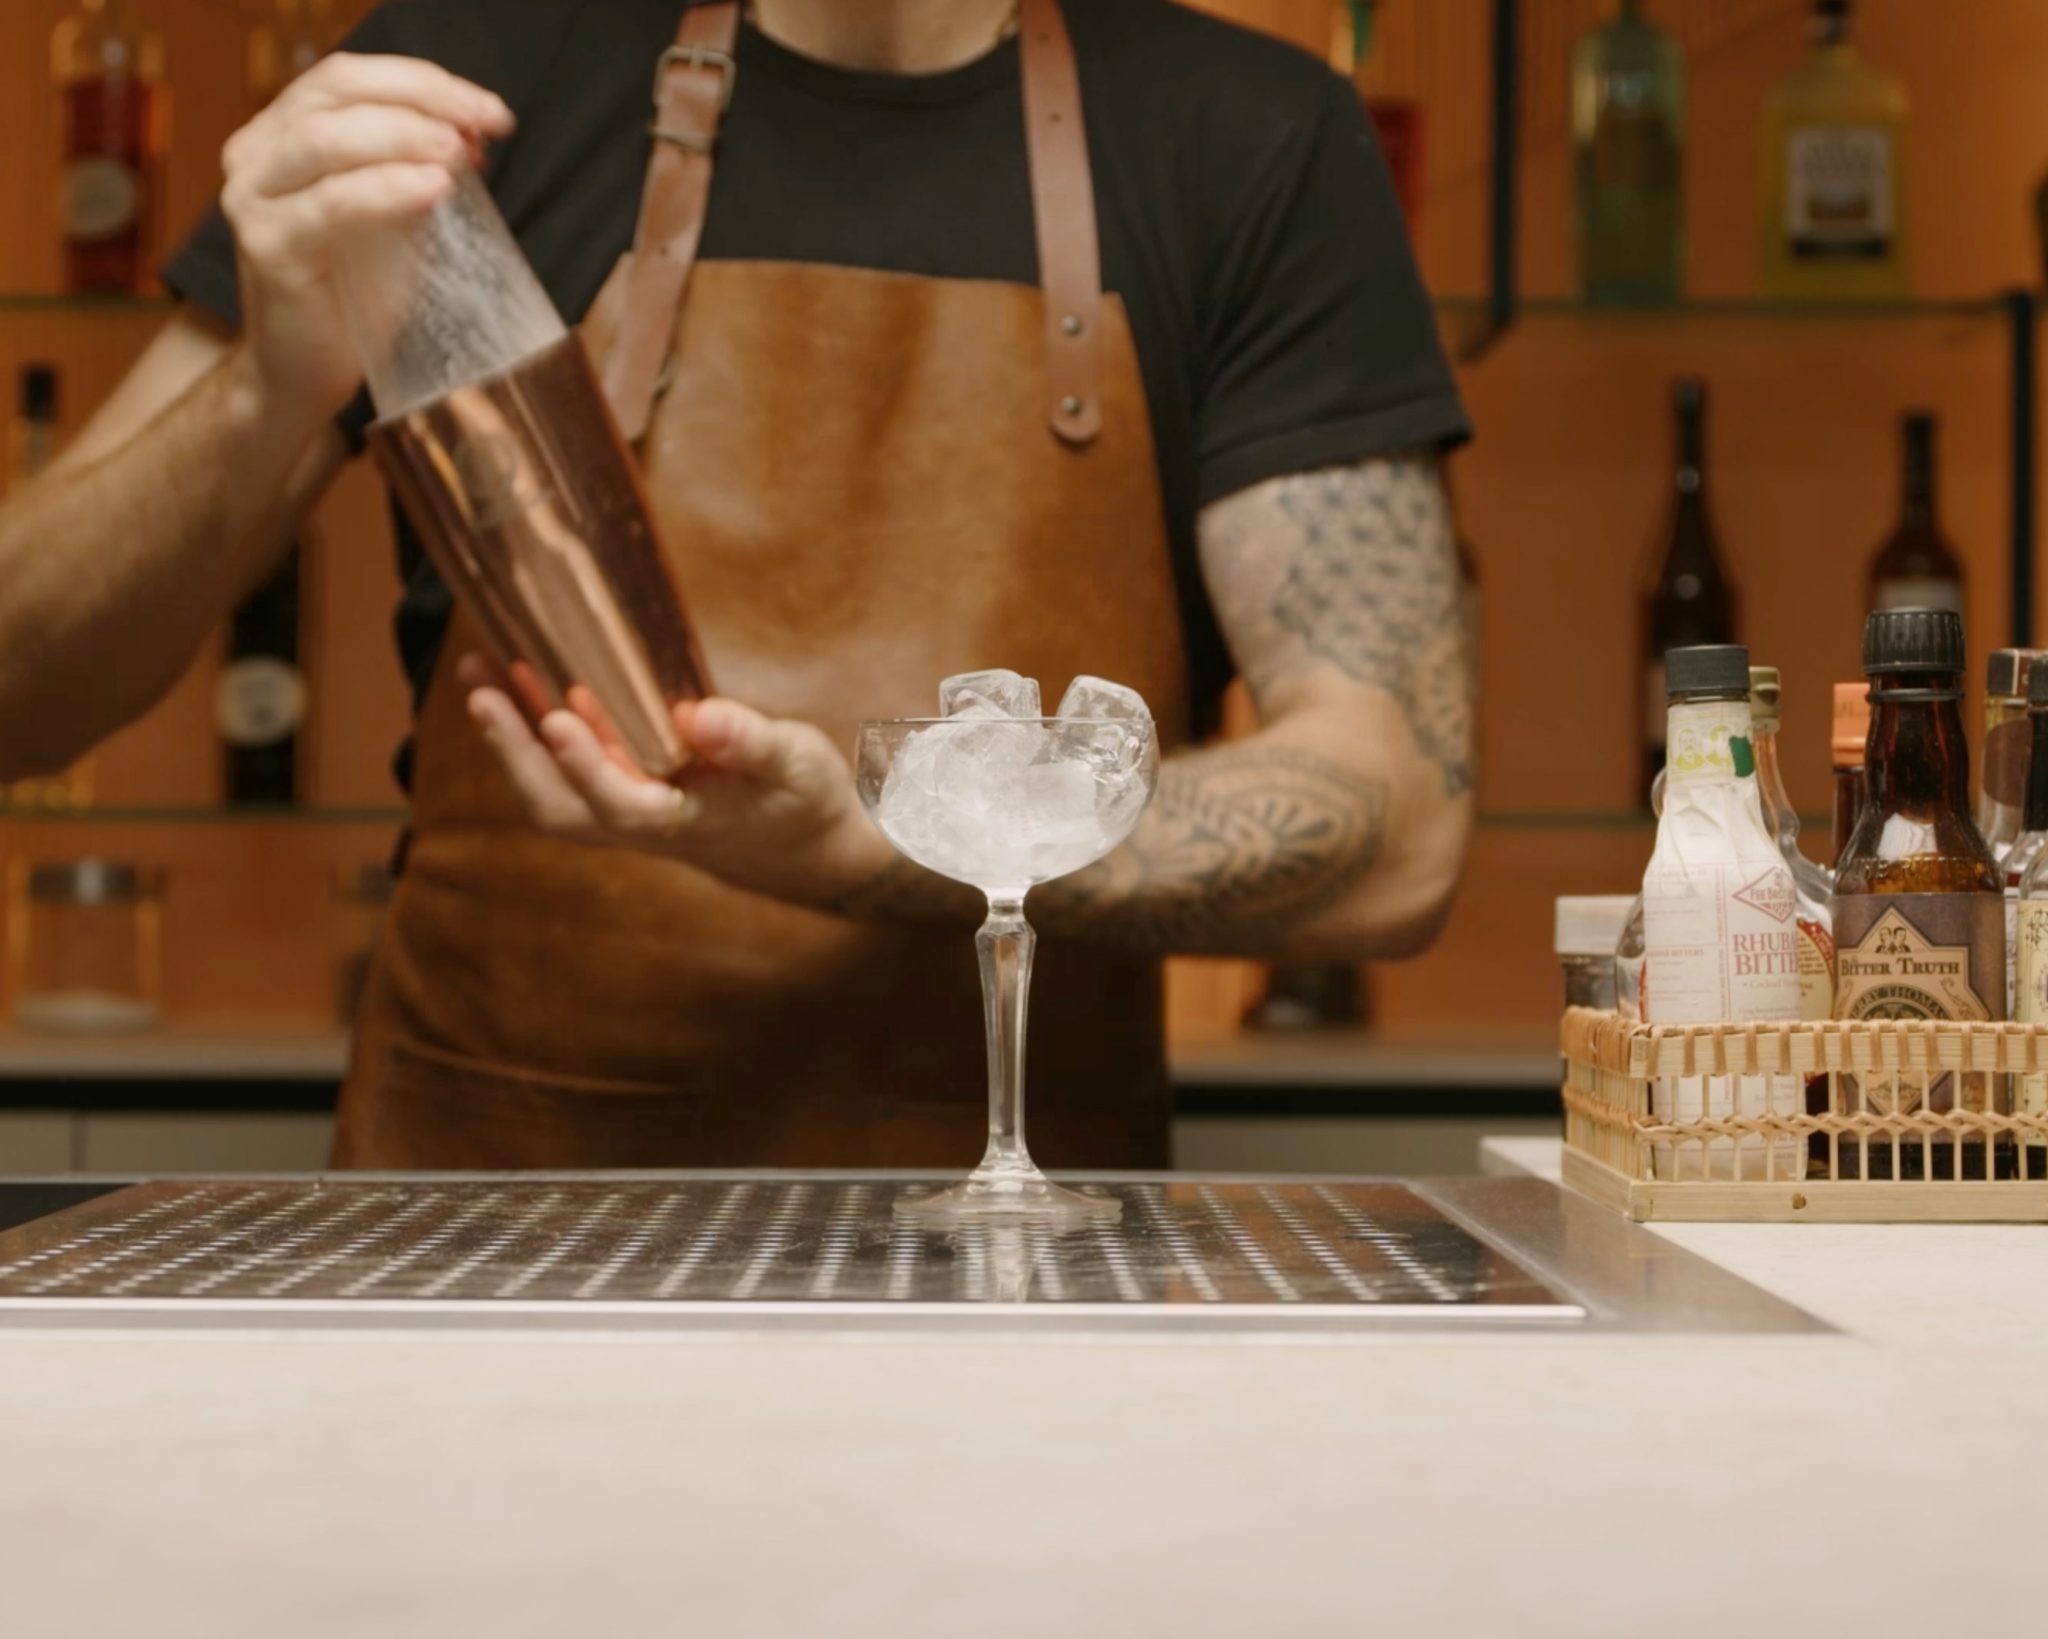
Step 4: Start Shaking
Now it’s time to shake! Hold the shaker with both hands—one hand on the bottom and one on top—and give it a vigorous shake. You’re aiming for a smooth, controlled motion. This gives you the best balance of aeration and chill.
- How Long to Shake: Most cocktails should be shaken for about 10–15 seconds. If you’re making a cocktail with egg whites or cream (like a whiskey sour or Ramos Gin Fizz), you’ll want to shake for 20–30 seconds to create that beautiful froth.
- Listen for the Ice: You’ll know you’re on the right track when you hear the ice breaking down inside the shaker. As you shake, the shaker should become frosty to the touch.

Step 5: Strain the Cocktail
Once you’ve finished shaking, it’s time to strain your drink. If you’re using a Boston shaker, use a Hawthorne strainer to strain the cocktail into your glass. If you’re worried about ice shards or pulp, you can strain it again through a fine-mesh strainer for a smoother finish.

Step 6: Garnish
No cocktail is complete without a garnish. Add a lemon twist, lime wedge, or cherry depending on the cocktail you’re making. This not only enhances the drink’s visual appeal but also adds a layer of aroma and flavor.

The Proper Shaking Technique
While it’s tempting to shake with all your might, shaking a cocktail is about more than brute force. It’s about rhythm, control, and knowing when to stop. Here’s what you need to know about perfecting your shaking technique.
Grip and Positioning
Hold the shaker with one hand on the bottom of the tin and the other on the top. Make sure you have a firm grip but don’t squeeze too hard—you want to move smoothly and naturally. If you’re using a Boston shaker, keep a slight angle between the two tins to maintain that tight seal.
For the shake itself, think of it as a back-and-forth motion, almost like rocking a baby (if that baby was full of tequila and lime juice!). The shaker should be parallel to the ground as you shake. It’s not about how fast you can go, but how consistent your motion is. Fast and wild shakes may look dramatic, but they won’t do your cocktail any favors.
Sound and Feel
Pay attention to the sounds and sensations of the ice inside the shaker. You should hear the ice knocking around and breaking down as it chills and dilutes the cocktail. As you continue shaking, the shaker should become frosty and cold to the touch—this is a sign that your cocktail is properly chilled. The colder the shaker, the closer you are to that perfect shake.
How Long Should You Shake?
The length of time you shake depends on the cocktail you’re making. For most cocktails, 10–15 seconds is sufficient to chill, aerate, and dilute the drink. If you’re making a cocktail with egg whites or cream, like a whiskey sour or Ramos Gin Fizz, you’ll want to shake for 20–30 seconds to ensure you get that frothy, velvety texture.
One of the most common mistakes people make is under-shaking their cocktails. If you don’t shake long enough, your drink won’t be properly chilled, and the flavors won’t be fully integrated. The goal is to create a balanced drink where all the ingredients come together in harmony.
Ice: The Unsung Hero of Shaking
While we often focus on the spirits and ingredients in a cocktail, the type of ice you use is just as important. Ice controls dilution, temperature, and texture, making it a key player in the shaking process.
Large Ice Cubes vs. Crushed Ice
When it comes to cocktail preparation, if you are using good quality and dry ice the size doesn’t have a huge impact on the final outcome of the drink. Whether you use large ice cubes or smaller ones, both can effectively chill your cocktail.
However, caution is advised when using crushed ice; shaking with crushed ice is not recommended, as it melts quickly and can lead to over-dilution, diminishing the flavor and balance of your cocktail. Therefore, while ice size may not be a game changer, choosing the right type of ice and how you handle it is essential for achieving the perfect drink.
Dry Shaking for Egg Cocktails
If you’re making a cocktail with egg whites, like a whiskey sour or a Pisco sour, you’ll want to use a technique called dry shaking. This involves shaking the cocktail without ice first to fully emulsify the egg whites and create that luxurious froth. Once you’ve dry-shaken the ingredients, add ice and shake again to chill and dilute the drink.
Dilution Control
Ice doesn’t just chill your cocktail; it dilutes it. And believe it or not, this is a good thing. Dilution smooths out the harshness of spirits, balances flavors, and makes the drink more enjoyable. The key is to find the right balance. Too much dilution, and your cocktail tastes watery. Too little, and it’s too strong and unbalanced. That’s why your shaking technique—and the ice you use—matters so much.
Advanced Shaking Techniques
Once you’ve mastered the basics, it’s time to step up your shaking game with some advanced techniques. These are methods that can help you achieve the perfect texture, aeration, and froth for more complex cocktails.
Double Shaking
Double shaking is a technique used for cocktails that require a lot of aeration and foam, such as a Ramos Gin Fizz or a whiskey sour. Here’s how it works:
- Step 1: Dry shake (without ice) the ingredients first. This helps emulsify any egg whites or cream.
- Step 2: Add ice and shake again. This chills the drink and adds the perfect amount of dilution.

This two-step process ensures maximum froth while keeping the drink cold and balanced. If you’ve ever wondered how bartenders achieve those cloud-like textures on top of certain cocktails, this is how.
Reverse Shaking
Reverse shaking is a lesser-known technique that bartenders sometimes use to achieve a smoother texture and froth. It’s similar to double shaking but in reverse:
- Step 1: Shake the ingredients with ice first.
- Step 2: Strain the cocktail back into the shaker, remove the ice, and shake again without ice.
This method is particularly useful for cocktails with egg whites, as it helps create a thicker, creamier foam.
The Hard Shake
The hard shake is a technique made famous by Japanese bartenders. It’s a precise, controlled shaking method that maximizes aeration while minimizing over-dilution. The shake itself involves sharp, deliberate motions with a focus on technique and speed. The result? A beautifully aerated cocktail with an ultra-smooth texture.
This technique requires practice, but if you want to take your cocktail-shaking skills to the next level, it’s worth learning.
Common Mistakes to Avoid
Even seasoned cocktail shakers can fall into a few common traps. Here are some of the most frequent mistakes and how to avoid them.
Over-Shaking
While it’s important to shake long enough to chill and dilute the drink, there’s such a thing as too much shaking. Over-shaking can result in a watery cocktail with dull flavors. Stick to 10–15 seconds for most cocktails, and use the frosty exterior of the shaker as a sign you’re done.
Under-Shaking
On the flip side, under-shaking leaves your cocktail under-chilled and poorly blended. If the drink isn’t cold to the touch or if the ingredients aren’t fully integrated, you probably didn’t shake long enough.
Poor Straining
Even if you’ve nailed the shake, improper straining can ruin a cocktail. Always use a Hawthorne strainer to keep large ice shards out of your glass. If your cocktail has herbs and pulp, and it is served straight up, consider double straining through a fine-mesh sieve to catch any remaining solids and ensure a smooth drink.

Popular Cocktails That Are Shaken
Now that you’ve got the technique down, it’s time to put it to use. Here are some classic shaken cocktails to practice with:
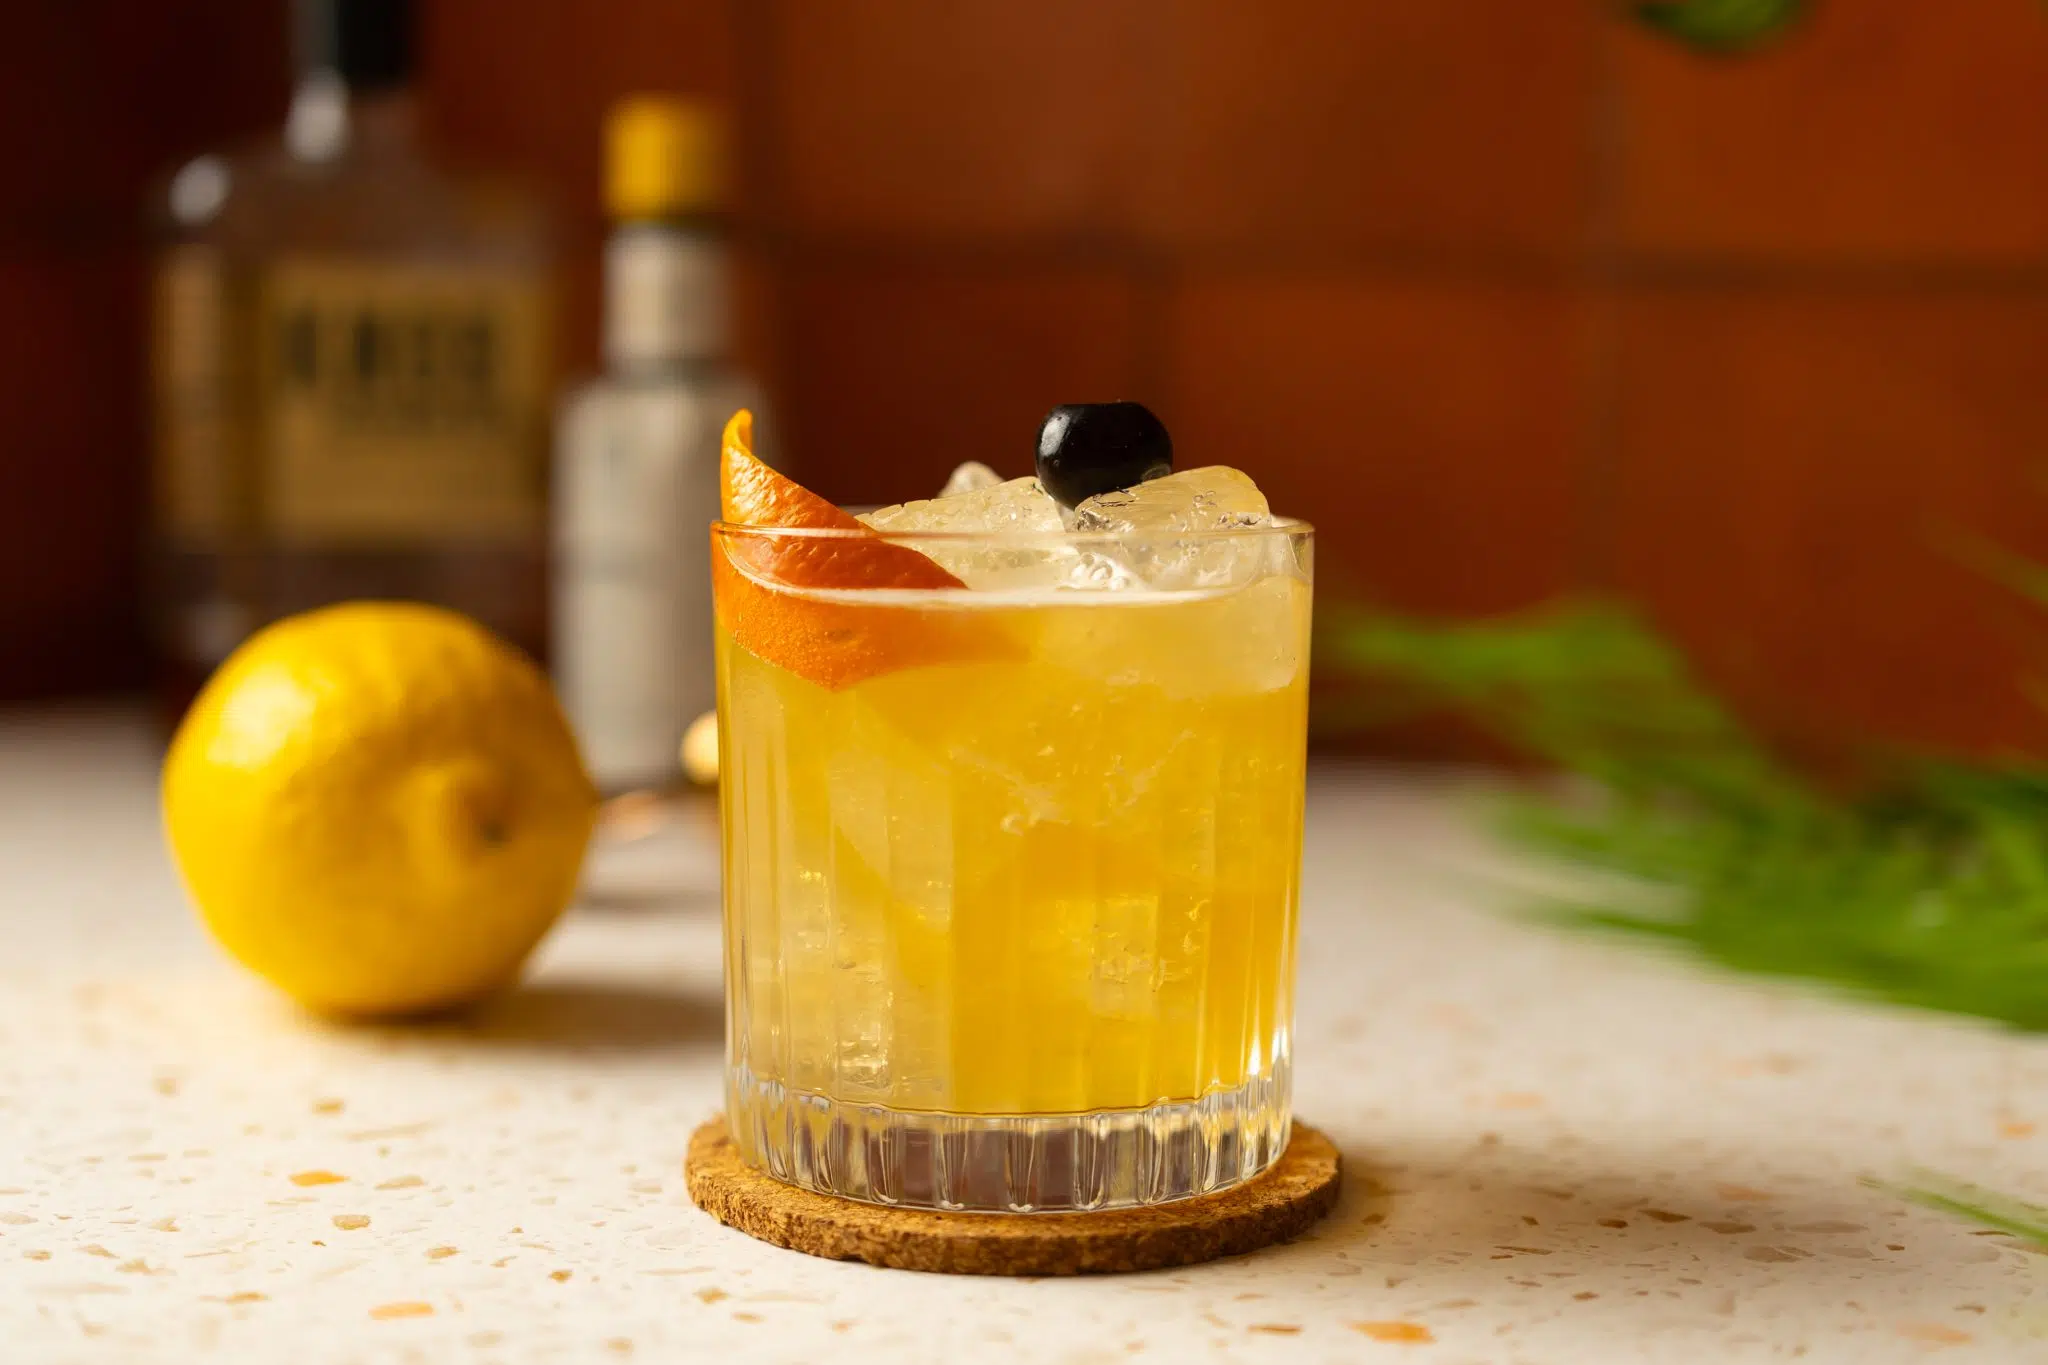
The whiskey sour is a perfect cocktail to practice your shaking skills. The combination of bourbon, lemon juice, simple syrup, and egg white demands a good shake to achieve that frothy, smooth texture. Don’t forget to dry shake if you’re using egg whites!

Shaking a margarita is all about balancing the tang of lime juice with the sweetness of orange liqueur and the kick of tequila. A well-shaken margarita should be bright, zesty, and ice-cold.
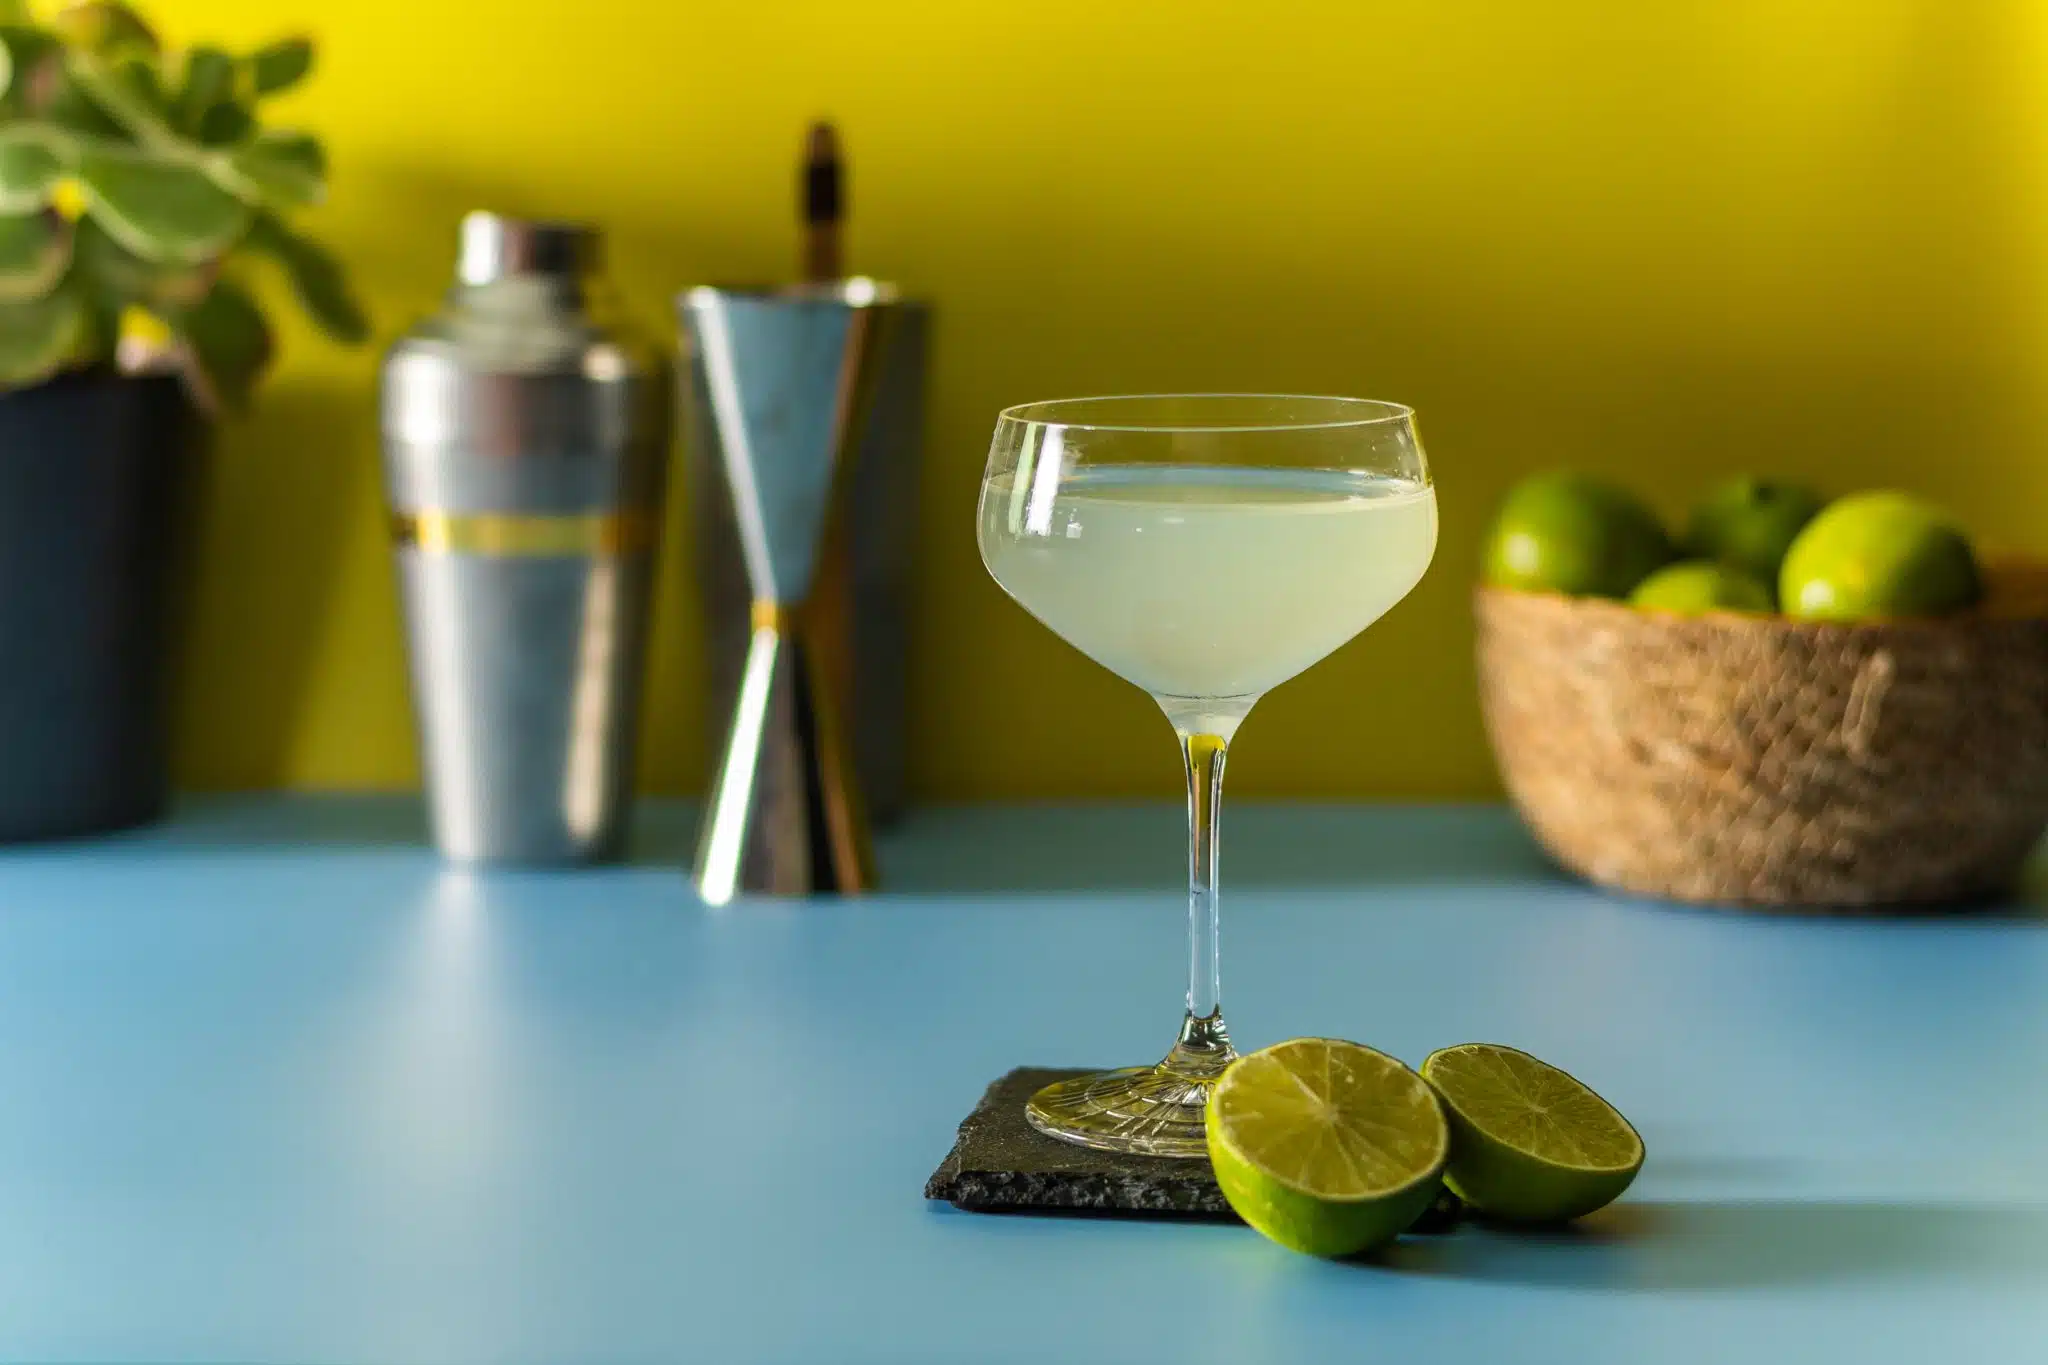
This three-ingredient cocktail (rum, lime juice, and simple syrup) requires shaking to balance the sweetness and acidity perfectly. Aim for a smooth, chilled daiquiri with a refreshing bite.
The Cosmopolitan is all about that vibrant pink color and tart flavor. A good shake ensures that cranberry juice, orange liqueur, lime, and vodka blend together seamlessly.
Troubleshooting Shaking Issues
If things don’t go according to plan, don’t worry—we’ve got you covered. Here are a few common shaking issues and how to fix them.
Too Much Froth
If your cocktail has too much foam after shaking, you may have shaken too vigorously or used too much egg white. Try using a fine-mesh sieve to strain out excess foam, or shake with a bit more control next time.
Lack of Chill
If your cocktail isn’t cold enough, you may not have shaken long enough or used enough ice. Make sure to shake for at least 10–15 seconds with plenty of ice in the shaker.
Uneven Texture
If your drink feels chunky or separated, you probably didn’t shake long enough to properly mix the ingredients. Try shaking for a bit longer to fully integrate everything.
Conclusion: Mastering the Shake
Shaking a cocktail may seem simple, but as we’ve explored, there’s a lot more to it than meets the eye. From understanding why certain cocktails need shaking to mastering the right technique, there’s an art to getting it just right.
At drinksworld.com, we’re all about helping you take your cocktail game to the next level, and knowing how to shake a cocktail properly is a skill every home bartender should have. So, grab your shaker, stock up on ice, and start practicing. Whether you’re shaking up a classic margarita or trying your hand at a frothy whiskey sour, remember: it’s all in the shake.
Cheers to shaking like a pro!