Gin is one of those spirits that has a special place in many of our hearts (and glasses). From its crisp juniper bite to the endless array of botanicals that can be layered into each sip, it’s no wonder gin has been a favorite for centuries. But here’s the thing: while we’re used to grabbing our favorite bottle off the shelf, the idea of making gin at home is growing in popularity. Why? Because not only is it fun, but it’s also a creative journey that allows us to customize flavors in ways that suit our personal tastes.
Think about it—by making your own gin at home, you can experiment with unique botanicals, create flavors that reflect the seasons, or simply tweak your recipe until it’s perfect for your gin and tonic or martini. It’s like having a mini distillery right in your kitchen! But before we dive in, let’s be real: making gin takes some time, patience, and attention to detail. It’s not something you can rush through, but trust us—it’s worth every second.
Now, before we get started, we have to throw in one important note: in this article, we are not going to cover how to make gin using a still as distilling alcohol and even owning a still at home is illegal in a lot of places. The methods we will explain in this article don’t involve any distillation or alcohol production, so rest assured you won’t be taking any risk here. That said, let’s get into the basics of making gin at home!

The Basics of Making Gin at Home
When it comes to making gin at home, there are two main methods: the cold-infusion method (also called the cold compound method), the vacuum infusion. Both can produce great results, but they have some key differences. Let’s break them down so you can choose the best approach for your home gin-making adventure.
The Two Main Methods for Making Gin at Home
1. Cold-Infusion Method (Cold Compound)
This is the simpler method of the two and is perfect for beginners who are just getting started with homemade gin. It involves taking a neutral base spirit—usually vodka, or high-proof neutral alcohol, if available in your country—and infusing it with botanicals like juniper berries, coriander, and any other flavors you like. No distillation is required, which means you don’t need any fancy equipment. This method is all about soaking those botanicals in the alcohol for a few days to let the flavors meld together. The result? A gin that’s packed with flavor, though it may be a little less smooth than a distilled version.
- Pros: Simple, quick, and beginner-friendly.
- Cons: Can be a bit harsher than regular distilled gin and may develop a slight color from the botanicals.
2. Vacuum Infusion Method
This method brings a modern twist to gin-making, using sous-vide techniques to gently warm and infuse the botanicals into the base spirit under vacuum. By sealing the neutral spirit—along with juniper, citrus peels, spices, or any herbs you like—in a vacuum-sealed bag or jar, you prevent evaporation while ensuring that all the aromatic compounds are captured. The infusion occurs at a low, controlled temperature, typically around 50–70°C (122–158°F), which accelerates the flavor extraction without the harshness of boiling. The result is a beautifully balanced, smooth gin that retains the delicate nuances of each botanical.
- Pros: Faster than cold infusion, preserves delicate flavors, and yields a smoother result.
- Cons: Requires sous-vide equipment or similar tools, and the process might feel more technical for beginners.
Equipment and Tools You’ll Need
No matter which method you choose, you’ll need some basic tools. Here’s a quick list to get you started:
- Neutral spirit: vodka works great for both methods. The higher the ABV the better, so if high-proof neutral alcohol (180 proof/90% ABV or higher) is available in your country, that could be a good option too. Just make sure to use food-grade alcohol and NOT the one you may find in pharmacies and drugstores as these ones are for external use only.
- Juniper berries (you can’t make gin without them!)
- Other botanicals of your choice (coriander, citrus peels, cinnamon, angelica roots, etc.)
- Mason jars or glass bottles for the cold infusion method
- Strainers and funnels for filtering out botanicals
- A measuring scale for precise measurements of botanicals
- Sterile bottles and labels for storing your finished gin
Now that you’ve got the basics down, let’s dive into the fun part—picking your ingredients!
The Ingredients for Homemade Gin
When it comes to gin, it’s all about the botanicals. While juniper berries are non-negotiable (it’s what makes gin, well, gin), the other botanicals are where you get to play around and create something unique. Whether you want a classic London Dry-style gin or something more adventurous, here’s a breakdown of the key ingredients.
Neutral Base Spirit
Your base spirit is the foundation of your gin, and it needs to be high-quality. While you don’t need to splash out on top-shelf vodka, choosing a clean, neutral-grain spirit is essential. Aim for something with a high alcohol content—at least 40% ABV (alcohol by volume), and higher if available in your region.
Juniper Berries
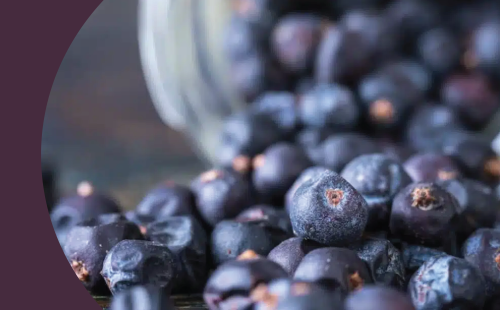
If there’s one thing that separates gin from all other spirits, it’s juniper. These small, fragrant berries give gin its signature piney, resinous flavor. The good news is, juniper berries are easy to find online or at specialty spice shops. The amount you use depends on how bold you want the juniper flavor to be, but a good starting point is about 25-30 grams for every liter of spirit.

Key Botanicals for Gin
Juniper might be the star of the show, but it’s the supporting botanicals that give gin its depth and complexity. Here are some of the most common botanicals you can use:
- Coriander seeds: Adds citrus and spicy notes.
- Angelica root: Gives earthy and herbal flavors while binding other aromas together.
- Orris root: Provides floral and sweet undertones.
- Citrus peels (orange, lemon, grapefruit): Brighten up the gin with zesty flavors.
These are just the basics. The real beauty of making gin at home is that you can experiment with a wide variety of botanicals to create something truly unique. Feeling adventurous? Try adding spices like cardamom, cinnamon, or even fresh herbs like rosemary and thyme.
Optional Botanicals for Customization
Here’s where things get fun. Want a floral gin? Try adding lavender or hibiscus. Looking for a gin with a spicy kick? Toss in some peppercorns or cinnamon sticks. You can even go seasonal by incorporating ingredients like elderflower in spring or cinnamon and star anise for a warming winter gin.
Water
Water plays an important role in gin-making, especially if you’re using a base spirit with an ABV higher than 40% (higher than 80 proof) . Once you’ve finished infusing your gin, you’ll need to dilute it down to the desired strength. For most gins, you’ll want to aim for 40-45% ABV. Make sure you use good-quality water—something soft and low in minerals, as hard water can affect the flavor.
Step-by-Step Guide: Making Gin at Home
Ready to get started? Below are the step-by-step guides for both the cold infusion method and the vacuum method, so you can choose the approach that works best for you.
A. Infusion (Cold Compound) Method Step-by-Step
This is the beginner-friendly option. All you need is a base spirit, juniper berries, and a handful of other botanicals, and you’re good to go.
Step 1: Gather your ingredients and equipment
Get your vodka or neutral grain spirit, juniper berries, and botanicals ready, along with a clean mason jar or glass bottle.
Step 2: Choose your botanicals
Decide on the flavors you want in your gin. For a classic gin, stick with juniper, coriander, and some citrus peels. For a more creative gin, experiment with spices and herbs.
Step 3: Add juniper berries to the base spirit
For better results, use a mortar to slightly crush your juniper berries. Add your juniper berries to the vodka and let them infuse for 24-48 hours. The longer they sit, the stronger the flavor.

Step 4: Add additional botanicals
Once the juniper flavor is to your liking, add your other botanicals. Start with small quantities of each and take notes of how much of which ingredient you’ve been using – this way, you’ll be able to easily correct or reproduce your recipe on your next trial. Let everything infuse for another 2-3 days, tasting regularly.
Step 5: Strain and dilute your gin
After the botanicals have infused, strain out the solids using a fine sieve or cheesecloth. If using a high-proof alcohol (160 proof or higher), you’ll have to dilute your gin in order to lower its alcohol content: start by adding ⅓ of your spirits volume in water, give it a taste (only a small quantity as it may be very strong still) and adjust from there. You can also use an alcoholmeter if you have one – that may be an interesting purchase if you’re planning on making gin or spirits infusions at home quite regularly. You can skip this step if you used vodka as your base spirit.
Step 6: Bottle your gin
Once you’re happy with the final result, you can bottle your gin. Don’t forget to label the bottle to remember exactly what’s inside.
B. Vacuum Method Step-by-Step
This modern approach to homemade gin uses sous-vide techniques to create a smooth, well-balanced gin with enhanced botanical flavors.
Step 1: Gather your ingredients and equipment
You’ll need:
- A neutral spirit (like vodka or any other neutral, high-proof grain spirit)
- Juniper berries and other botanicals of your choice
- A vacuum sealer or resealable sous-vide bag (a regular ziplock bag will work)
- A sous-vide immersion circulator
- Cold water and/or ice cubes
- A pot or container for water.
Step 2: Choose and measure your botanicals
Select the flavors you’d like for your gin. For a traditional profile, include juniper berries, angelica root, and coriander; remember that the Juniper berries should be the dominant botanical in your gin. For best results, crush them slightly in a mortar before adding them to the liquid. Add citrus peels or spices for a unique touch. Weigh your botanicals to maintain consistency in future batches, starting with 20-30 g of Juniper berries and 10g of the other botanicals per liter of spirit.
Step 3: Combine ingredients in the vacuum bag
Warning: All vacuum sealing machines cannot handle liquids.
- If you have a waterproof vacuum sealing machine (check instruction manual to make sure): Place the neutral spirit and botanicals into a vacuum-sealable bag. Make sure there’s enough space for the liquid to circulate. Seal the bag, ensuring there are no leaks.
- If your machine cannot handle liquid:
- Place the liquid and the botanicals in a ziplock bag. The bag should not be more than half-full; separate it in several bags if necessary.
- Fill your sink with warm water.
- Hold the open ziplock bag by its top part and slowly immerse it into the water-filled sink. As the bag goes underwater level, you’ll notice the air is getting out of the open bag, creating a natural sous-vide. Immerse the bag almost entirely, up until only the opening is above the surface.
- Carefully close the ziplock bag and take it out of the water.
Step 4: Heat and infuse the botanicals
Set your sous-vide immersion circulator to 50–75°C (122–140°F) and immerse the sealed bag in the water bath. Let it infuse for 1–2 hours, checking periodically for desired flavor intensity. Make sure to take notes of the time and temperature if you’re planning on making the same recipe again in the future.
Step 5: Strain and dilute your gin
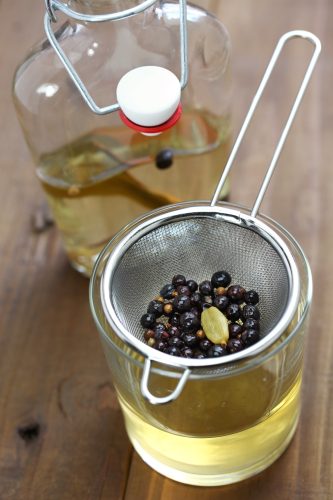
Once the infusion is complete, remove the bag and run it under cold water or plunge into an ice cubes bath. Once the liquid has cooled down, strain the infused spirit through a fine sieve or cheesecloth to remove the solids. If using a high-proof alcohol (160 proof or higher), you’ll have to dilute your gin in order to lower its alcohol content: start by adding ⅓ of your spirits volume in water, give it a taste (only a small quantity as it may be very strong still) and adjust from there. You can also use an alcoholmeter if you have one – that may be an interesting purchase if you’re planning on making gin or spirits infusions at home quite regularly. You can skip this step if you used vodka as your base spirit.
Step 6: Bottle your gin
Transfer the clear liquid to a clean bottle, label it, and enjoy your custom vacuum-infused gin.
This method allows you to experiment with botanicals while preserving their delicate flavors in a smooth final product. It also prevents the alcohol from evaporating while heating, ensuring the best possible flavor concentration in the final product.
Customizing Your Gin Recipe
One of the greatest joys of making gin at home is the freedom to customize your recipe. By experimenting with different botanicals, you can create a gin that’s entirely your own. Here are some ideas to help you get creative with your homemade gin:
Experimenting with Botanicals
Feel free to mix things up! Start with the core botanicals—juniper, coriander, citrus peel—and then add in a few surprises. Love floral notes? Add a bit of lavender or rose petals. Prefer a spicy gin? Try cardamom, black pepper, or cinnamon. You can even go herbal with fresh rosemary or basil for a gin that feels earthy and fragrant. The possibilities are endless, so have fun with it.
Seasonal Gins
Create gins that reflect the changing seasons. In the summer, use fresh lemongrass, cucumber, or mint for a refreshing gin that’s perfect for warm weather. In the winter, spice things up with cinnamon, cloves, or nutmeg to make a rich, warming gin. Seasonal gins also make for fantastic gifts!
Adjusting the Strength of Your Gin
You control the alcohol content when making your own gin. If you want a stronger gin, you can adjust the amount of water you add when diluting it. Or, if you want something a bit lighter for easy sipping, dial the ABV down to around 38-40%.
Infused Gins
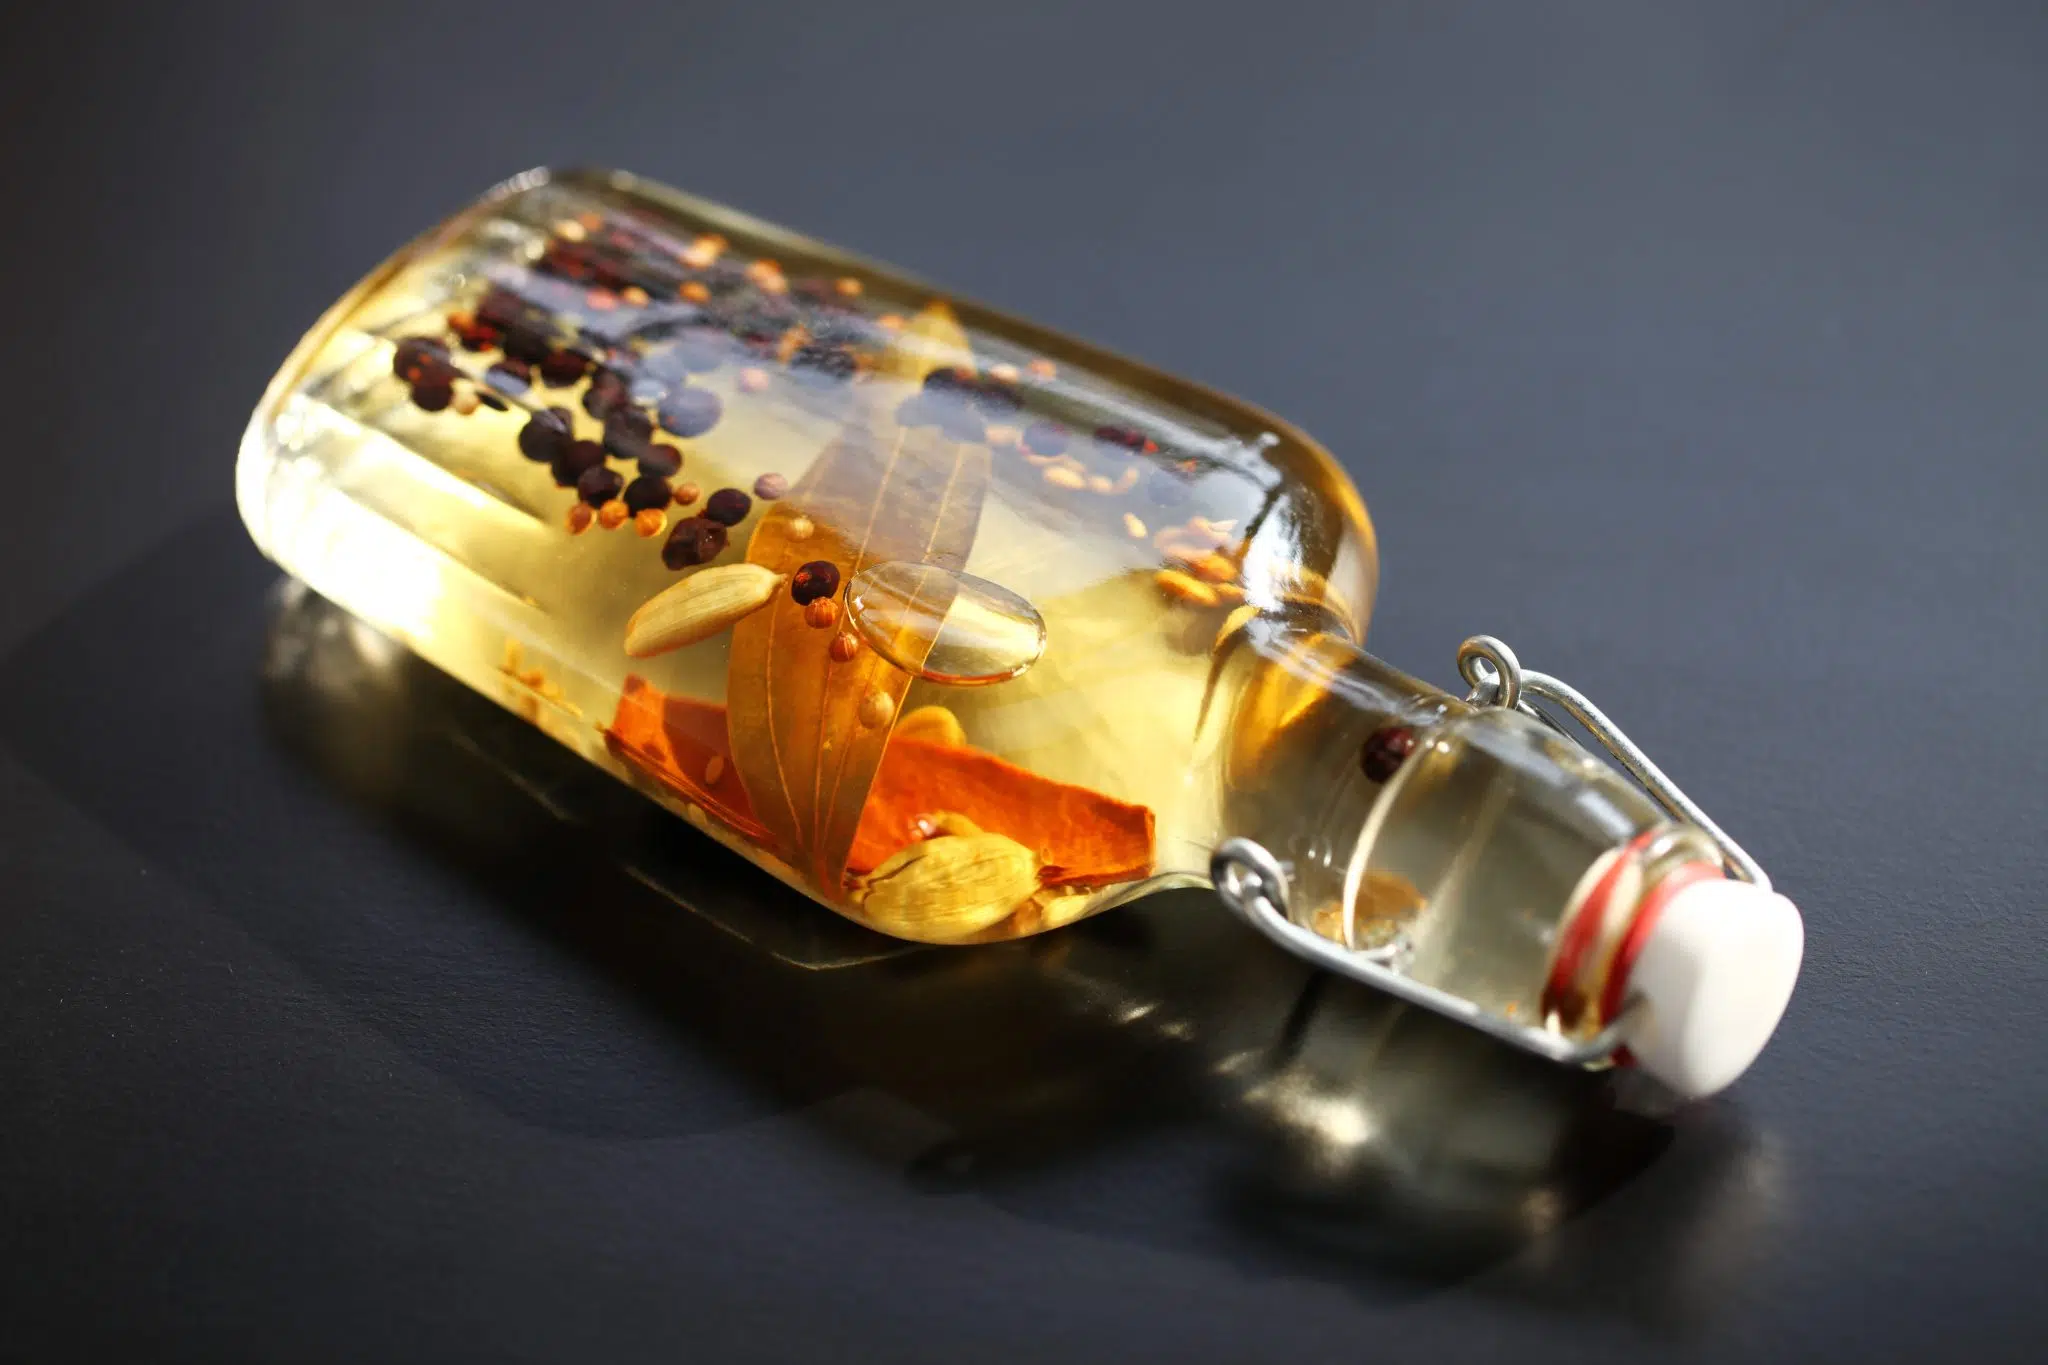
Infused gins are a fun way to play with flavors, especially if you want something fruity or spiced. After making your base gin, infuse it with fresh berries, citrus peels, or spices like cinnamon or vanilla. Let the gin sit for a few days to absorb the flavors, then strain it and enjoy your very own flavored gin. Berry-infused gin, for example, makes for an amazing cocktail base in the summer.
Aging and Storing Homemade Gin
Now that you’ve got your gin bottled, let’s talk about aging and storing it to get the best flavors over time.
Aging Gin
Unlike whiskey or rum, gin is typically not aged for long periods. However, some adventurous home gin-makers like to experiment with aging their gin in small barrels or by adding wood chips to the gin. This can add complexity, bringing out warm, woody, and slightly sweet flavors. If you decide to age your gin, it’s worth experimenting with different aging periods to find the sweet spot—some gins benefit from just a few weeks of aging, while others can handle months.
- Pros of aging: Adds complexity and smoothness to the gin.
- Cons of aging: If overdone, the botanicals may become overshadowed by the wood flavors.
Storage
Once your gin is made, proper storage is key to preserving its flavors. Store your gin in a cool, dark place—light and heat can degrade the botanicals over time. Make sure your bottles are airtight, as oxidation can affect the flavor as well. While gin doesn’t spoil like wine or beer, its flavor profile can change if stored poorly, so treat it with care!
Shelf Life of Homemade Gin
Homemade gin can last for years if stored properly, but like most spirits, it’s best enjoyed fresh. Over time, the delicate botanical notes may fade, and the gin may lose some of its vibrancy. For the best results, aim to drink your homemade gin within one to two years of making it, though it’s likely it will disappear long before then!
Gin Tasting and Serving
You’ve made your gin, aged it (if you chose to), and stored it properly—now it’s time for the most important part: tasting and enjoying it!
Tasting Your Homemade Gin
To truly appreciate the gin you’ve created, it’s important to taste it with intention. Start by pouring a small amount into a glass and take a moment to appreciate the aroma. What botanical notes stand out? Is it the juniper, the citrus, or something more herbal or spicy?
When you take your first sip, pay attention to the mouthfeel—how does the gin feel on your palate? Are the flavors balanced, or does one botanical overpower the others? By tasting your gin in this way, you can figure out what works and what you might want to adjust in future batches.
Perfect Pairings for Homemade Gin
Now that you’ve tasted your gin straight, it’s time to mix it into some cocktails! Here are a few classic pairings that are perfect for highlighting the flavors of your homemade gin:
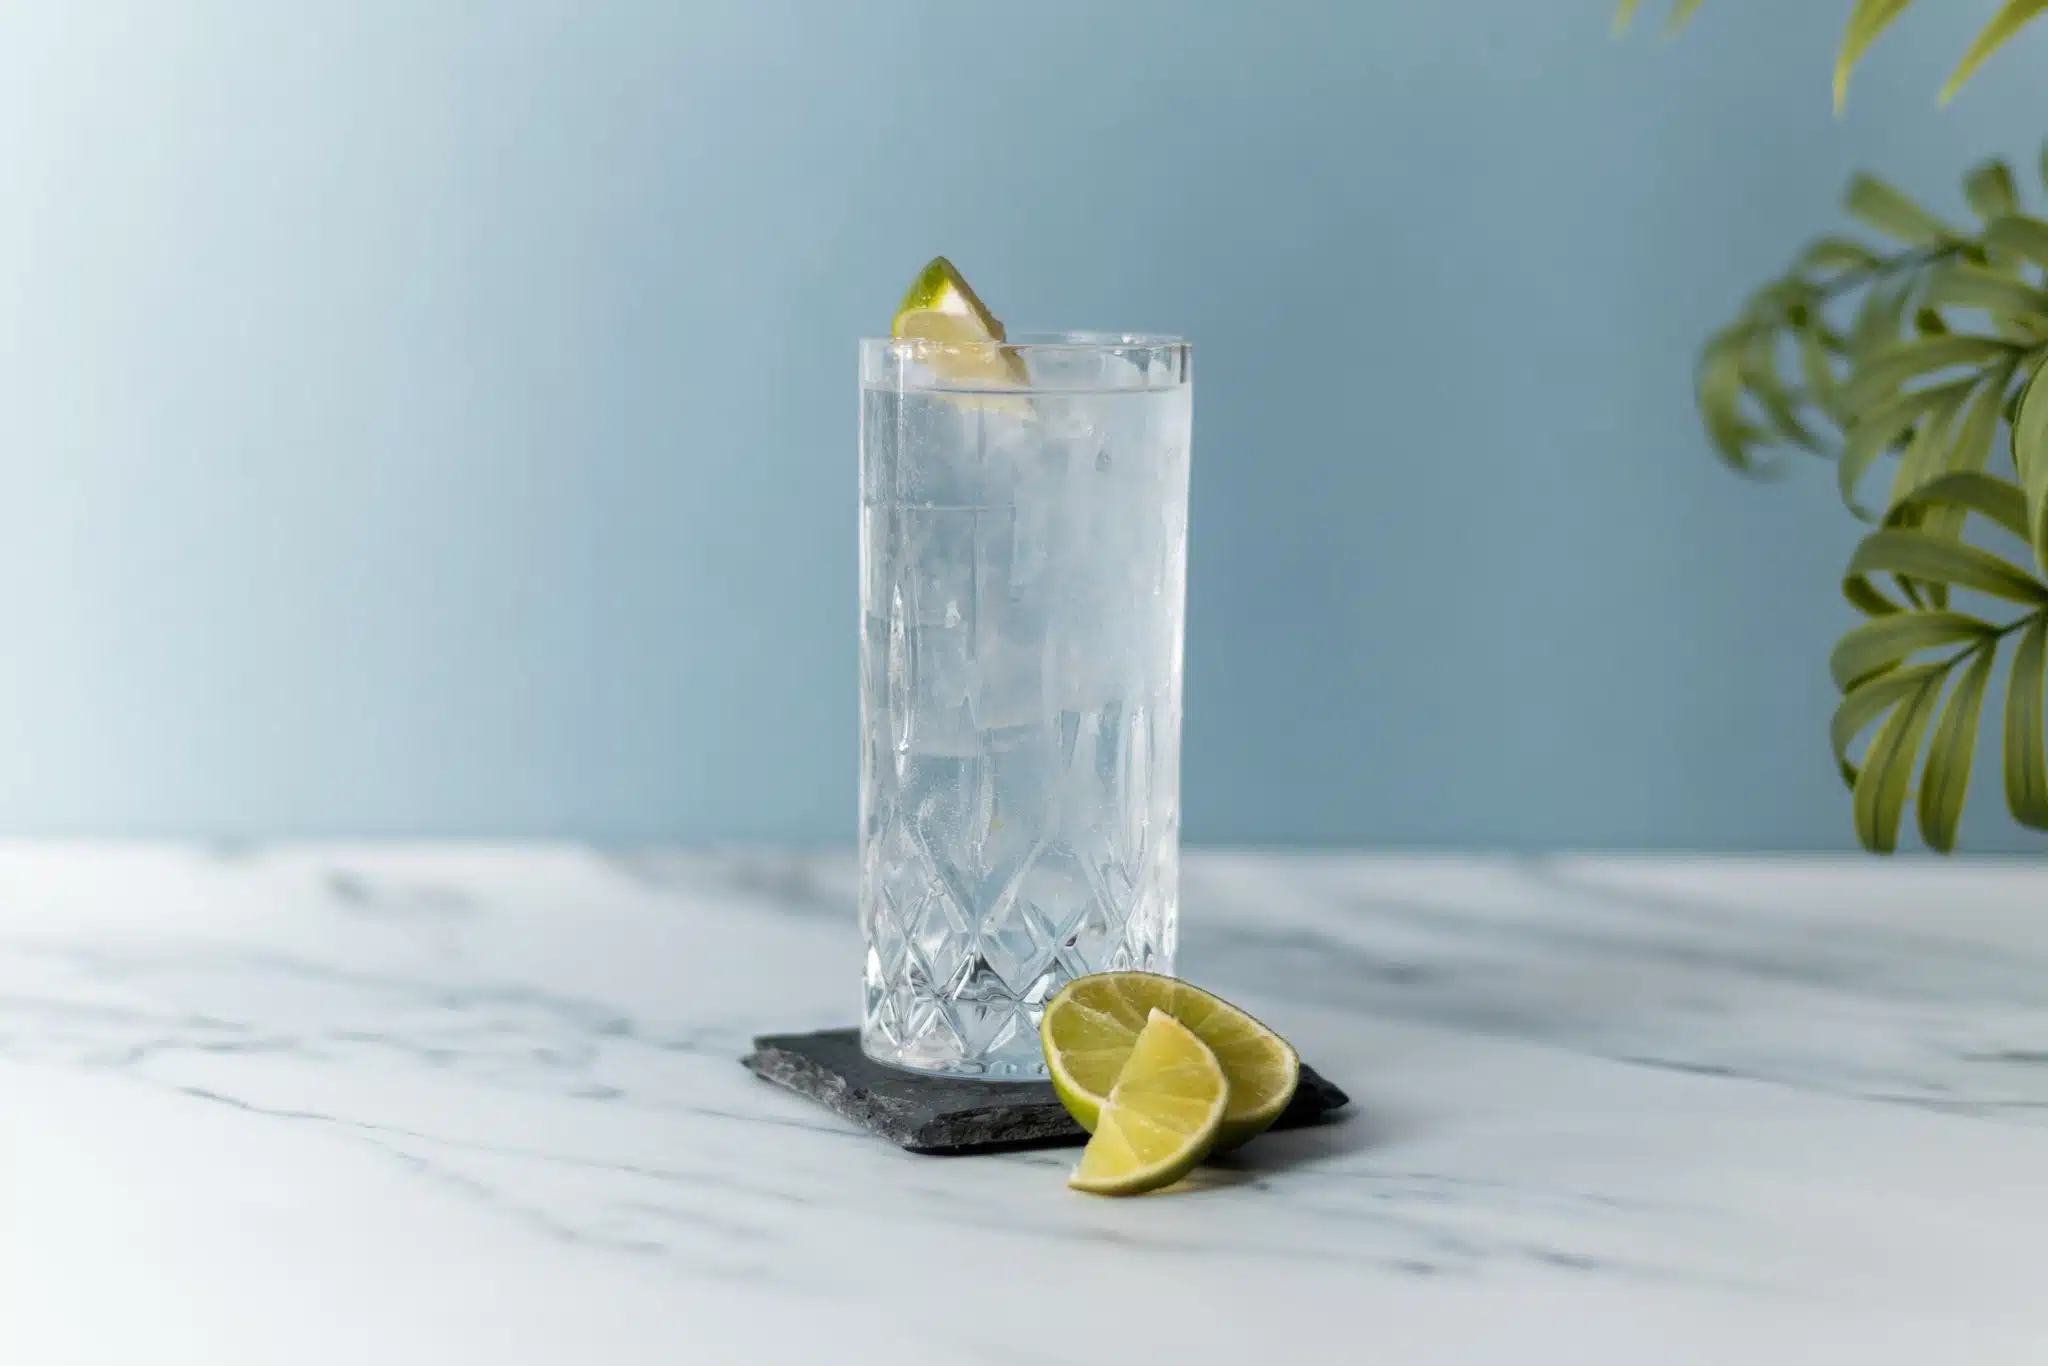
- Gin & Tonic: A timeless classic that allows the botanicals to shine. Experiment with different tonics to see how they bring out the flavors of your gin.
- Martini: For those who like it clean and simple, a dry martini is the perfect way to let your gin take center stage.
- Negroni: If you’re in the mood for something with a bit more depth, a Negroni’s bittersweet notes pair beautifully with gin’s complex flavors.
Custom Cocktail Recipes
Since you’ve made your gin from scratch, why not create some signature cocktails to go with it? You can experiment with different mixers, syrups, and garnishes to create cocktails that are perfectly suited to your gin’s flavor profile. Maybe a cucumber gin spritz for a refreshing summer drink or a spiced gin sour for the colder months.
This in-depth guide to making gin at home gives you a clear process and encourages experimentation, creativity, and, above all, fun. Whether you go with the cold infusion method or dive into the sous-vide technique, the result is a personalized gin that’s uniquely yours. Enjoy the process, and most importantly, enjoy the gin!
FAQs
Can You Make Gin Without a Still?
Yes, you can make gin without a still by using the infusion method, whether it is done at room temperature or by heating up the liquid (see the vacuum method above) . This involves taking a neutral base spirit, like vodka, and infusing it with juniper berries and other botanicals over a few days. This process doesn’t require distillation and is a simpler way to make homemade gin.
Can You Make Gin Without Vodka?
Yes, while vodka is a common base spirit for making gin at home due to its neutrality, any neutral grain spirit with a high alcohol content (at least 40% ABV) can be used. The key is using a clean, neutral spirit that won’t overpower the botanicals you plan to infuse.
Can You Make Gin Without Alcohol?
Yes, you can make non-alcoholic gin by using water as the base and infusing it with botanicals like juniper, coriander, and citrus peels. While it won’t have the alcohol content of traditional gin, the botanical flavors can still mimic the taste. For better results, consider using a non-alcoholic base spirit designed for mocktails.
How to Make Non-Alcoholic Gin at Home?
To make non-alcoholic gin at home, start by boiling water and infusing it with botanicals like juniper berries, coriander, citrus peels, and spices for flavor. Allow the infusion to cool, then strain the botanicals and bottle the liquid. While it won’t contain alcohol, it can serve as a flavorful base for mocktails that mimic the taste of gin.
