Fresh mint brings an unmatched burst of flavor and aroma to any drink. But let’s be honest: mint has a frustratingly short shelf life. It wilts, browns, and loses its punch far too quickly.
This guide shows you how to properly store mint to stay cocktail-ready for days, weeks, or even months.
Understanding Mint’s Delicate Nature
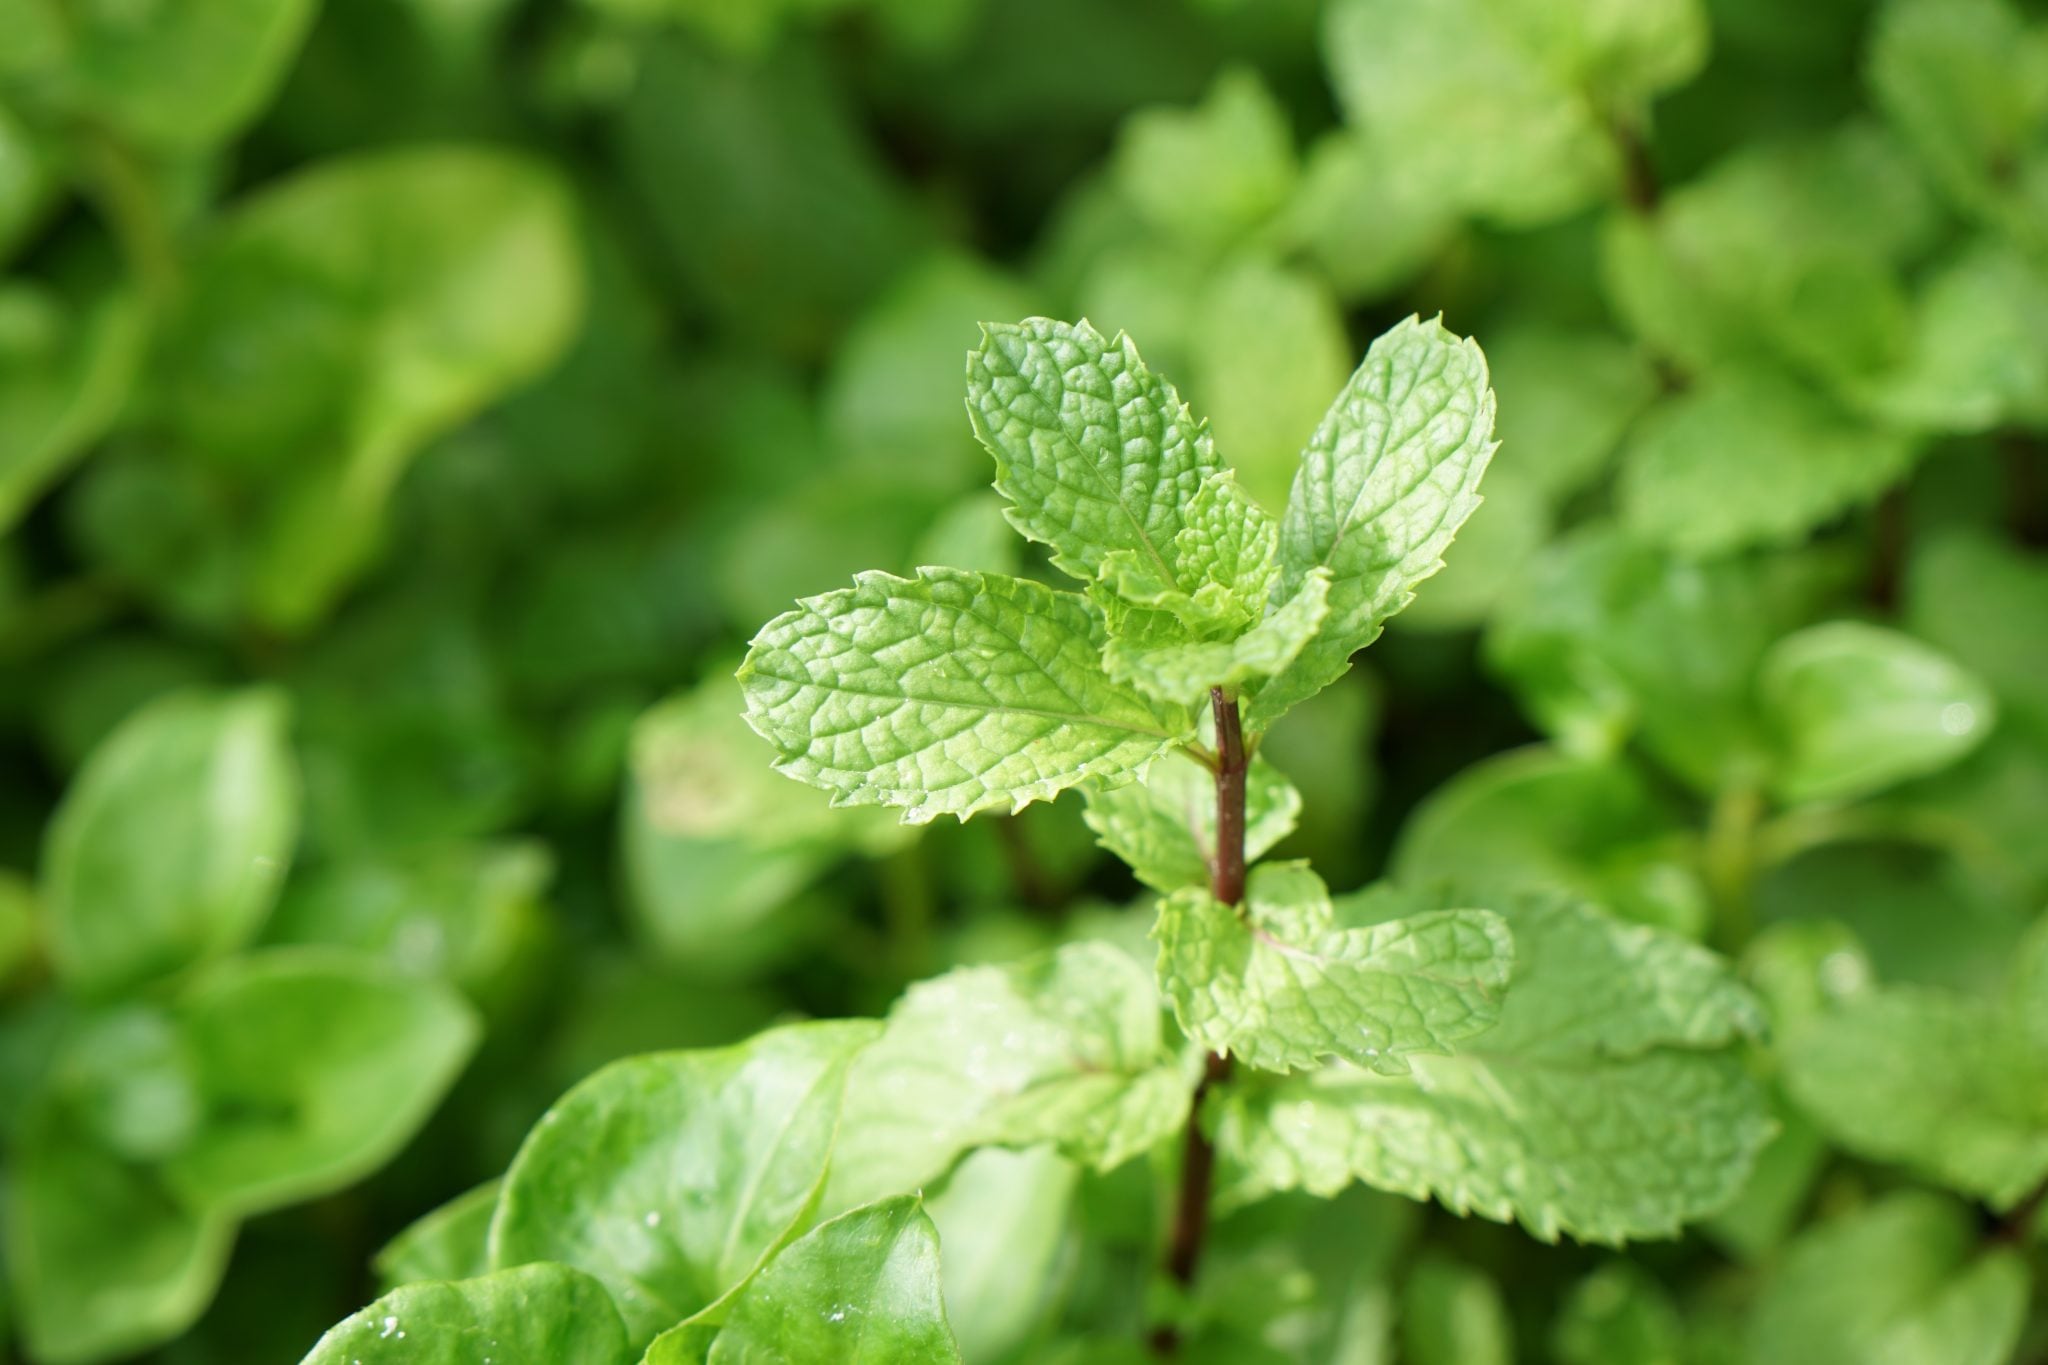
Mint looks sturdy, but it’s actually pretty delicate. The leaves are thin, and the stems are soft, which means they’re prone to wilting and browning faster than heartier herbs like rosemary or thyme. The key to keeping mint fresh is to minimize exposure to three things: heat, moisture, and light. Those are the enemies of mint (and really most herbs). If you handle your mint right, though, you can extend its life far beyond the usual few days.
Best Ways to Store Fresh Mint
Now that we understand what makes mint tick, let’s get into the best methods for keeping it fresh, whether you’re storing it for a few days or a few months.
Storing Mint in the Refrigerator (Short-Term)
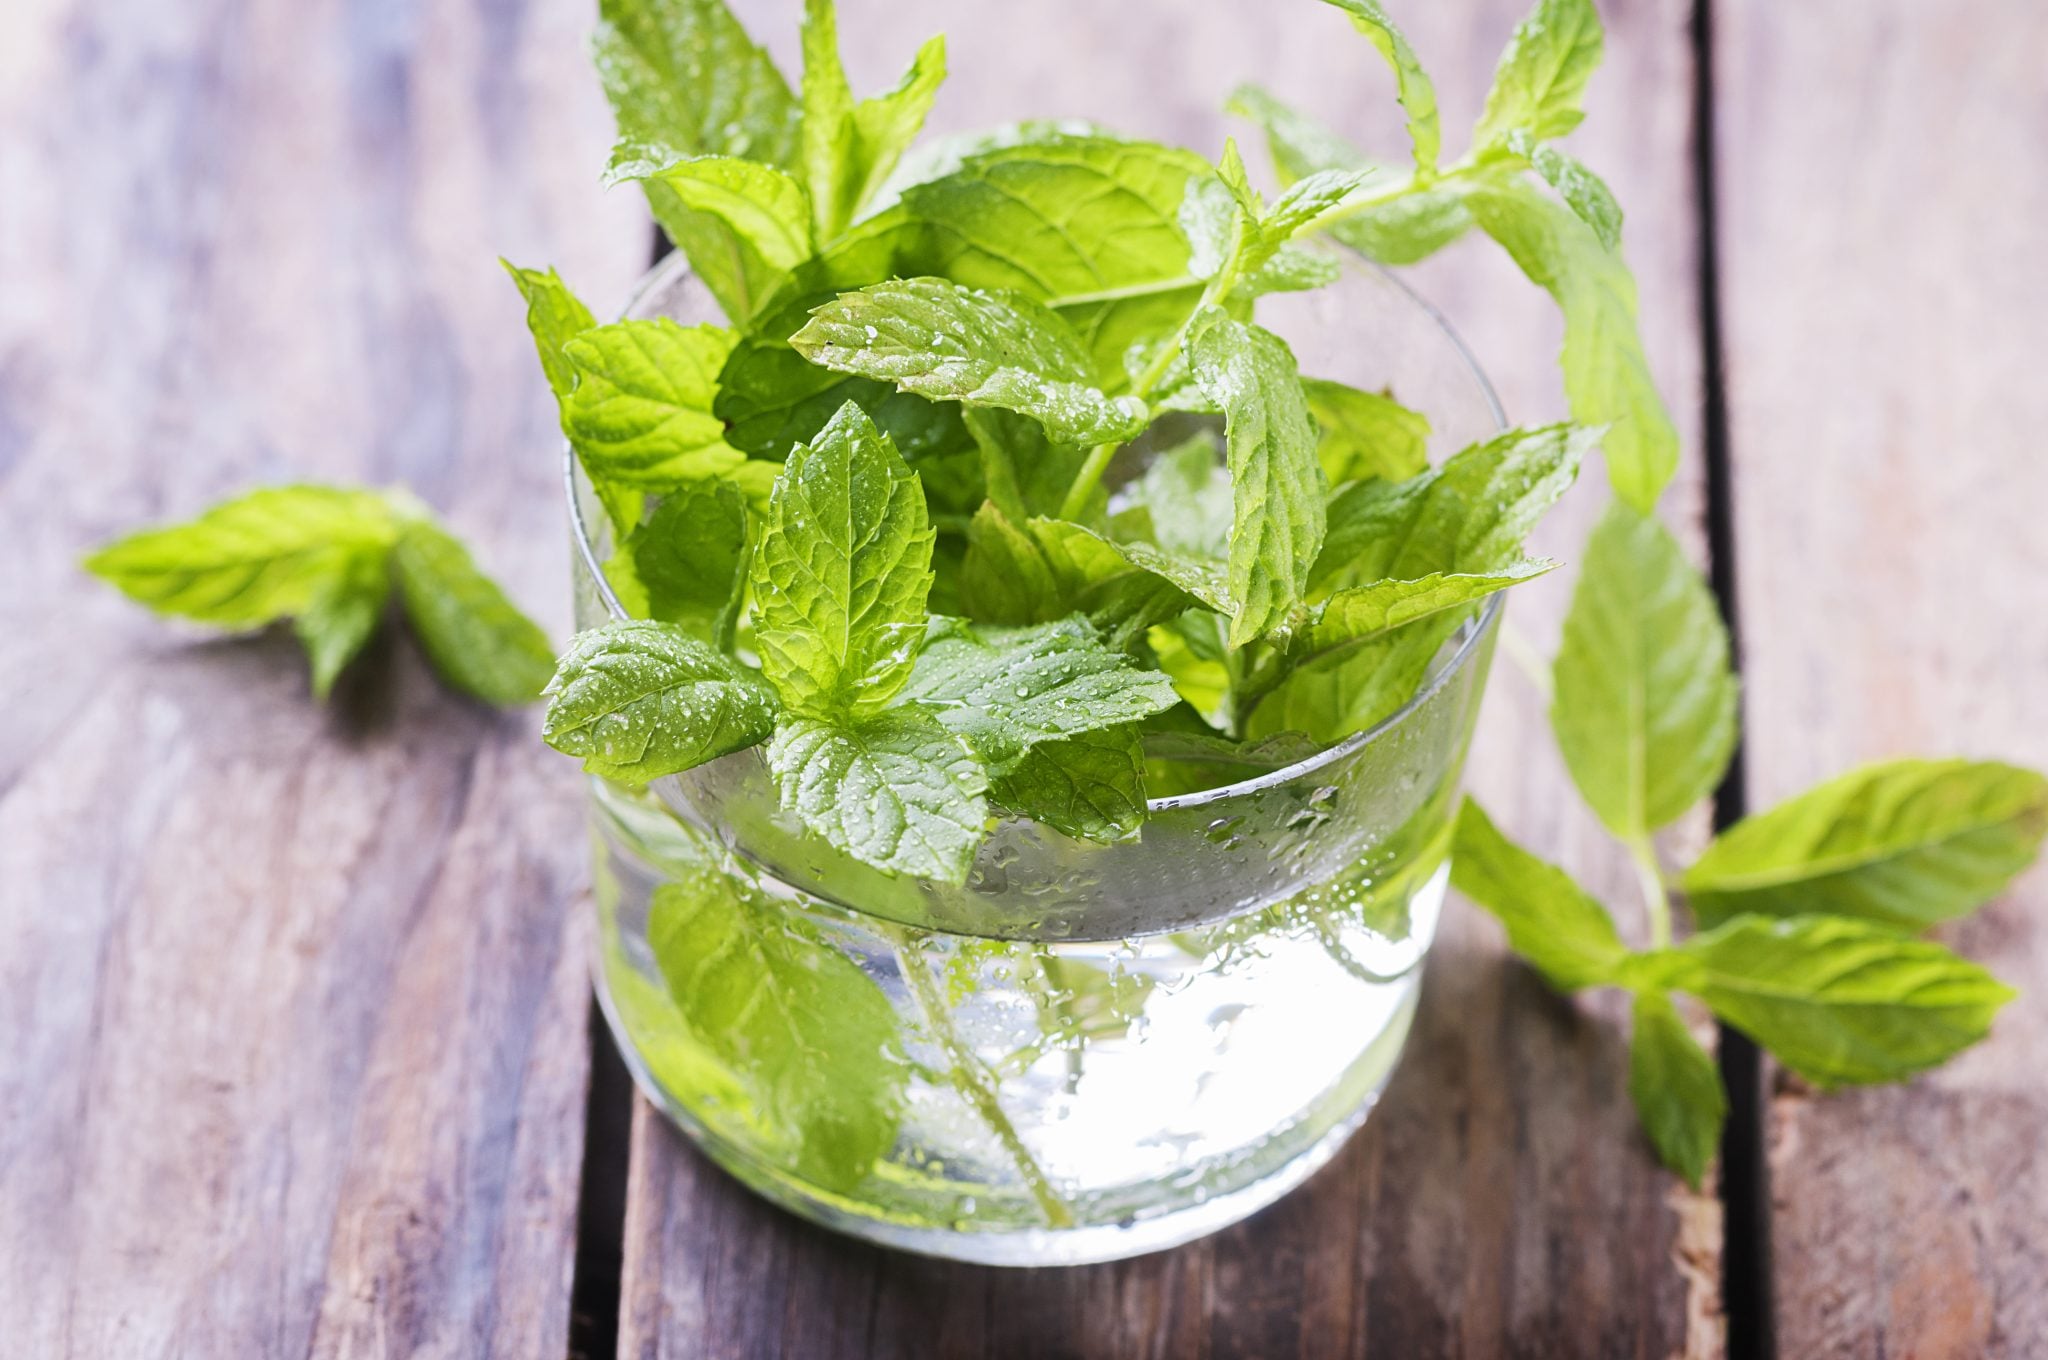
If you want to keep your mint fresh for up to 1 week, the fridge is your friend. But just tossing a bunch of mint in the crisper drawer won’t cut it. Here’s how to do it right:
- Trim the stems: Just like with flowers, trimming the ends of the stems helps the mint absorb water better.
- Place in a jar of water: Fill a jar with about an inch of water and place the mint in it, stems down. Think of it like a mint bouquet!
- Cover loosely with a plastic bag or wet paper towel: Gently drape a plastic bag or wet paper towel over the leaves, making sure not to crush them. This keeps the humidity around the leaves just right, preventing them from drying out while still allowing some airflow.
- Store in the fridge: Pop the whole jar and bag setup into your fridge, preferably on a shelf where it won’t get jostled too much.
- Change the water every couple of days: Just like fresh flowers, you’ll need to change the water every 2-3 days to keep things fresh.
This method should keep your mint looking and smelling fresh for up to one week—plenty of time to whip up a batch of mojitos!

Storing Mint in the Freezer (Long-Term)
If you’ve got a large bunch of mint and you know you won’t be using it all soon, freezing is your best option. Freezing mint helps preserve its flavor for up to 3 months. Here’s how to do it:
Method 1: Freeze Whole Leaves
- Wash and dry the leaves: Rinse the mint and pat it dry thoroughly. Any moisture left on the leaves will create ice crystals, which can damage the mint’s texture.
- Spread the leaves on a tray: Place the dry mint leaves on a baking sheet in a single layer and freeze them. This prevents them from clumping together when frozen.
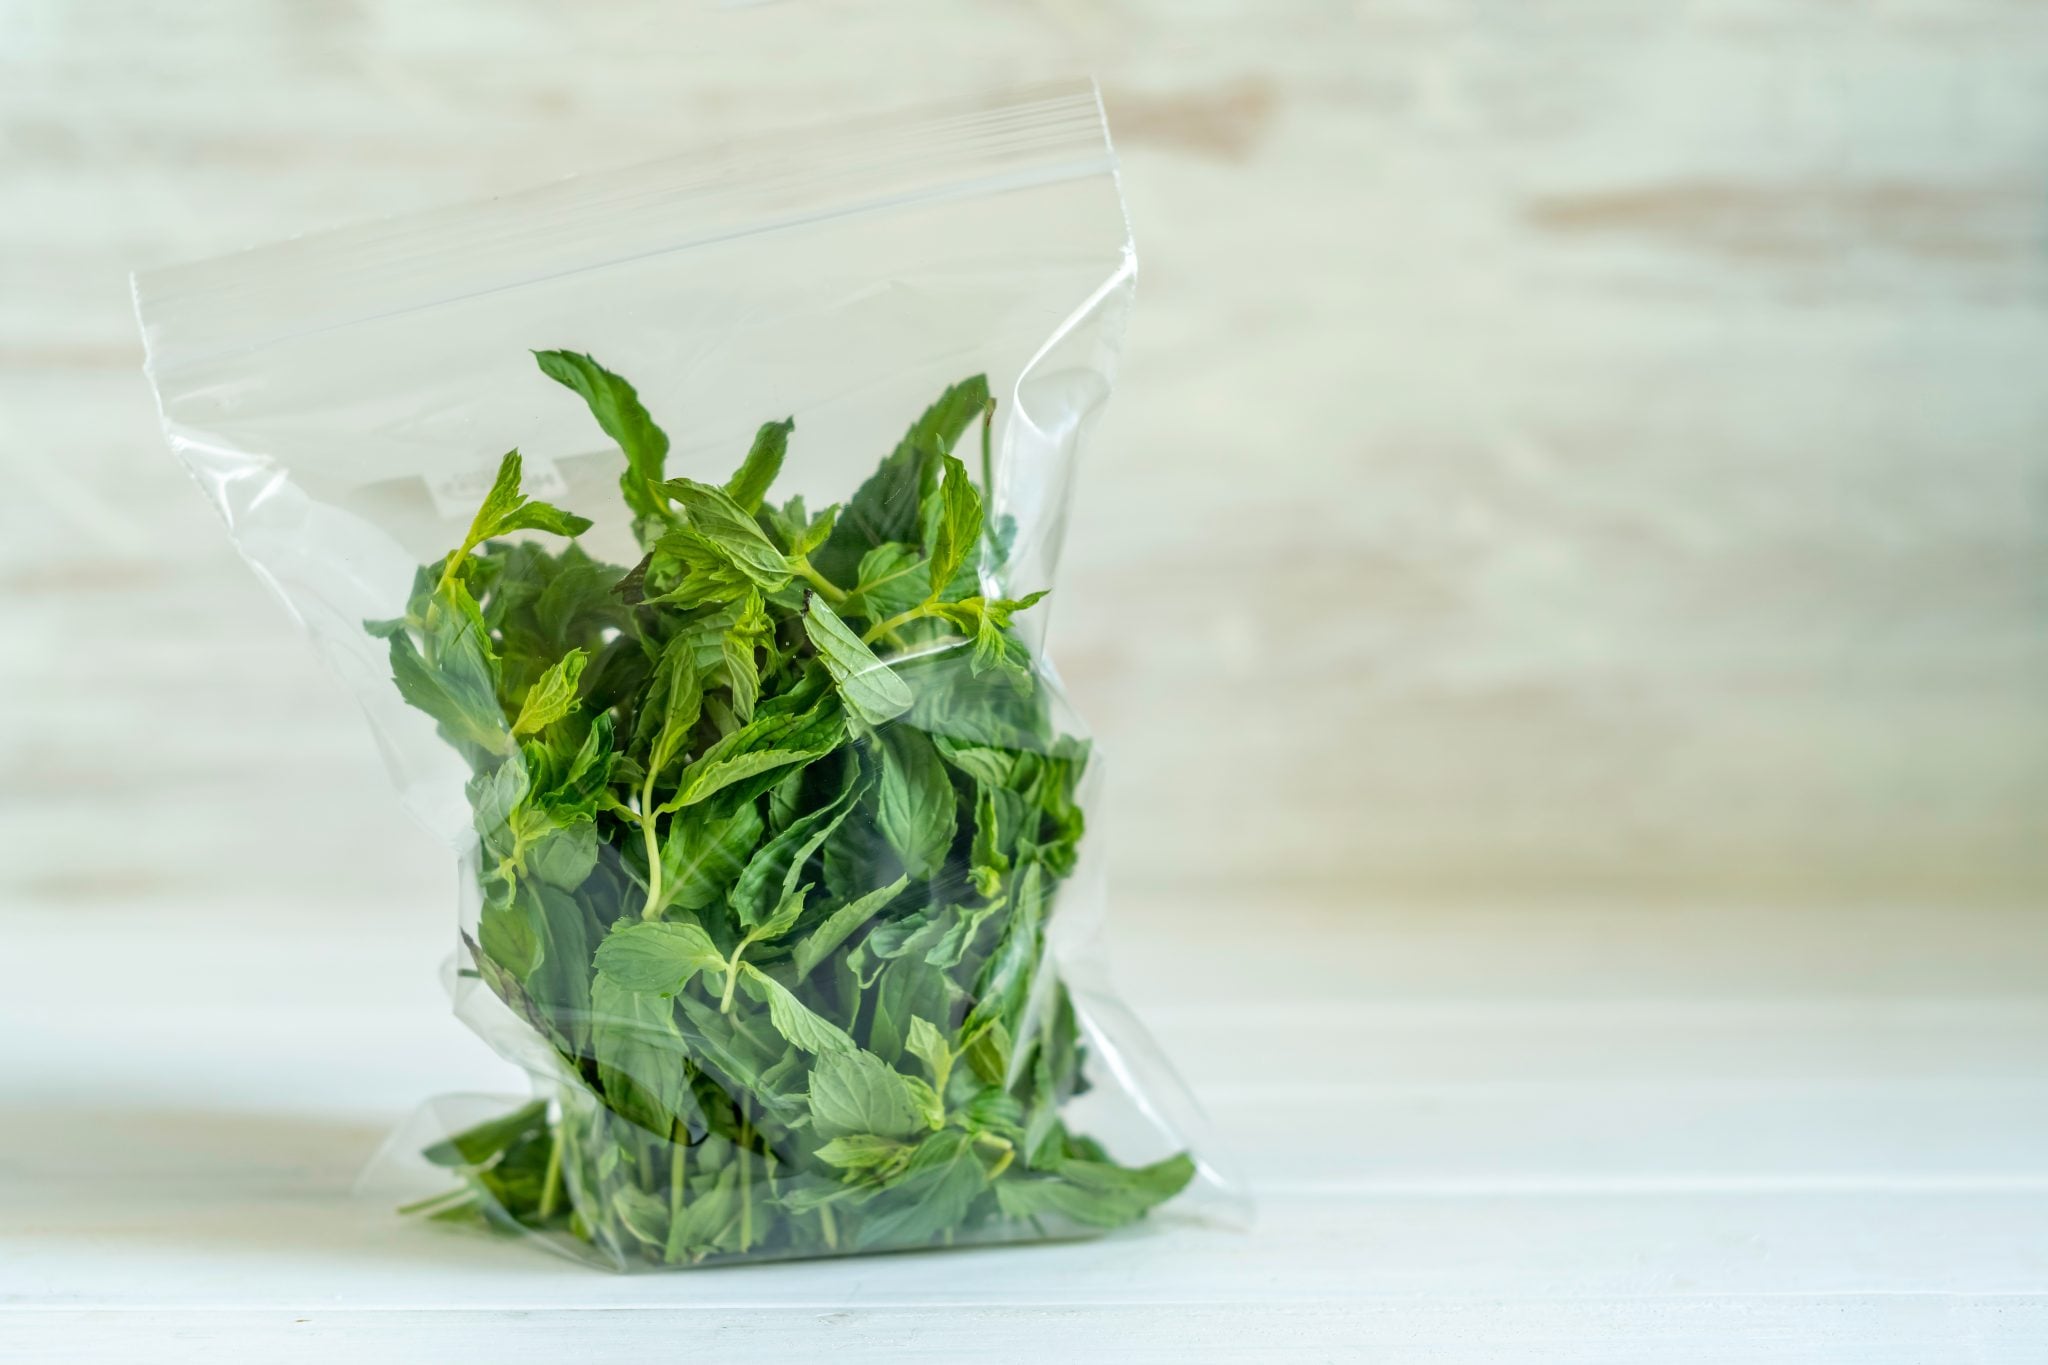
- Transfer to an airtight container: Once the leaves are frozen (after a few hours), transfer them to a zip-top bag. Be sure to remove as much air as you can inside the bag to prevent the leaves from oxidation. Label it with the date so you know when you froze it.
Method 2: Mint Cubes
- Chop the mint: Roughly chop the mint leaves to make them more manageable.
- Place in ice cube trays: Add the chopped mint to an ice cube tray, filling each compartment about halfway.
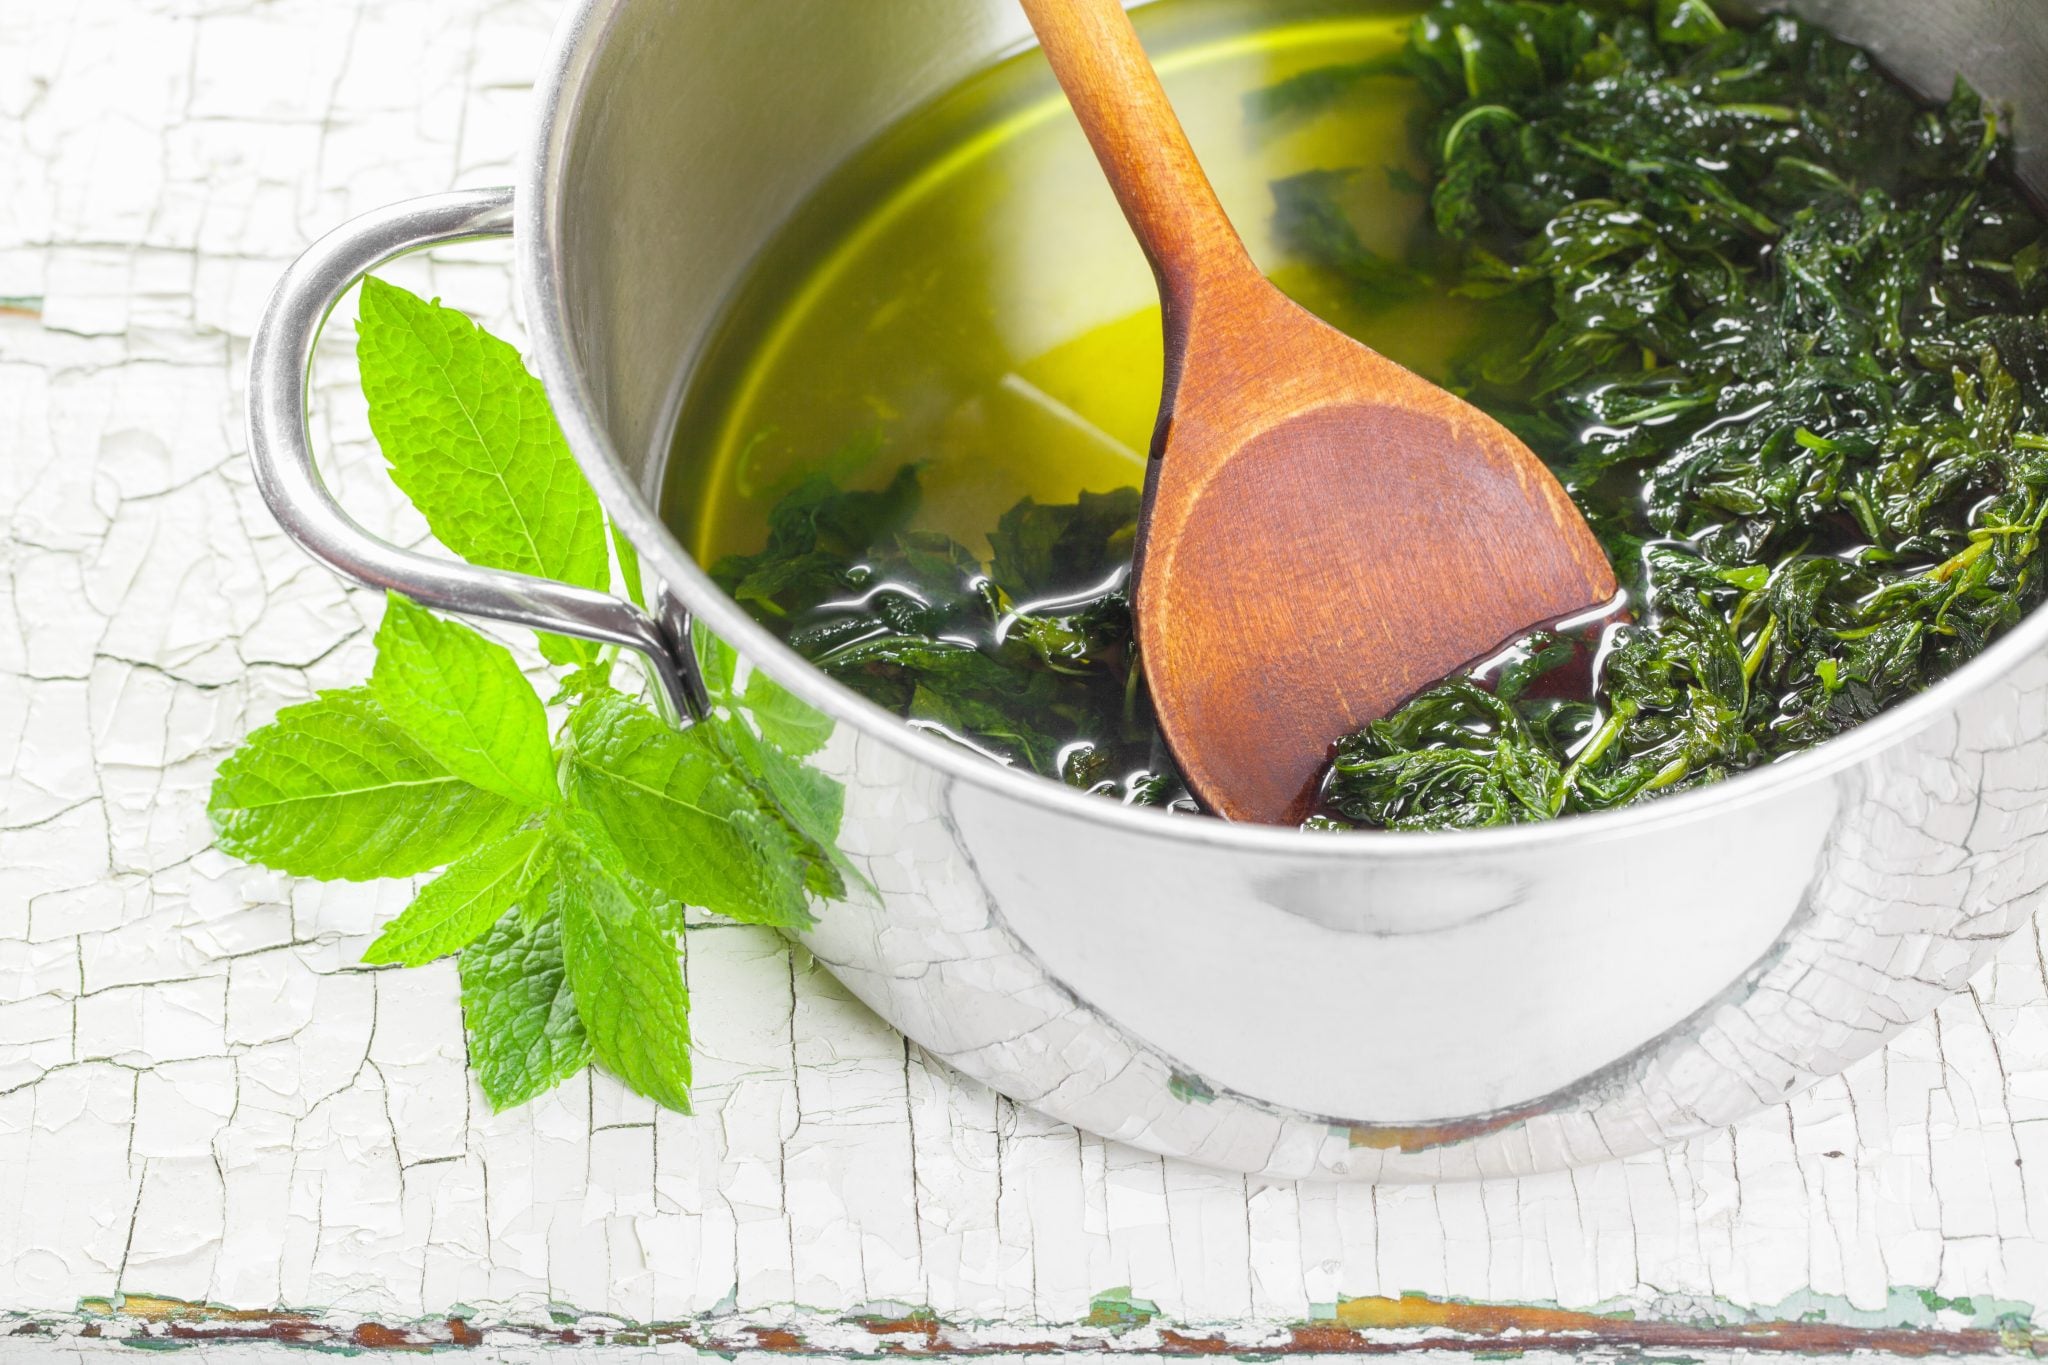
- Fill with water or olive oil: Pour water (or olive oil if you plan to use the mint for cooking) into each compartment, covering the mint completely. Freeze until solid, then pop the cubes into a freezer-safe bag.
Mint cubes are great for adding to cocktails (especially ones you want to keep cool), or you can drop them into sauces or soups for a burst of fresh flavor.

Drying Mint for Storage
If you want to keep mint on hand for even longer, drying it is the way to go. Dried mint can last for up to a year if stored properly, and it’s perfect for adding to teas, cocktails, or cooking (or even to make your own cocktail dust). Just keep in mind that the flavor will change slightly and won’t be as fresh as if using fresh mint.
Air-Drying Method:
- Gather the mint into small bunches: Tie the stems of your mint into small bunches using string or rubber bands.
- Hang in a cool, dry place: Hang the bunches upside down in a cool, dark spot with good airflow. Leave them to dry for 1-2 weeks. If you’re afraid of dust or bugs getting on the leaves, you can use special fine mesh drying racks to store the mint while drying.
- Store in airtight containers: Once the mint is completely dry, crumble the leaves off the stems and store them in airtight jars or bags. Keep them in a dark cupboard to maintain freshness.
Oven-Drying Method:
- Preheat your oven: Set your oven to its lowest temperature (around 170°F/75°C).
- Arrange the mint on a baking sheet: Spread the leaves in a single layer on a parchment-lined baking sheet.
- Bake for 2-3 hours: Check the leaves regularly to make sure they don’t burn. Once they’re crispy and dry, remove them from the oven and let them cool before storing.
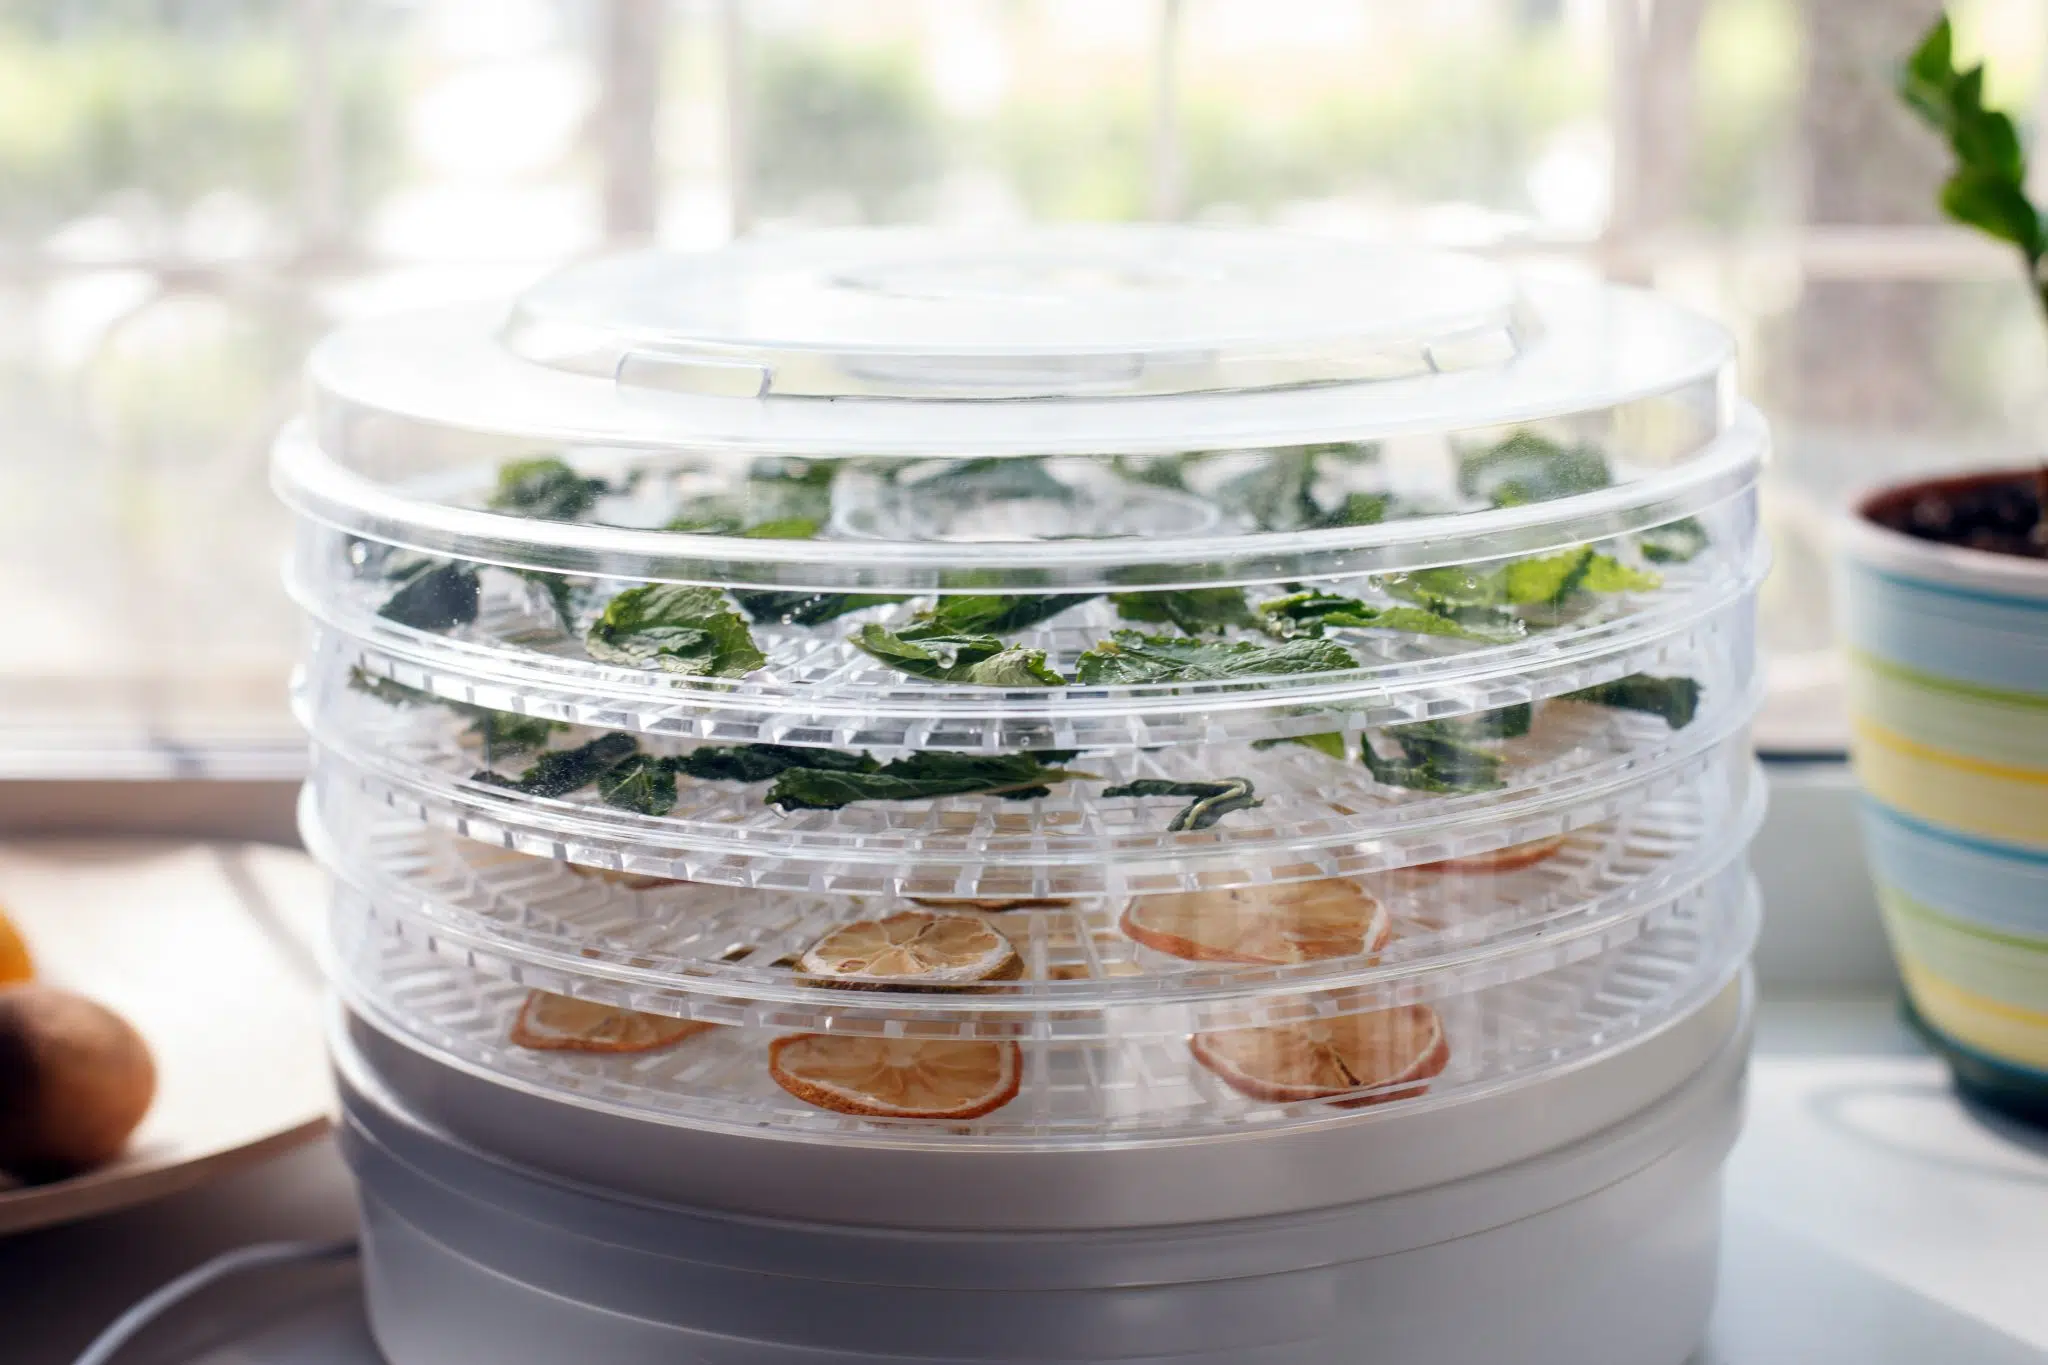
Dehydrator Method:
If you’re a serious herb lover, a dehydrator can make this process even easier. Just set the temperature to around 95°F (35°C) and dry the leaves until crisp.
Additional Tips for Keeping Mint Fresh
- Hydrate the stems: If you’re storing mint in the fridge, keeping the stems in water is essential to extend its life. Just like a bouquet, mint needs hydration to stay fresh.
- Gentle handling: Mint leaves are delicate, and bruising them can cause them to wilt faster. Be gentle when picking and storing mint, especially if you’re prepping it for cocktails.
- Keep it away from heat and light: Mint loves cool, dark environments. Keep it out of direct sunlight, and don’t store it near heat sources like the oven or stove, where it’s likely to dry out faster.
Common Mistakes That Lead to Wilted Mint
Even if you know the right storage methods, it’s easy to slip up. Here are some common mistakes that can lead to sad, wilted mint:
- Storing unprotected in the fridge: If you don’t cover your mint properly or store it in water, it’ll wilt quickly.
- Not drying the leaves: If you wash your mint and toss it in the fridge while it’s still wet, you’re basically asking for soggy, slimy leaves.
- Overcrowding: If you pack too much mint into a small container, the leaves can bruise or crush, causing them to spoil faster.

Using Fresh Mint Before It Spoils
Even with the best storage methods, sometimes you just can’t use all your mint before it starts to lose its edge. Here are a few ways to use mint before it turns:
- Make mint syrup: Mint simple syrup is a great way to use up extra mint, and it’s perfect for cocktails, teas, or lemonades.
- Infuse water or spirits: Drop some mint into a bottle of water or your favorite spirit for a refreshing infusion.
- Freeze it: If your mint is on its last legs, just freeze it (see freezing methods above) so you can use it later.
How to Revive Wilted Mint
Got some mint that’s looking a little worse for wear? You can bring it back to life with this simple trick:
- Make a bouquet with the mint and place it upside down in a small container or cocktail shaker.
- Fill half the container or shaker with ice (preferably crushed ice, but a few ice cubes will do the trick as well if crushed ice is not available). Add cold water so the mint is fully submerged in ice-cold water. Let it rest for 15-30 minutes.
- After 15 to 30 minutes have passed, remove the mint bouquet from the water. Empty the container or shaker and trim the mint stems (remove more or less 1 or 2 cm, there is no need to cut much more).
- Refill the container with warm water: it should be just a bit warm on your finger, but not burning.
- Place the mint in the warm water, just as you would do with a regular bouquet, and let the magic happen. The thermic shock will cause the mint to absorb a lot of water and the leaves should revive within 15 to 30 minutes.
Trust us: although the process sounds weird, it really does wonders and will make your mint sprigs look absolutely stunning!