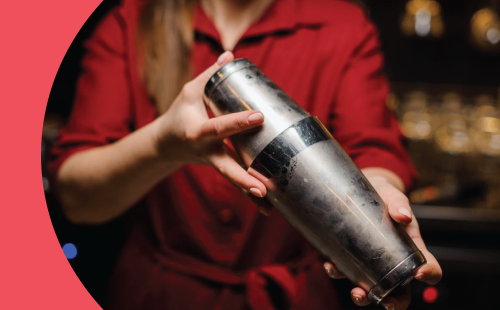

We’ve all been there: you just finished mixing up what you know is going to be the perfect cocktail, and suddenly your trusty cocktail shaker decides to hold your drink hostage. The lid is stuck, and no amount of twisting, tugging, or tapping seems to free it. Don’t worry—you’re not alone in this battle. A stuck cocktail shaker is a common problem, but with the right tricks and techniques, you’ll have that shaker lid off in no time.
In this guide, we’ll walk through the most effective methods to get your cocktail shaker unstuck without breaking a sweat—or the shaker. Let’s get to it!
Quick and Effective Solutions to Open a Stuck Cocktail Shaker
When your cocktail shaker is stuck, the last thing you want to do is panic or try brute force. A few tried-and-true methods can save your shaker (and your cocktail) from disaster. Here are the best solutions:
Method 1: Tap and Twist
This is the go-to move for most bartenders. It’s quick, easy, and usually works like a charm.
- How it works: Lightly tapping the shaker where the lid and tin meet helps release any suction or pressure that’s keeping the two parts stuck together.
- Step-by-step:
- Grab the shaker and give it a few gentle taps at the point where the lid meets the tin. Use the back of a spoon or the palm of your hand—nothing too hard!
- After a few taps, try twisting the lid off. It may take a few taps and twists, but this method works because it breaks the seal that’s keeping the lid tight.
This method is usually your best bet for a Boston shaker (with either a glass or a metal tin) as the point of contact between the two tins is clearly visible so you know exactly where to apply pressure.
Method 2: Warm Water Dip
If the tap and twist don’t do the trick, bring in some heat—but not too much!
- How it works: By dipping the shaker in warm water, the metal expands slightly, loosening the grip of the stuck lid.
- Step-by-step:
- Fill a bowl or sink with warm water (not boiling!). You don’t want the water to be too hot, as it could damage the shaker.
- Place the shaker (lid side down) into the water and let it sit for 30 seconds to 1 minute. The warm water should help expand the metal, making the lid easier to twist off.
- After it’s been submerged for a bit, try twisting the lid off again. If needed, use a towel for a better grip.
This method works great for metal shakers, but be cautious with glass or plastic parts, as they may react differently to heat. This method particularly comes in handy for Cobbler and Parisian shakers.
Method 3: The Ice Shock
This method flips the script from warm water to ice. If warm water doesn’t work, let’s try cooling things down.
- How it works: Cold contracts the metal, which can help loosen the stuck lid by slightly shrinking the shaker’s top.
- Step-by-step:
- Instead of trying to open the shaker right away, place the whole shaker (lid side down) in a bowl filled with ice or apply ice packs directly to the outside where the lid is stuck.
- Let it sit for 1-2 minutes. The cold will cause the metal to contract, potentially breaking the seal between the lid and the tin.
- Once it’s cooled down, try twisting the lid off again. You might need a towel or rubber grip to help get a solid hold.
This method is especially helpful if your shaker got stuck after making a cocktail involving a warm ingredient, such as an Espresso Martini with a fresh shot of espresso for example. .
Method 4: Rubber Grip Assistance
Sometimes, the real issue is just getting enough traction. The lid may not be jammed too tightly—it’s just slippery. This is where a little extra grip can save the day.
- How it works: Using a rubber jar opener or kitchen towel gives you extra traction to get a better grip on the shaker.
- Step-by-step:
- Grab a rubber jar opener, kitchen towel, or even a silicone baking mat for added grip.
- Wrap the towel or rubber grip around the lid and twist gently. With the extra traction, the lid should come off more easily.
It’s simple, but you’d be surprised how often this trick works! As silly as it may sound, do not use your teeth to try to open a shaker; it’s particularly tempting in the case of Cobbler shaker (to help remove the little top lid), but we know that the shaker will definitely win this battle. All jokes aside, it’s very dangerous as you will more than likely break your teeth, so stick to your hands and kitchen towels or rubber grips when trying to open a Cobbler shaker.
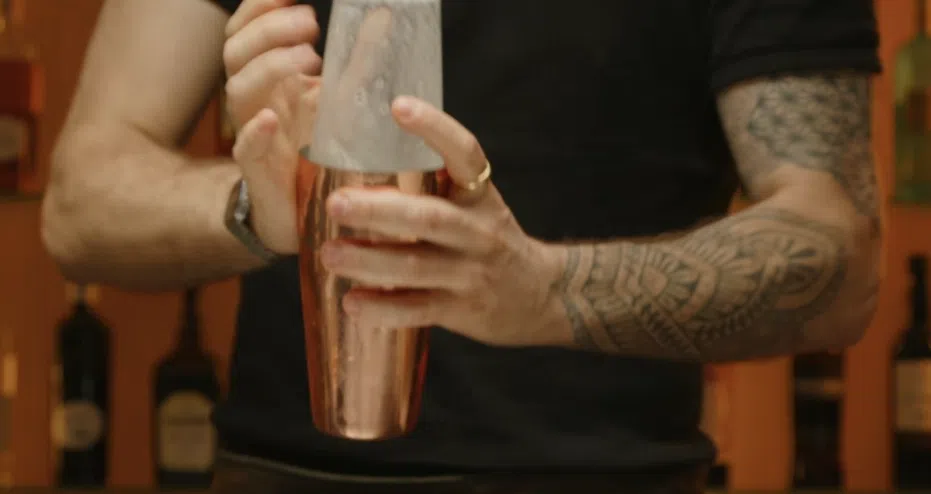
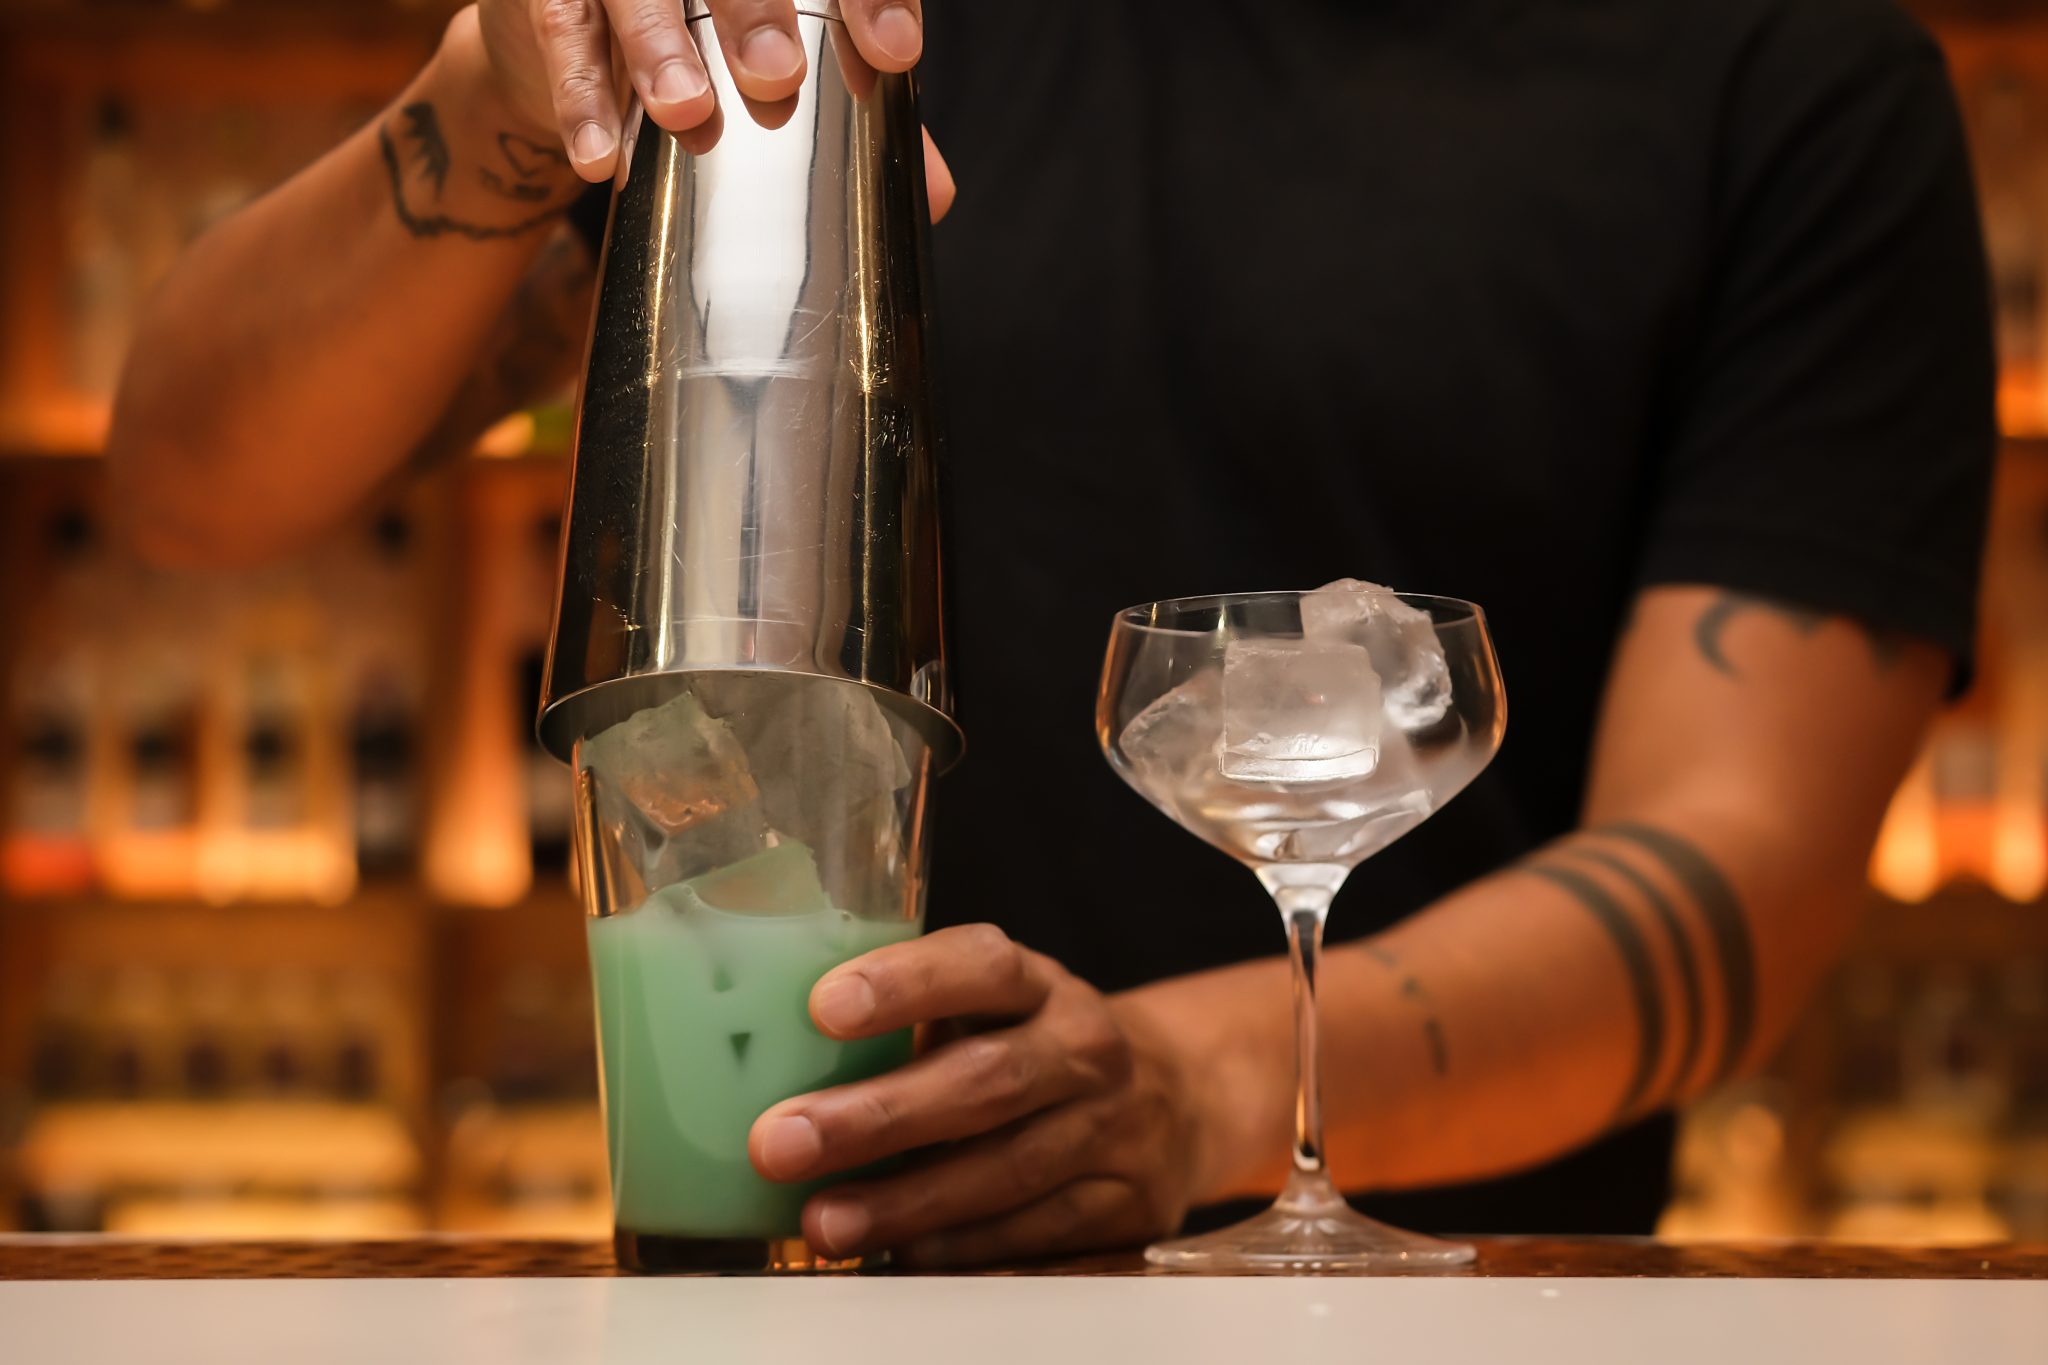
Method 5: The Leverage Trick (For Boston Shakers)
If you’re working with a Boston shaker (the two-piece shaker often seen in bars), this method is a lifesaver. Sometimes the tin and the glass (or smaller tin) get wedged together tightly.
- How it works: Use leverage from a bar or countertop to gently dislodge the tin from the glass.
- Step-by-step:
- Hold the shaker at a slight angle.
- Using the edge of your bar or a sturdy countertop, tap the side of the tin where it meets the glass or smaller tin.
- Rotate the shaker slowly while tapping gently until the tin and glass separate.
Be careful not to tap too hard or you might damage the shaker, but this method works wonders if you use just the right amount of force. Be careful not to leave glasses or other fragile items on the countertop before tapping as the shock and vibration might knock them over and cause them to break.
Method 6: The Gentle Pry with a Butter Knife
This method should be used as a last resort, but it’s effective when all else fails.
- How it works: By gently inserting a butter knife or flat utensil between the lid and shaker, you can create some separation and break the seal.
- Step-by-step:
- Carefully slide a butter knife between the shaker and the lid.
- Gently wiggle the knife to create some space between the two pieces.
- Once you’ve loosened it slightly, try twisting the lid off again.
Be gentle with this method to avoid bending or scratching the shaker, especially if it’s made of delicate materials.
Common Mistakes to Avoid
Opening a stuck cocktail shaker can be frustrating, but don’t let that frustration cause you to damage your shaker—or worse, your hand! Here are some common mistakes to avoid:
- Avoid Using Too Much Force: If you’re struggling to open a shaker, resist the temptation to force it open with all your might. Excessive force can bend the metal, break glass parts, or cause unnecessary damage.
- Don’t Use Sharp Objects: Using knives or screwdrivers can scratch or dent your shaker. Stick to safer tools like butter knives or rubber grips.
- Avoid Extreme Heat or Cold: Boiling water or extreme cold can warp or crack your shaker, especially if it has glass parts. Stick to warm water or ice, and keep it gentle.
Why Do Cocktail Shakers Get Stuck in the First Place?
You’re probably wondering why this keeps happening in the first place. There are a few reasons cocktail shakers tend to get stuck:
- Temperature Changes: Mixing cold drinks can cause the metal parts of your shaker to contract, making it harder to separate the pieces.
- Pressure Buildup: Shaking cocktails creates pressure inside the shaker, especially when using citrus, egg whites or warm ingredients such as fresh coffee. This pressure can seal the lid tightly.
- Sticky Residue: Sugary syrups, citrus, or other ingredients can dry out and act like glue between the shaker and lid, making it tough to open.
Understanding why your shaker gets stuck can help you avoid the problem next time. Although, if it can be of any consolation, know that it happens a lot and even to the most seasoned bartenders. That’s just the laws of physics after all!
Preventing Your Shaker from Getting Stuck in the Future
Now that you’ve freed your shaker, let’s make sure this doesn’t happen again. Here’s how to prevent your shaker from getting stuck in the future:
- Clean After Every Use: Make sure to wash your shaker thoroughly after each use, especially if you’re mixing drinks with sugary syrups or citrus. Wash it by hand, using only dish soap and cold water. Avoid putting your shaker in the dishwasher too often as the high temperature can cause it to lose its initial shape and seal over time.
- Avoid Overfilling: Leave a little room at the top of the shaker when mixing to prevent pressure buildup.